Intro
In this post, I want to guide you through the initial setup of Windows 365 (W365) from Microsoft. W365 is also known as Cloud PC and is the new desktop in the Cloud that Microsoft delivers. There are two flavors of W365, a business and an enterprise edition. The business edition will be a standard alone machine with no network connectivity to your on-premises or Azure network. In contrast, the enterprise edition will have a network card inside your Azure subscription so that you have the option of connecting it to internal resources. Nerdio has a good comparison with the two versions and Azure Virtual Desktop, which you can read here
.
Let us first look at what licenses are required to run a W365 instance. First, I need a license for W365, and then I also need Intune and a Windows license if I select the enterprise version. I thought the Windows license was included in the W365 enterprise cost, but that is not the case. For the W365 business, I only need to select which size of VM you need. No additional licenses are required unless I want to enroll the device in Intune.
Setup
The first thing I want to do with W365 is to assign the license, and I can do this in the Office365 portal at https://admin.microsoft.com
. Under “Users” and “Active Users,” I find the user I want to assign the license.
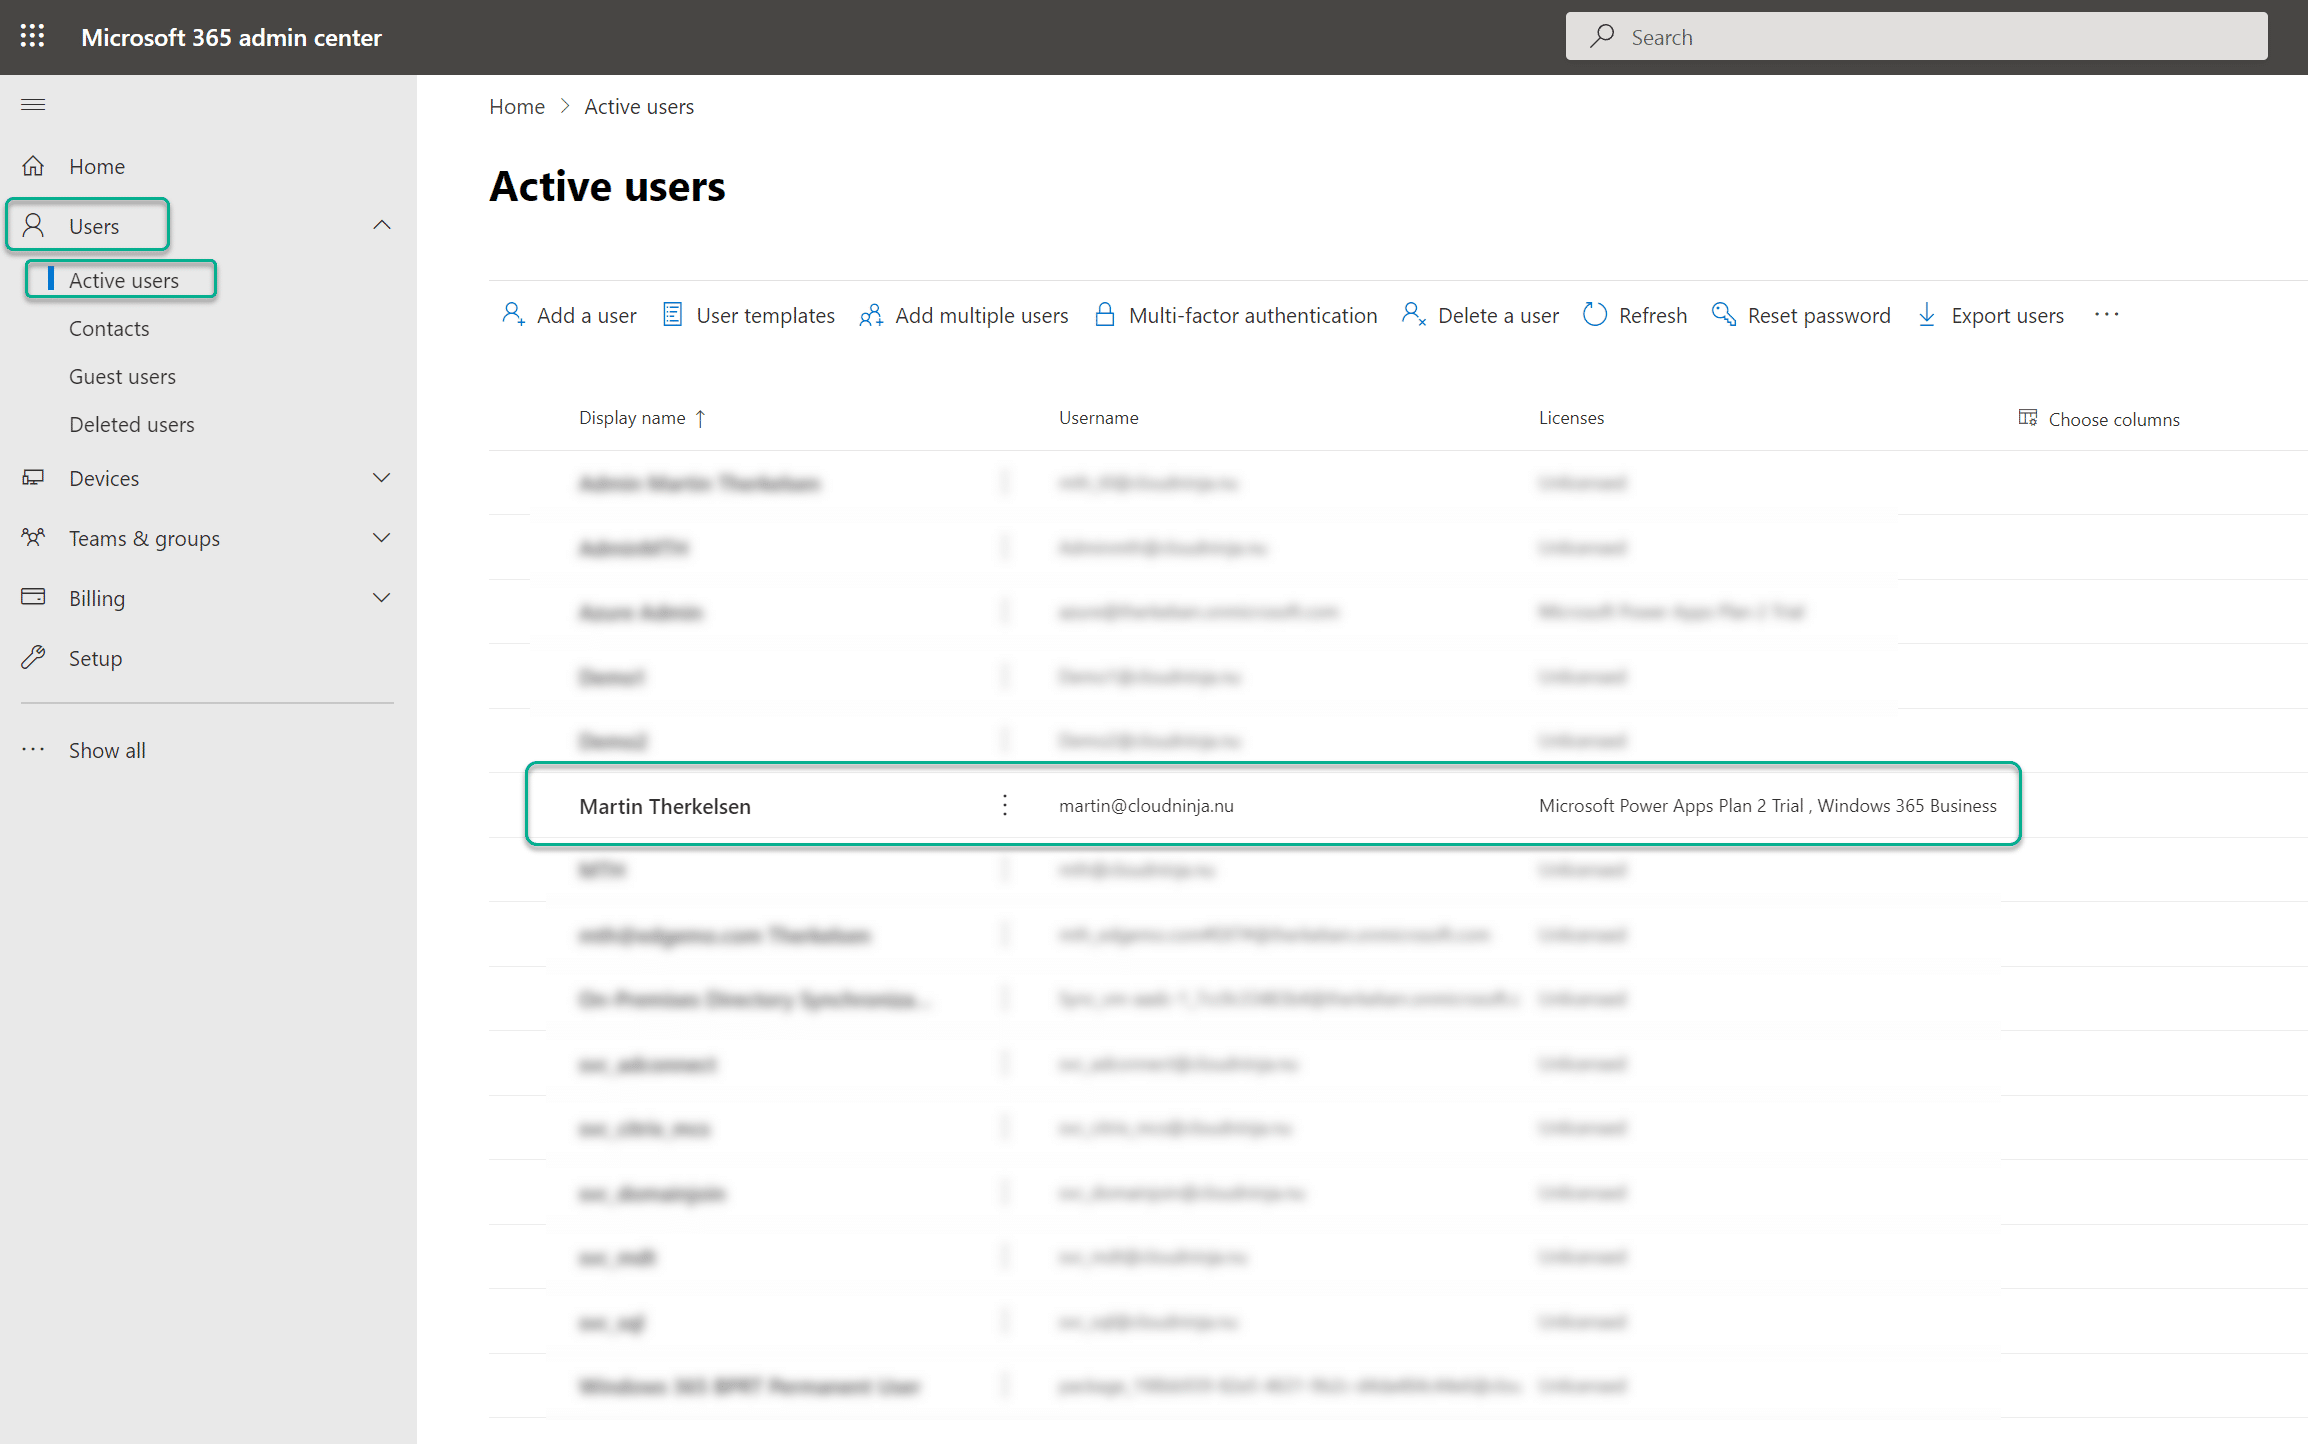
I click on the user, go to the “Licenses and apps” tab, select the W365 I want to assign to the user, and click on “Save changes.” In my case, I have both a business and enterprise edition assigned to my user.
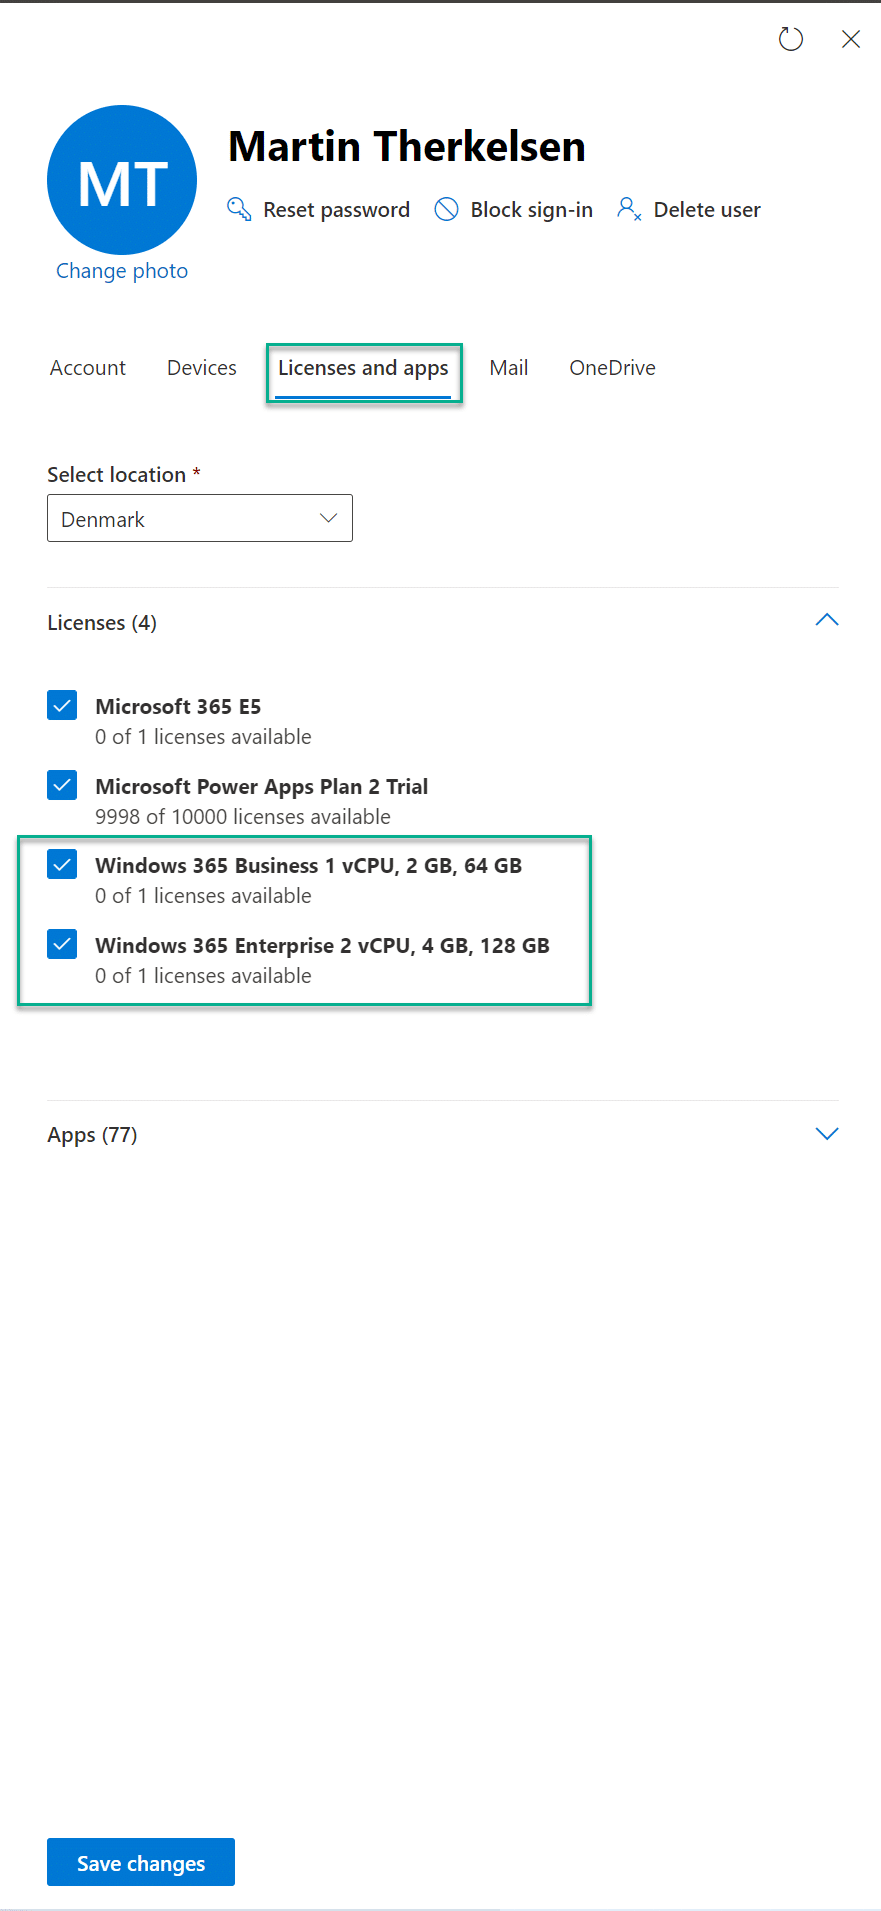
For the W365 business edition, this is all I have to do. I can configure it with Intune and endpoint management, but this is not a requirement, and if I do, I will need to buy licenses for that.
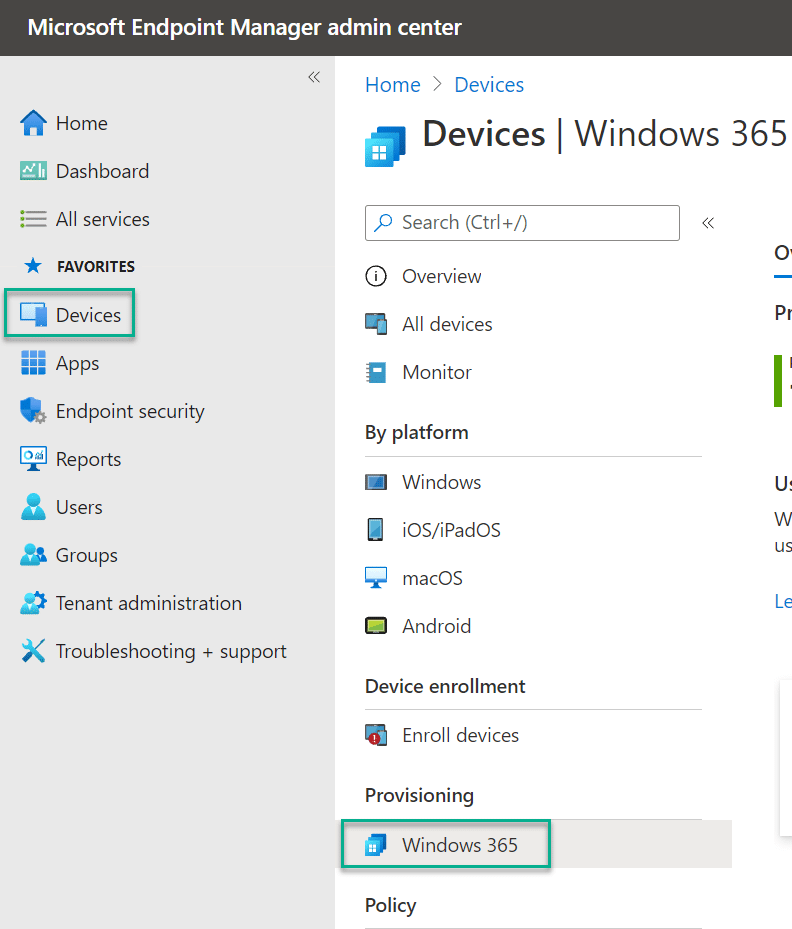
For the enterprise edition, I need to set up a few more things. I will make these configurations in the endpoint manager portal at https://endpoint.microsoft.com/ . Here I click on “Devices” and then on “Windows 365.”
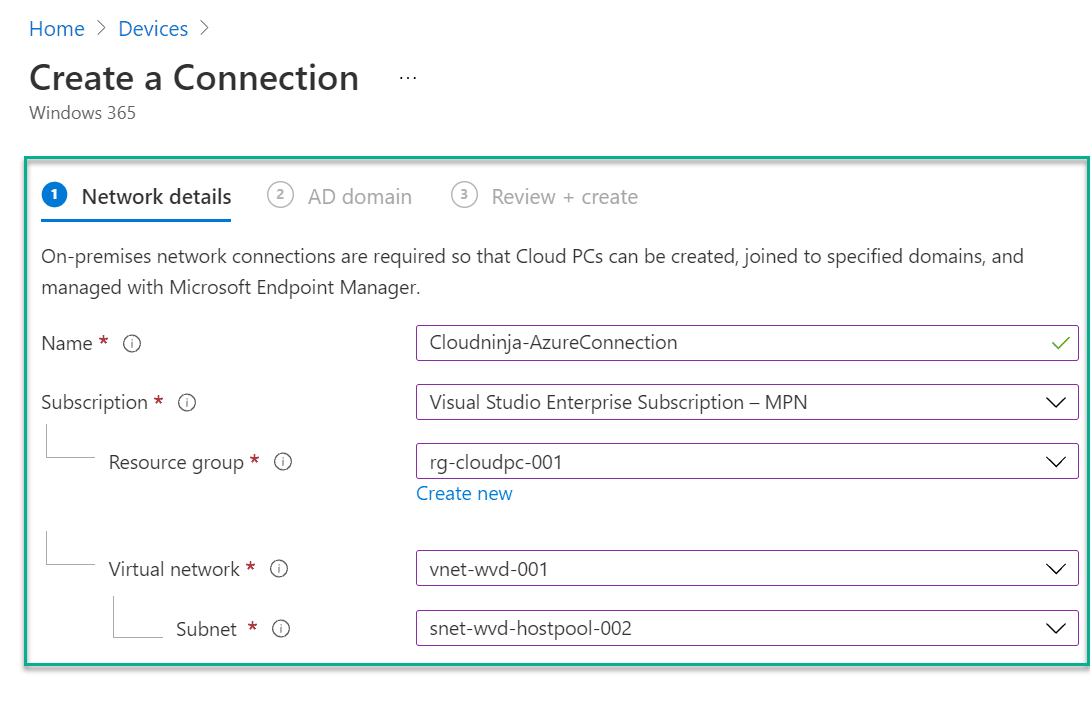
I have four configuration settings I can perform, and I start with the “On-premises network connection.” The name is quite misleading since the network connection is to Azure and not on-premises, as the name implies. I click on the “Create” option to start the configuration.

I fill out the name and choose my Azure subscription, so the user you configure this with needs the permissions to create this connection. I also select the resource group, virtual network, and subnet to place the network interface for my W365 machine. When I have all fields completed, I click on “Next” to continue my configuration.
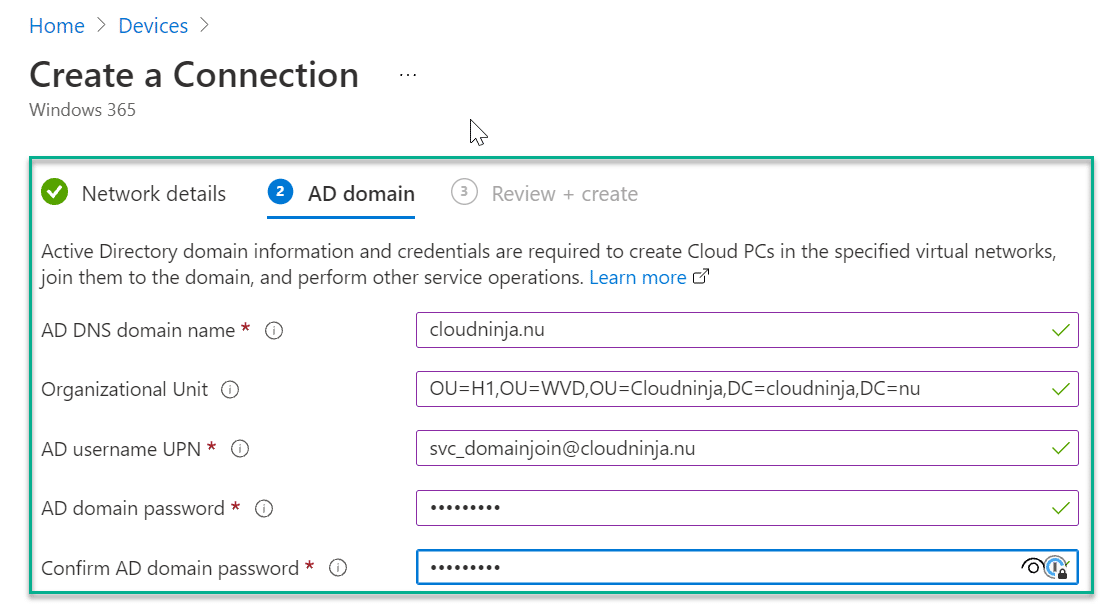
On the next page, I need to fill in my Active Directory details, which includes a domain join account, so make sure you have a user in Active Directory that has this permission delegated.
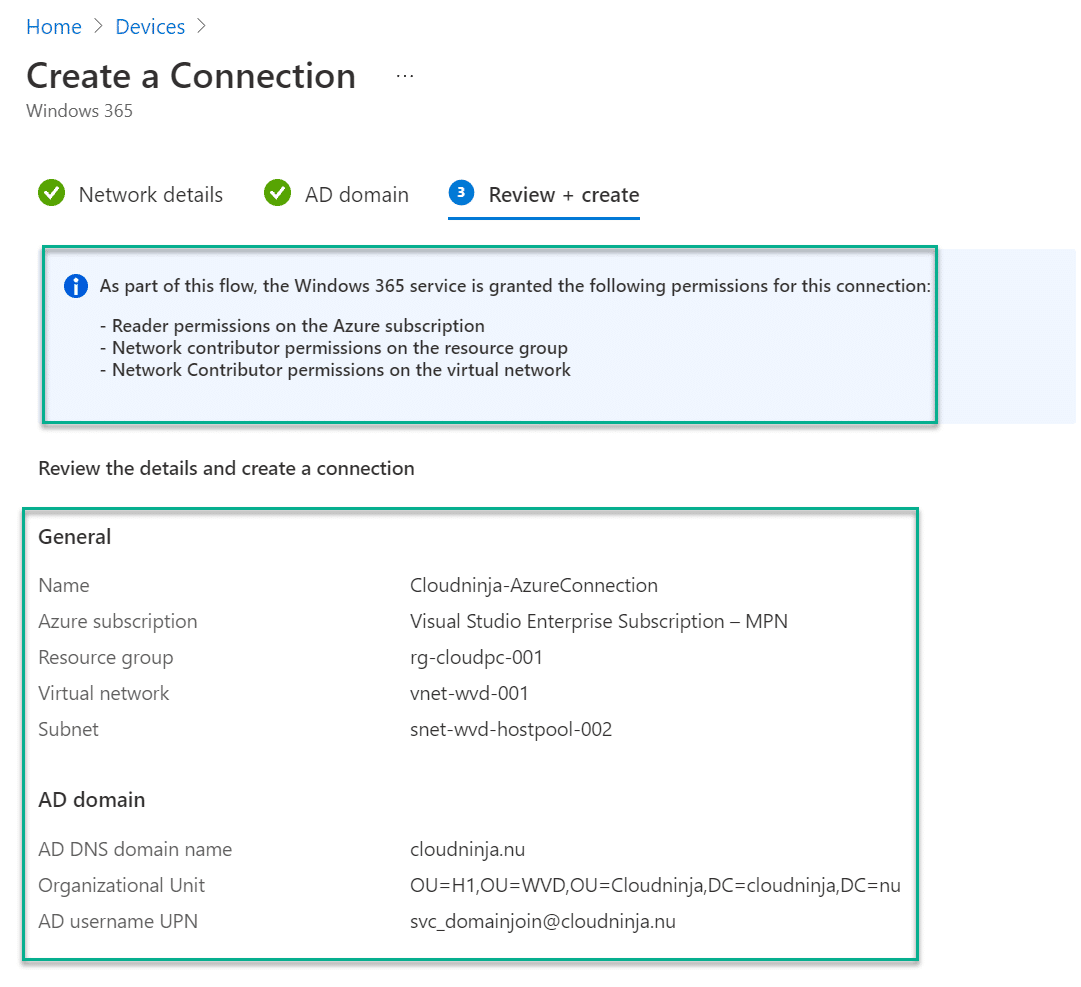
The last page is pure information, but please notice which permission allows the connection from Endpoint manager to Azure. Also, review that the information you filled in is correct and then click “Review + Create” to start the provisioning of the connection.
Now that I have my Azure connection up and running, I can create the policies I need to provision my Cloud PCs. The first policy I create allows a group of users to be local administrators on my Cloud PCs. So I click on the “User settings” and then on “Add” to create a user policy.

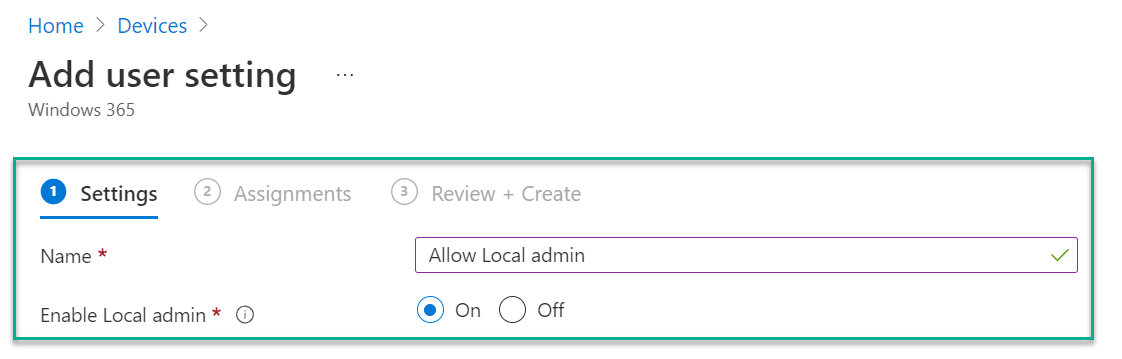
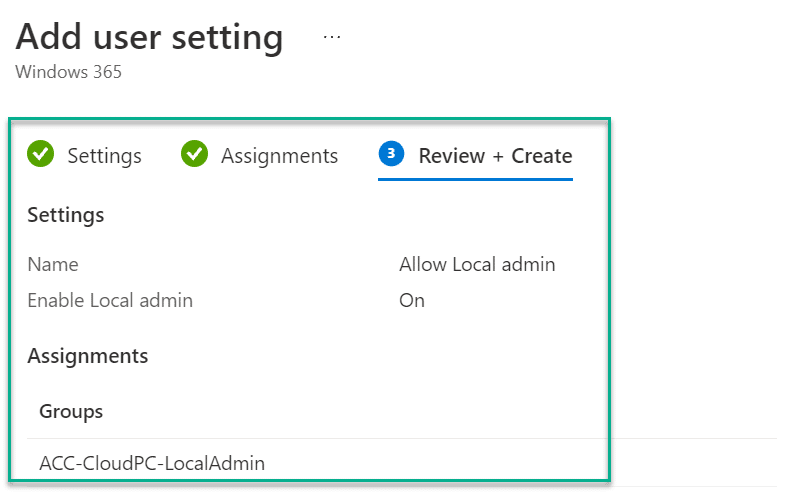
I provide a name for my policy, in this case, “Allow Local admin,” and mark the “On” checkbox for the “Enable local admin” setting. Local admin is the only setting under user settings for the time being, but Microsoft might bring more settings in here later on.
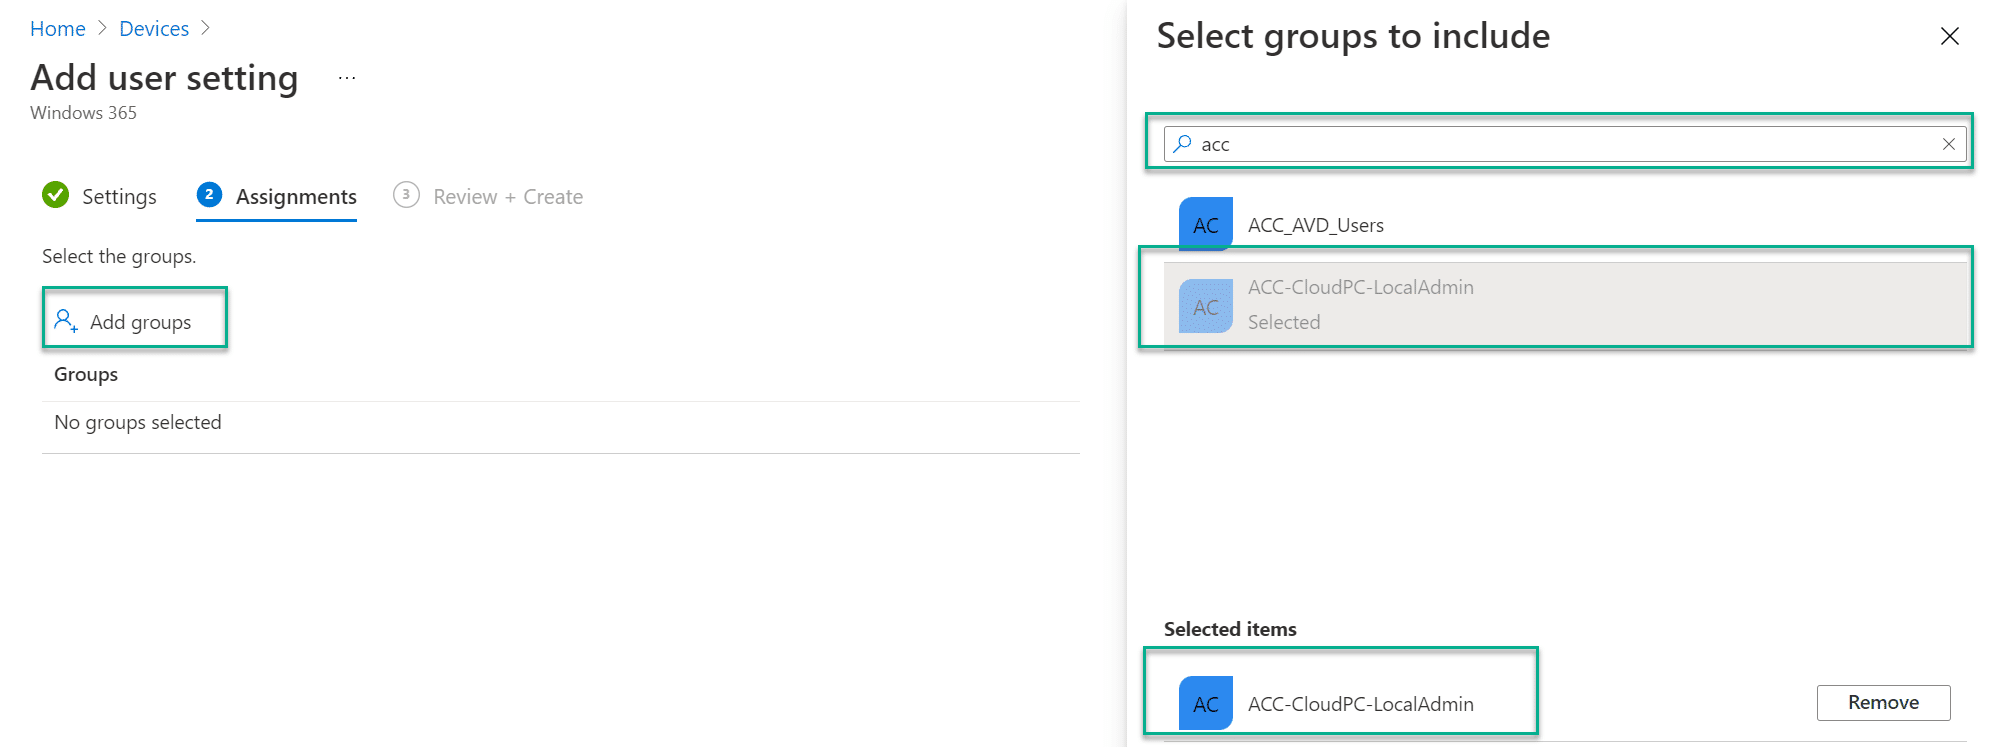
I then select the group I want to be allowed to be local admins. As I have shown in the picture below, click on “Add groups,” then search for the group you want and click on it. In my case, the group is called “ACC-CloudPC-LocalAdmin.”
Again I can review the settings before I click on “Create.”
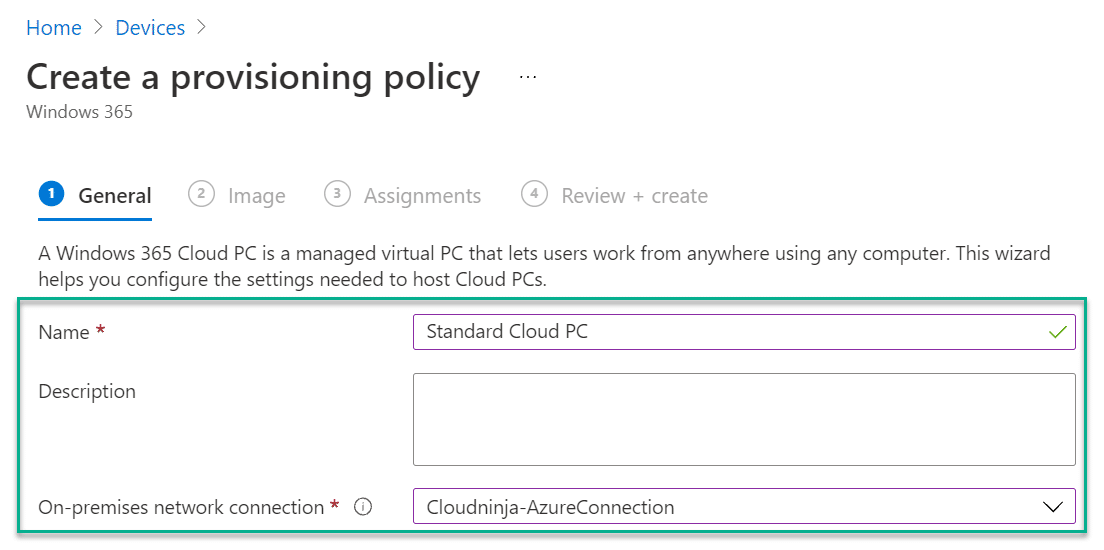
The last piece in this guide is to create the provisioning policy, so I click on “Provisioning policies” and then on “Crete policy.”

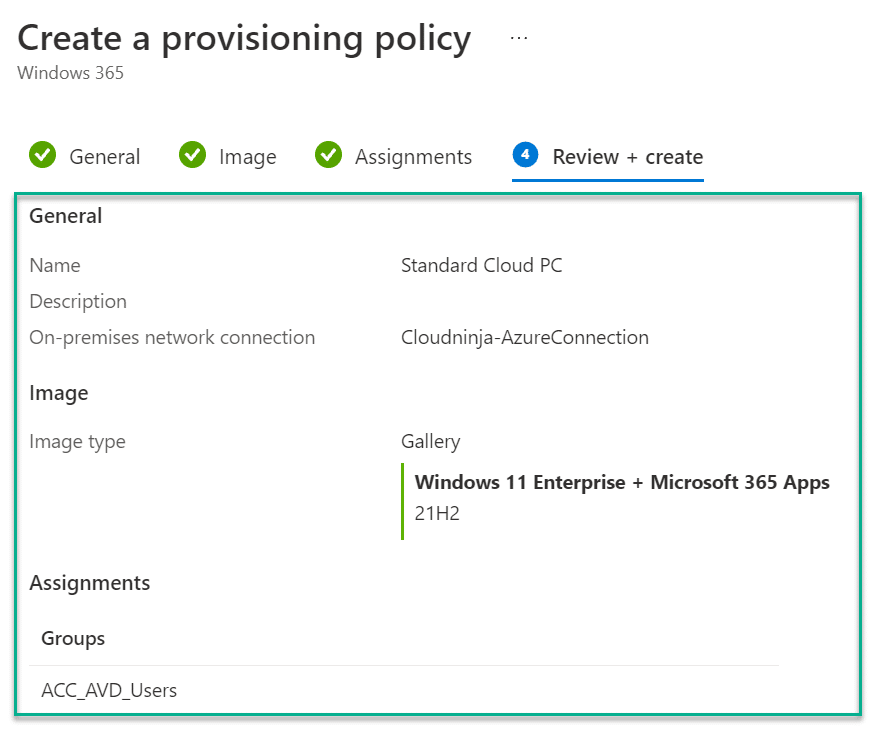
I provide a name for my policy and choose which on-premises network connection policy I want to use. In my case, I have named it “Standard Cloud PC” and selected the network policy that I created earlier.
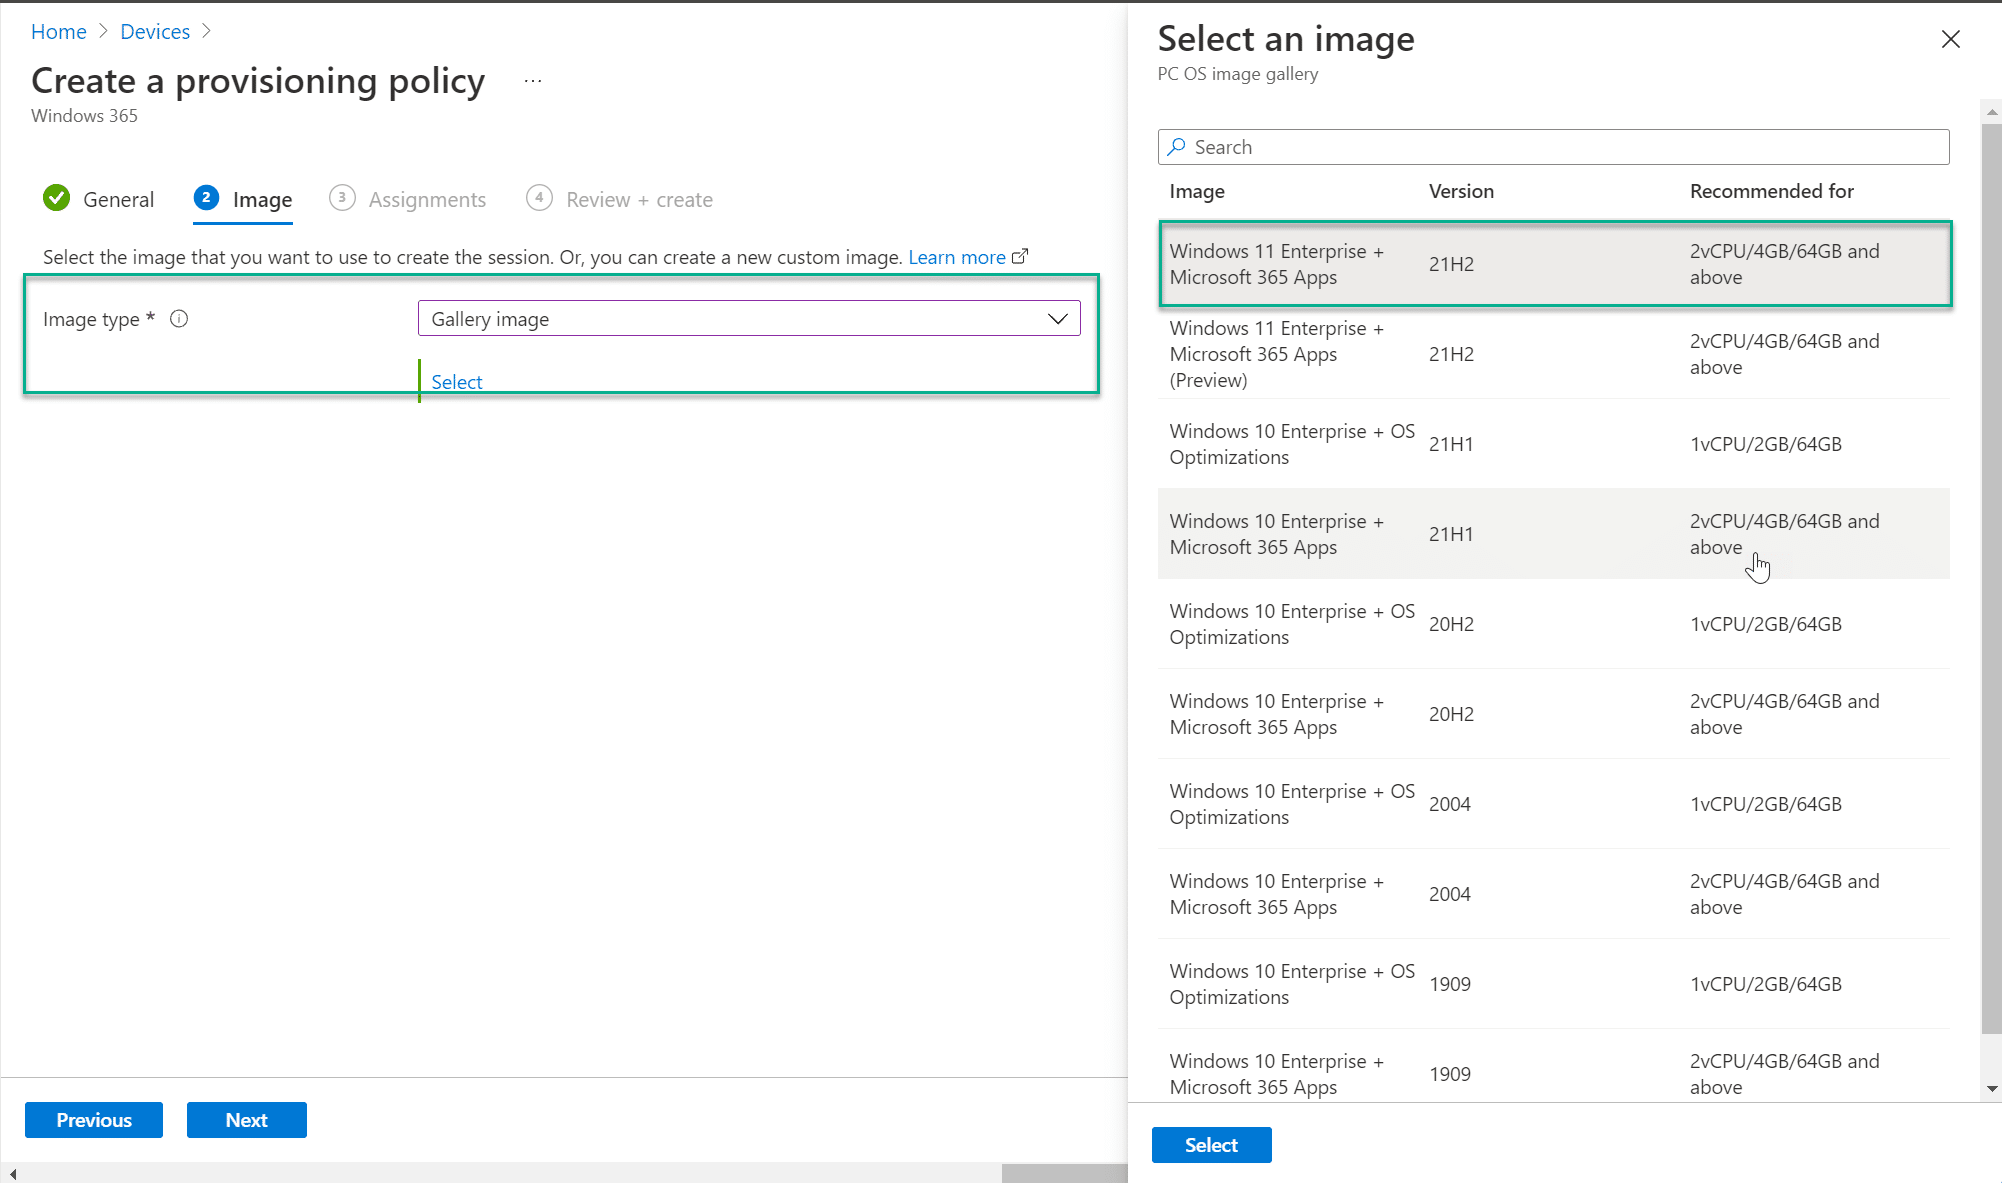
I can choose either a Microsoft-provided image or a custom image. In this case, I select a Microsoft-provided image with Windows 11 and Microsoft 365 applications.
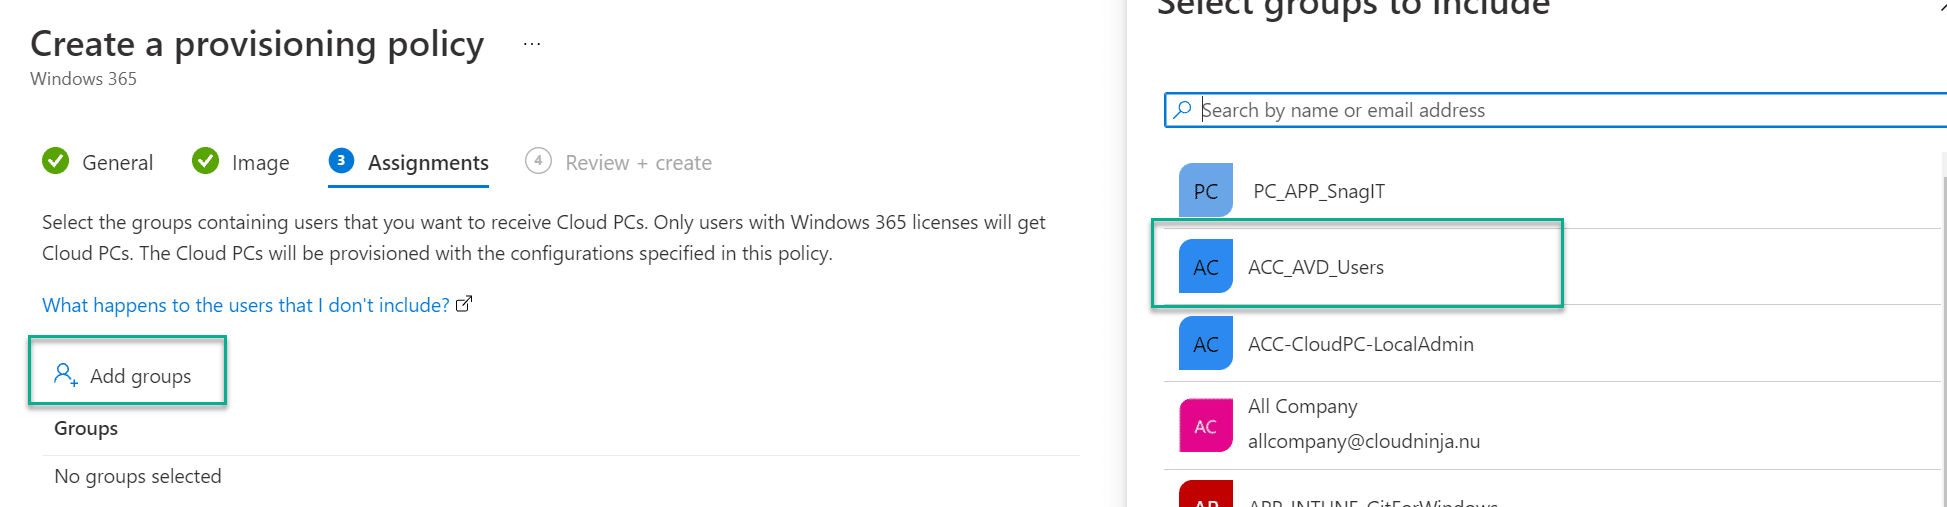
Now I will select which user group should be assigned this policy. I will assign it to my group called “ACC_AVD_Users.”
Finally, I can review my policy settings and click on “Create.”
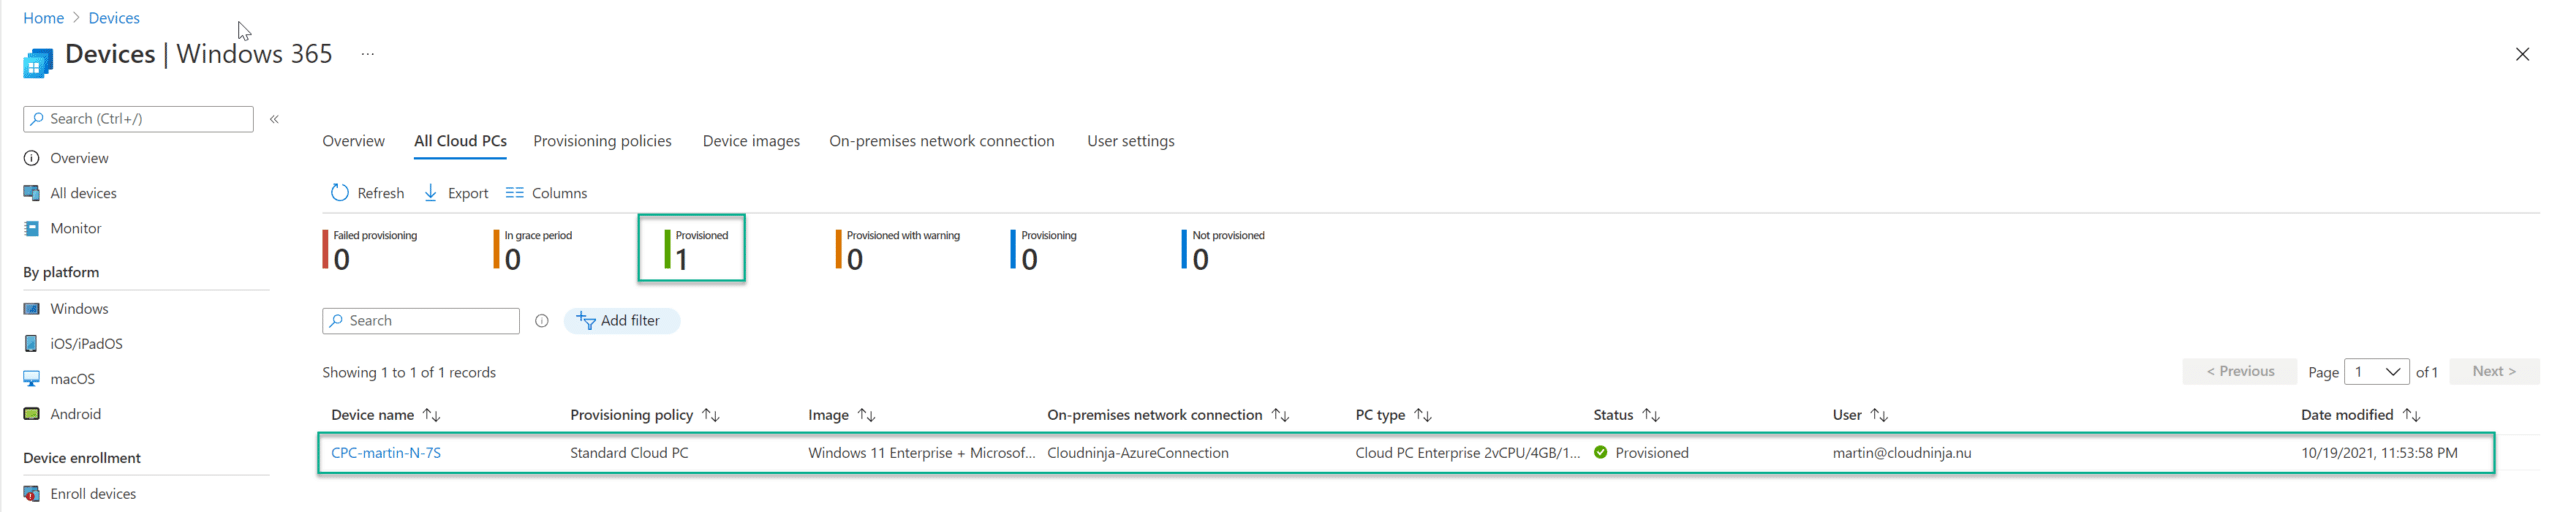
A new Cloud PC will now be provisioned to my user because I have a license and am a member of the group that provides the Cloud PC. In the picture below, I show the status after the provisioning is complete. Provisioning the Cloud PC will take about one hour.
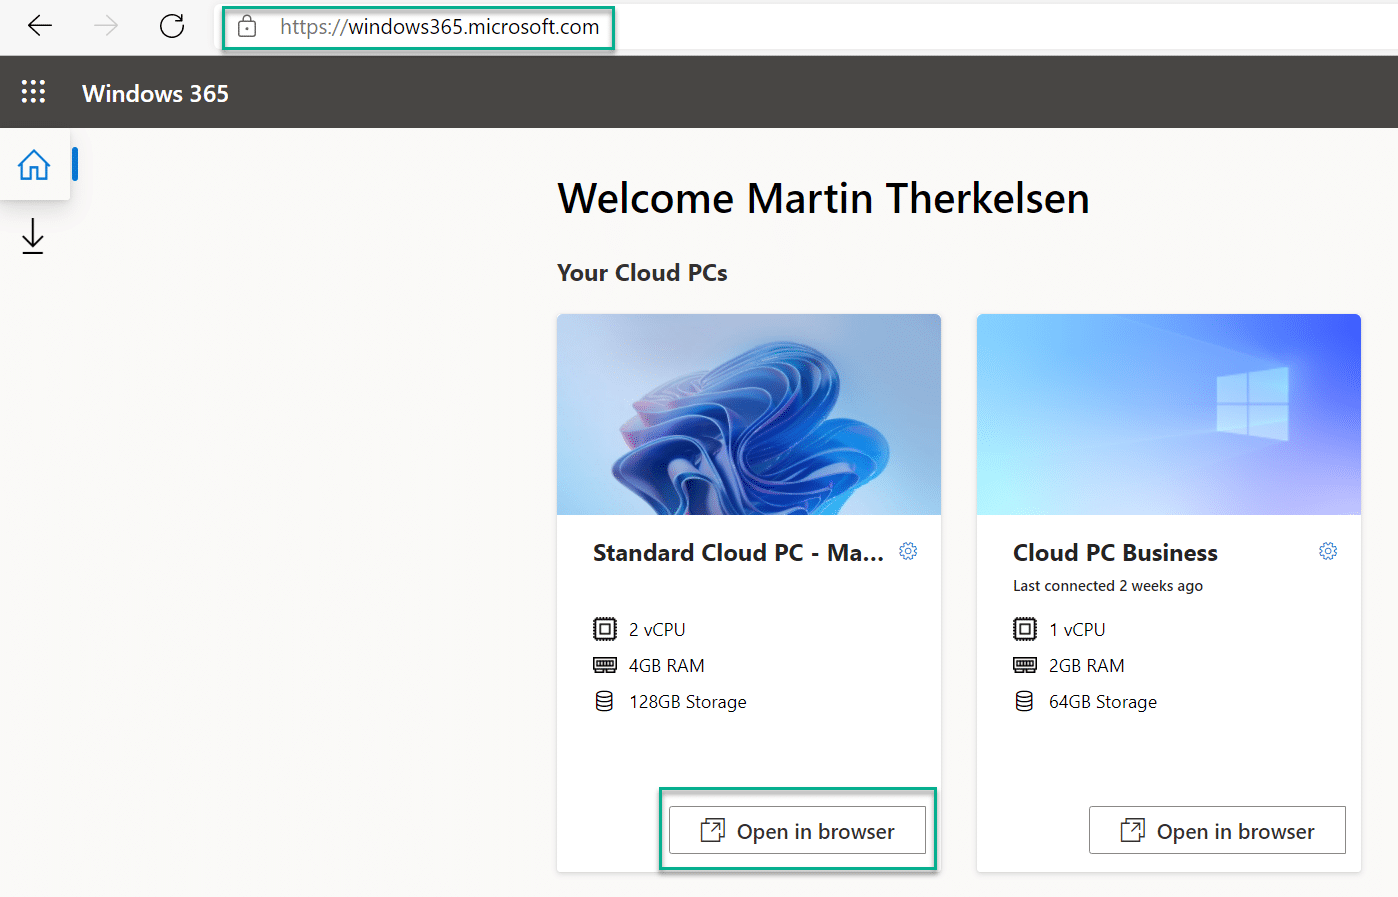
With my Cloud PC up and running, I can now go to https://windows365.microsoft.com and log into my new device. I can click on “Open in browser” or download the remote desktop client and use that instead.
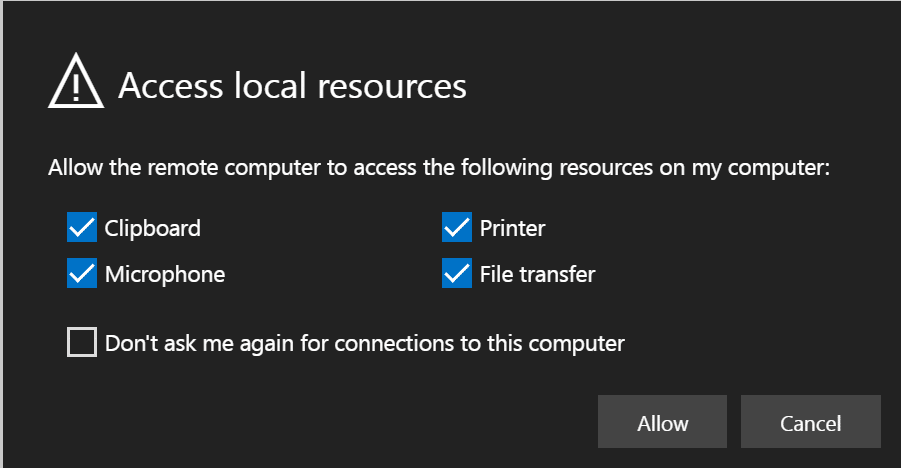
I allow the redirection, but it is up to you if you want to do the same.
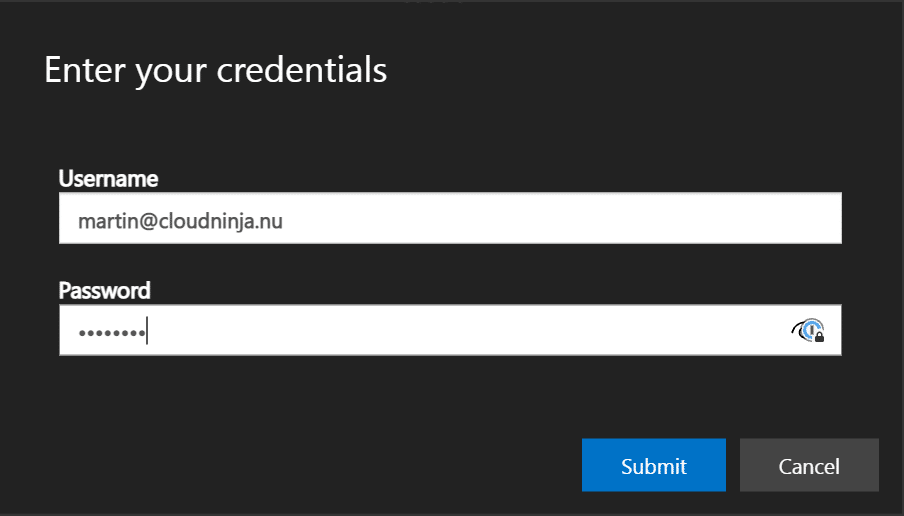
I fill in my password again and click on “Submit.”
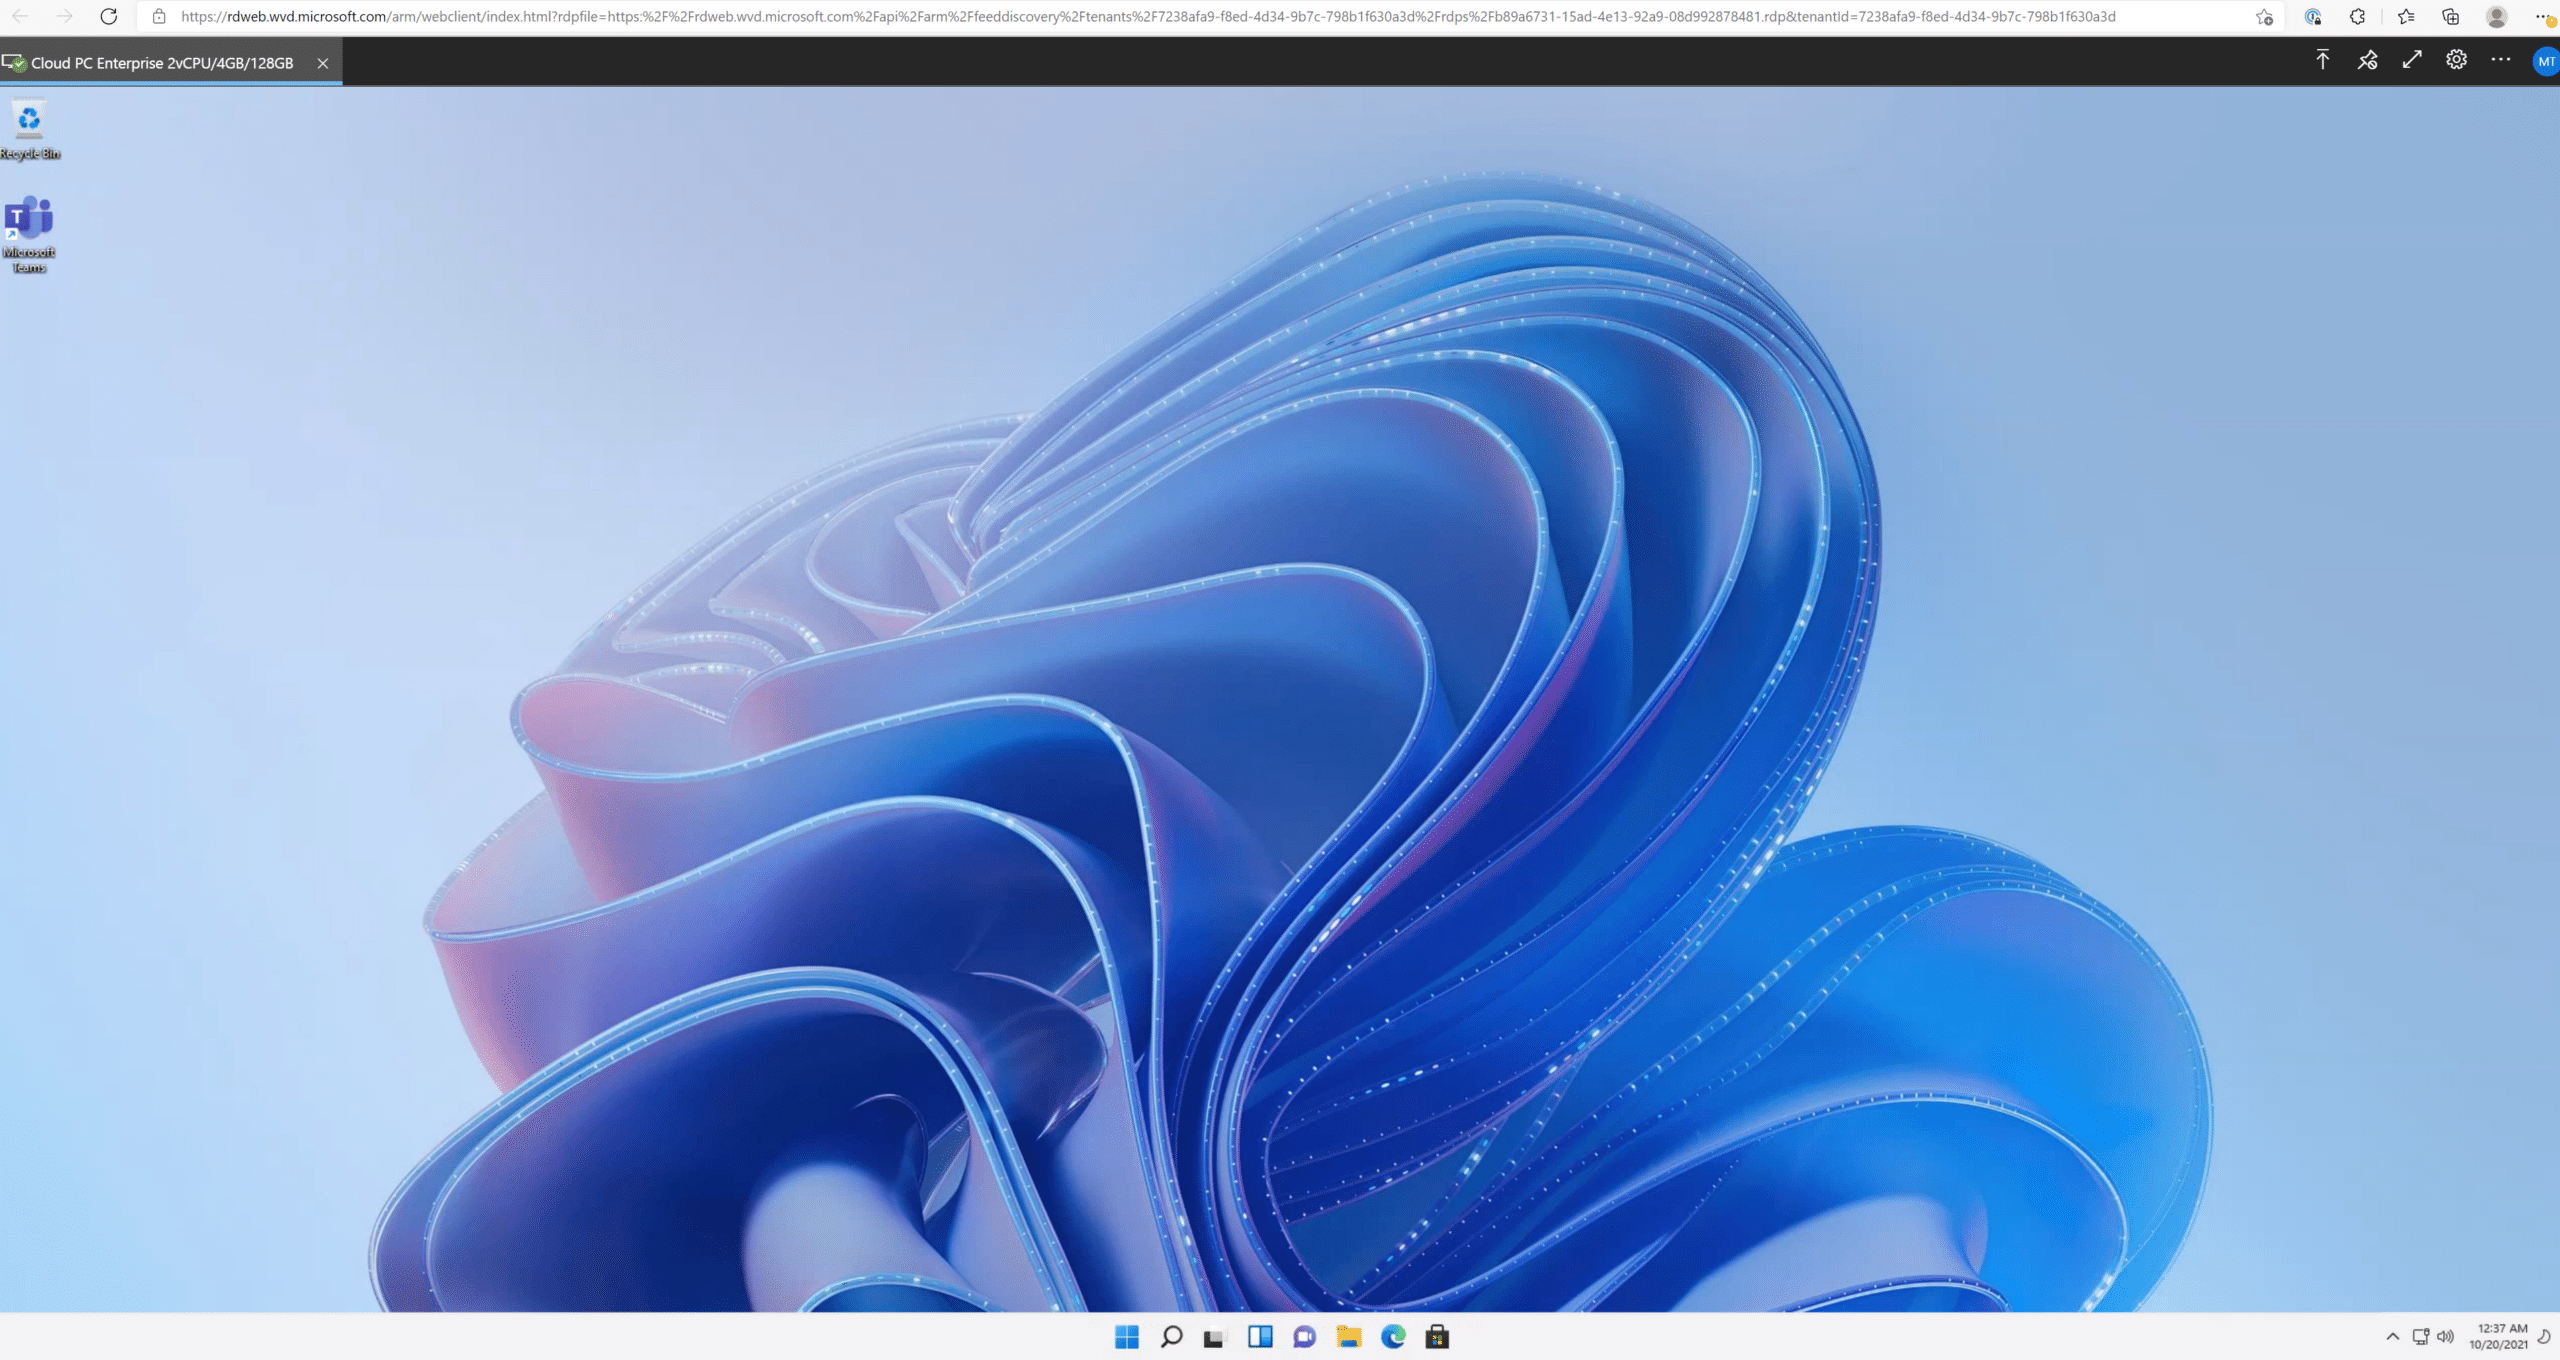
As you can see, I now have a clean new Windows 11 up and running in the cloud. The great part is that I can connect to this Cloud PC from any device, so Mac, iPad, iPhone, Android, PC, etc. it all works and lets me keep a running VM that contains the work I do accessible to me no matter where I am and which device I have at my disposal.
I hope you have found this small guide helpful, and if you have any questions, feel free to reach out to me here on the site or Twitter.