Intro
In this post, I want to show you how to deploy a .Net 6.0 website to Azure using Azure DevOps. I will create a demo website in Visual Studio using the Microsoft provided templates and publish the website to Azure using a pipeline.
Workflow
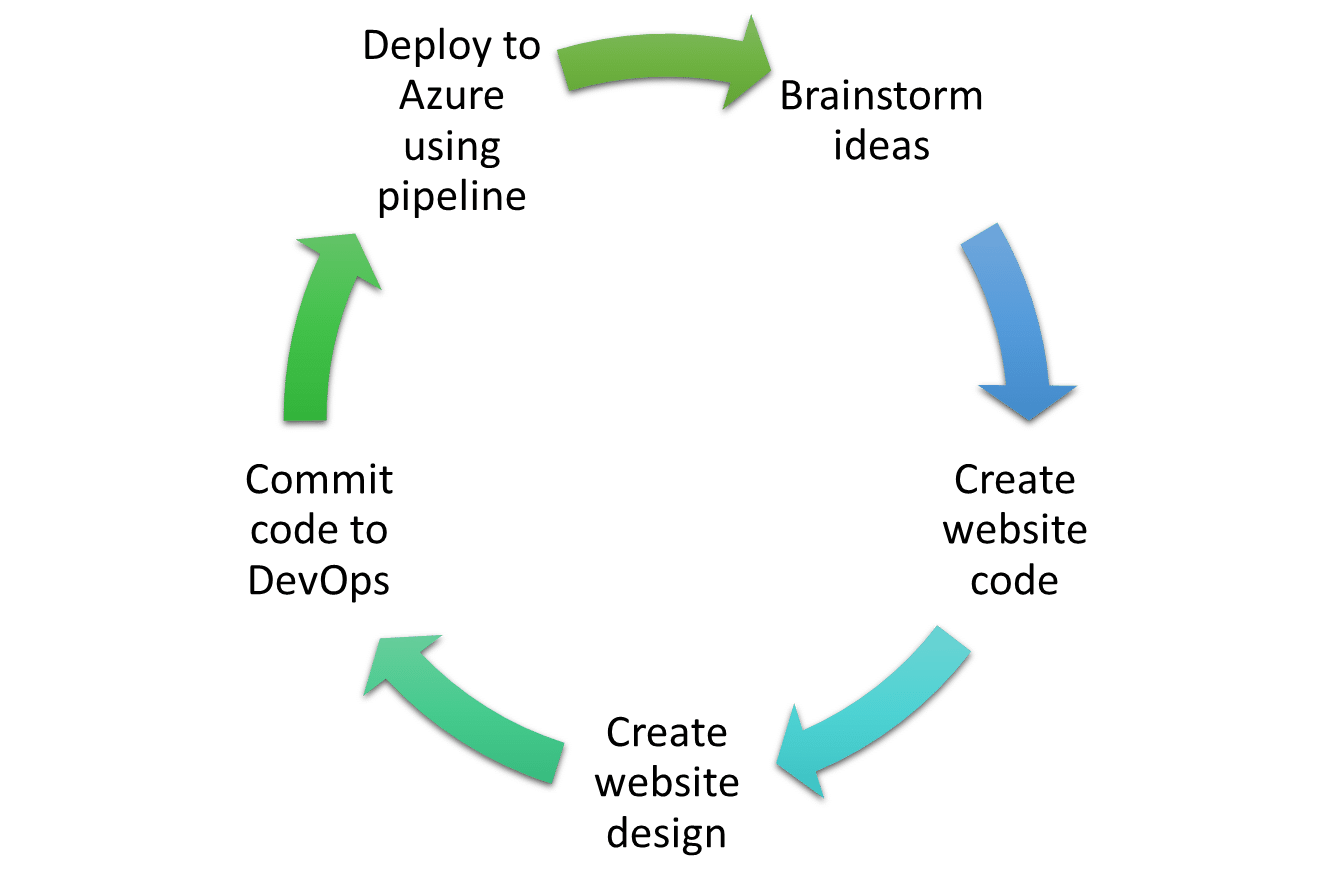
The flow for the demo website is simple. I update text on the website and commit the code to an Azure DevOps repository. From Azure DevOps, I can use the repository in a pipeline to deploy the code to Azure. The workflow would be a continuous effort for a production website, so deployment can often happen with new ideas getting into production fast and effortlessly.
Create Visual Studio project
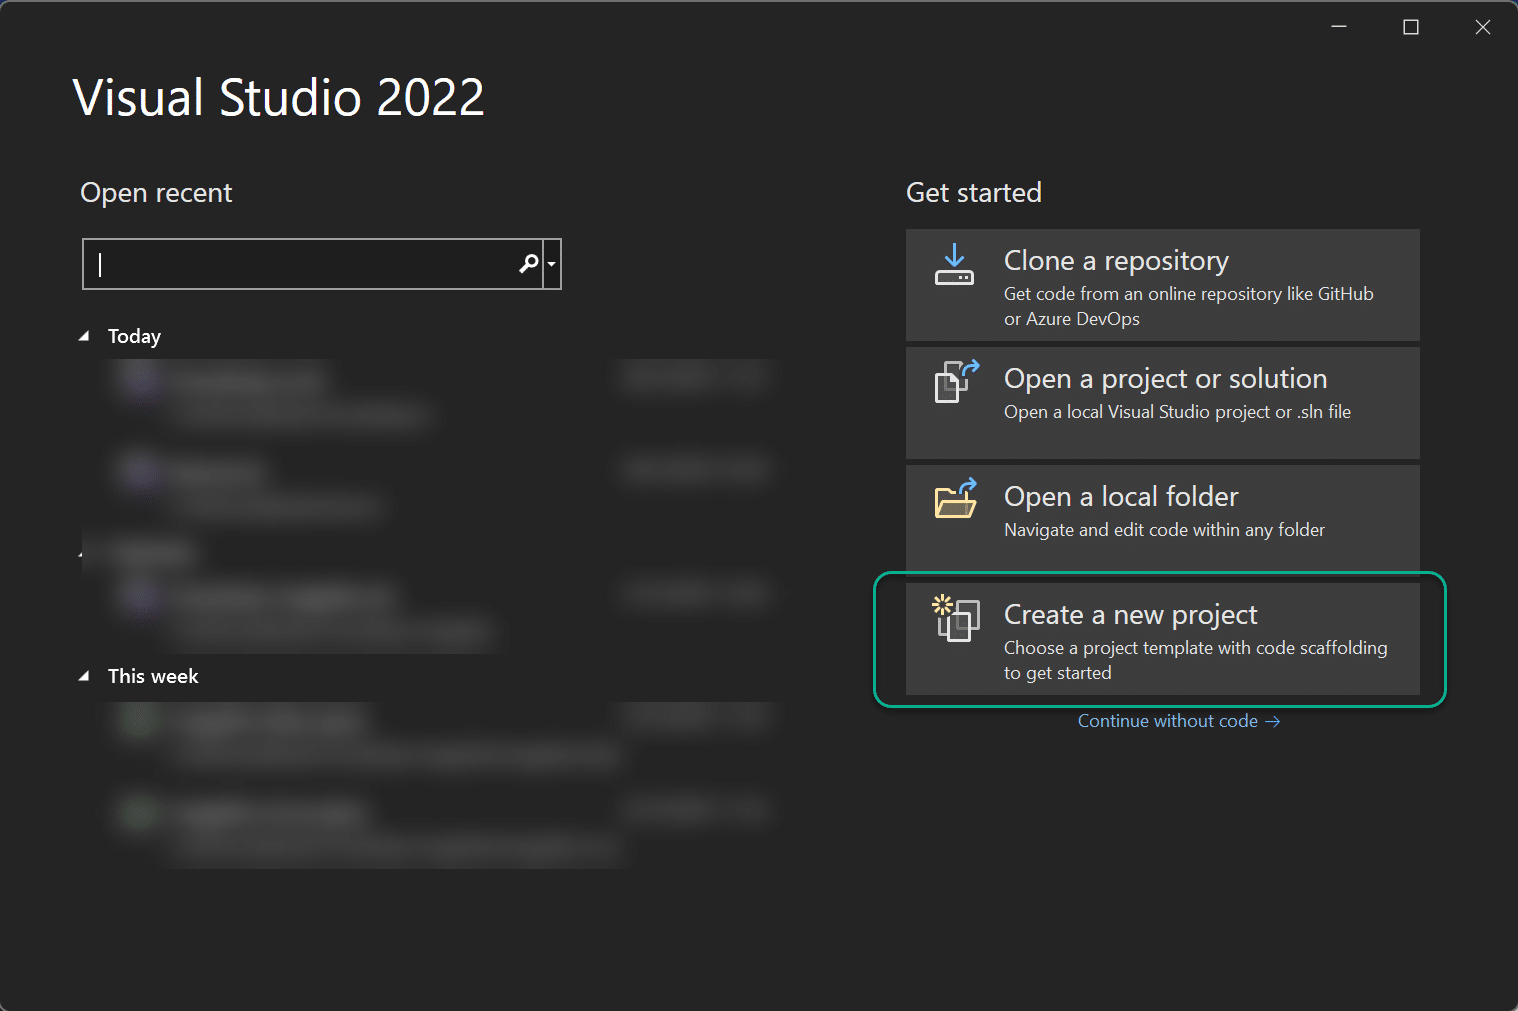
I launch Visual Studio (VS) 2022 and select “Create a new project.”
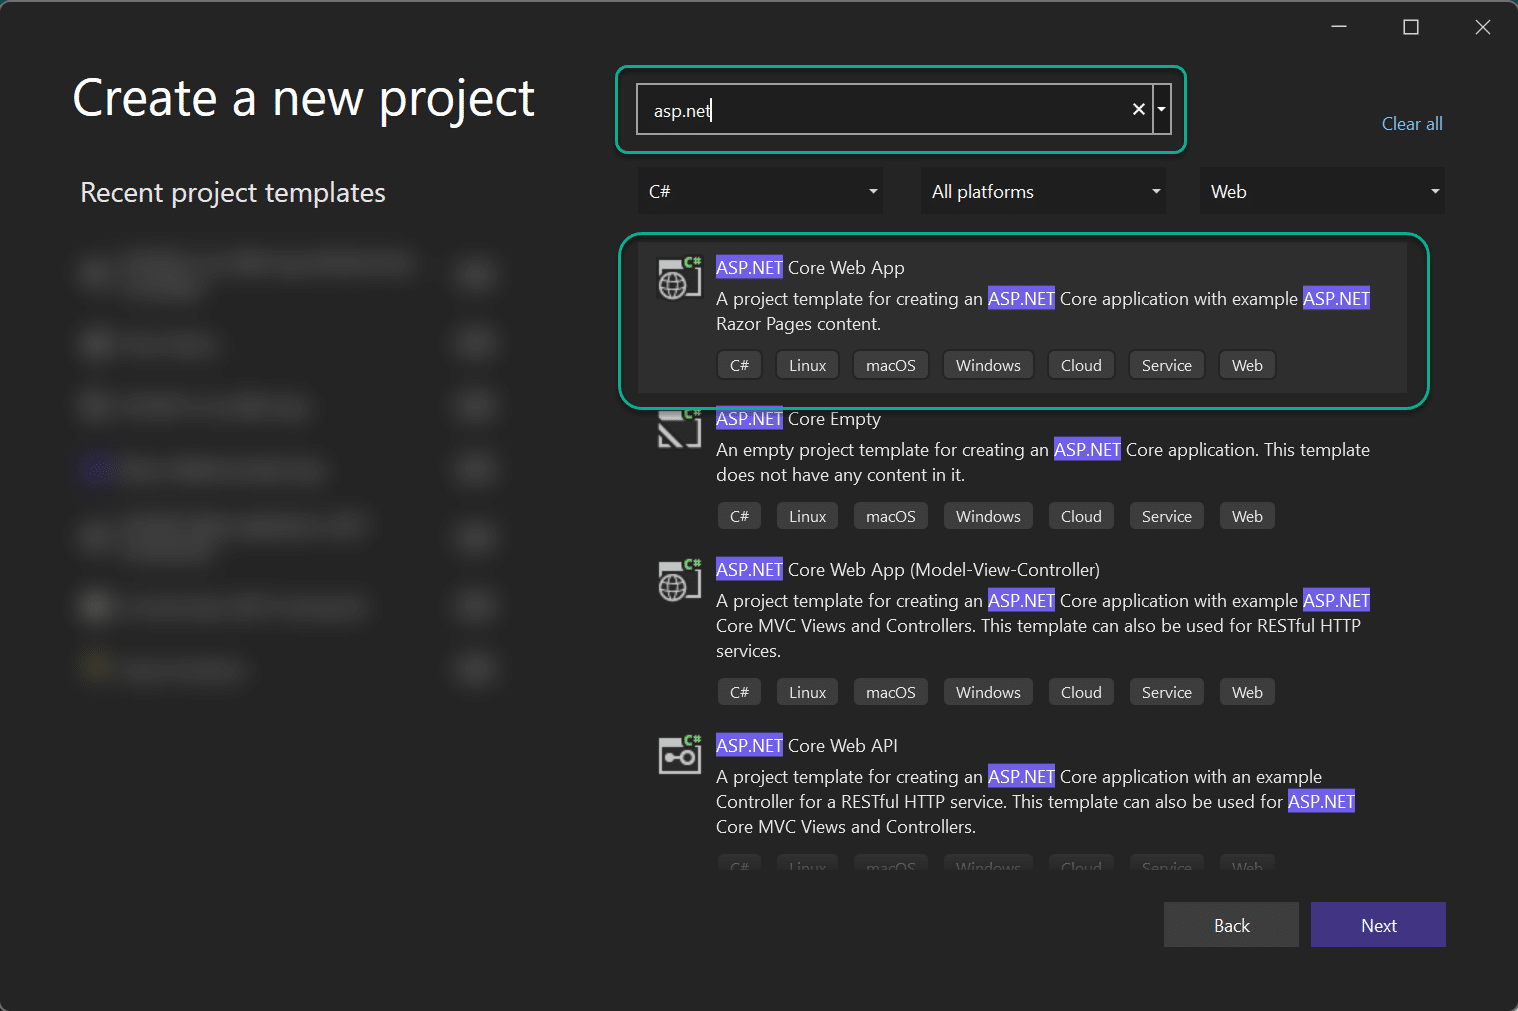
I search for “asp.net” and select the “ASP.NET Core Web App” template.
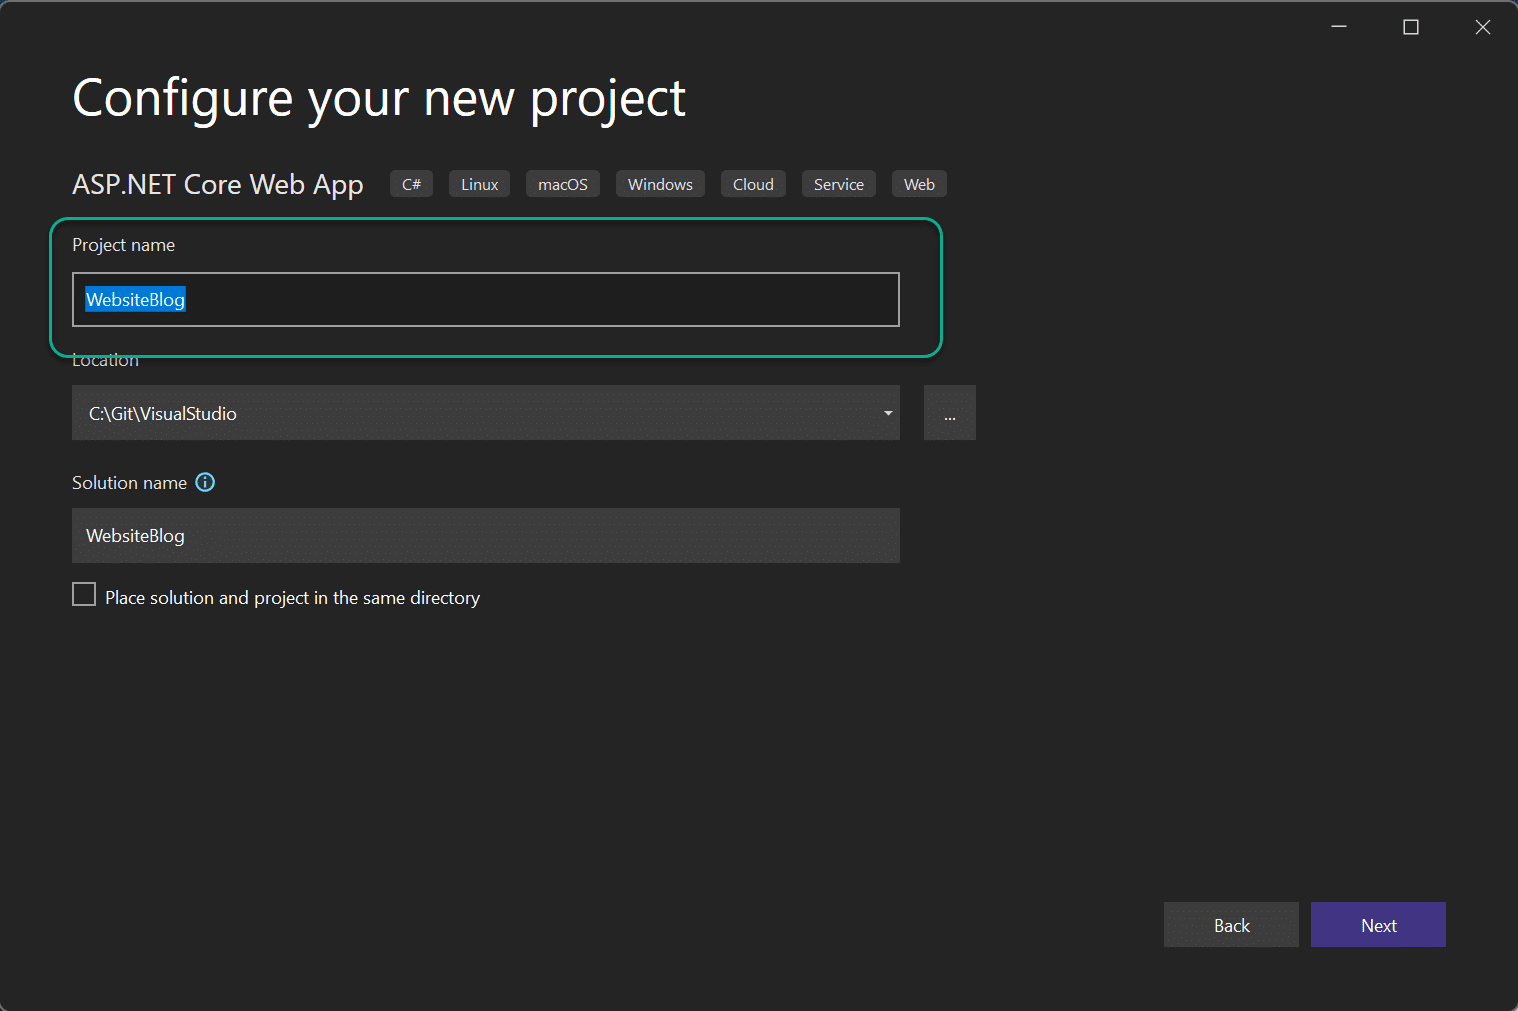
I will name my project “WebsiteBlog.”
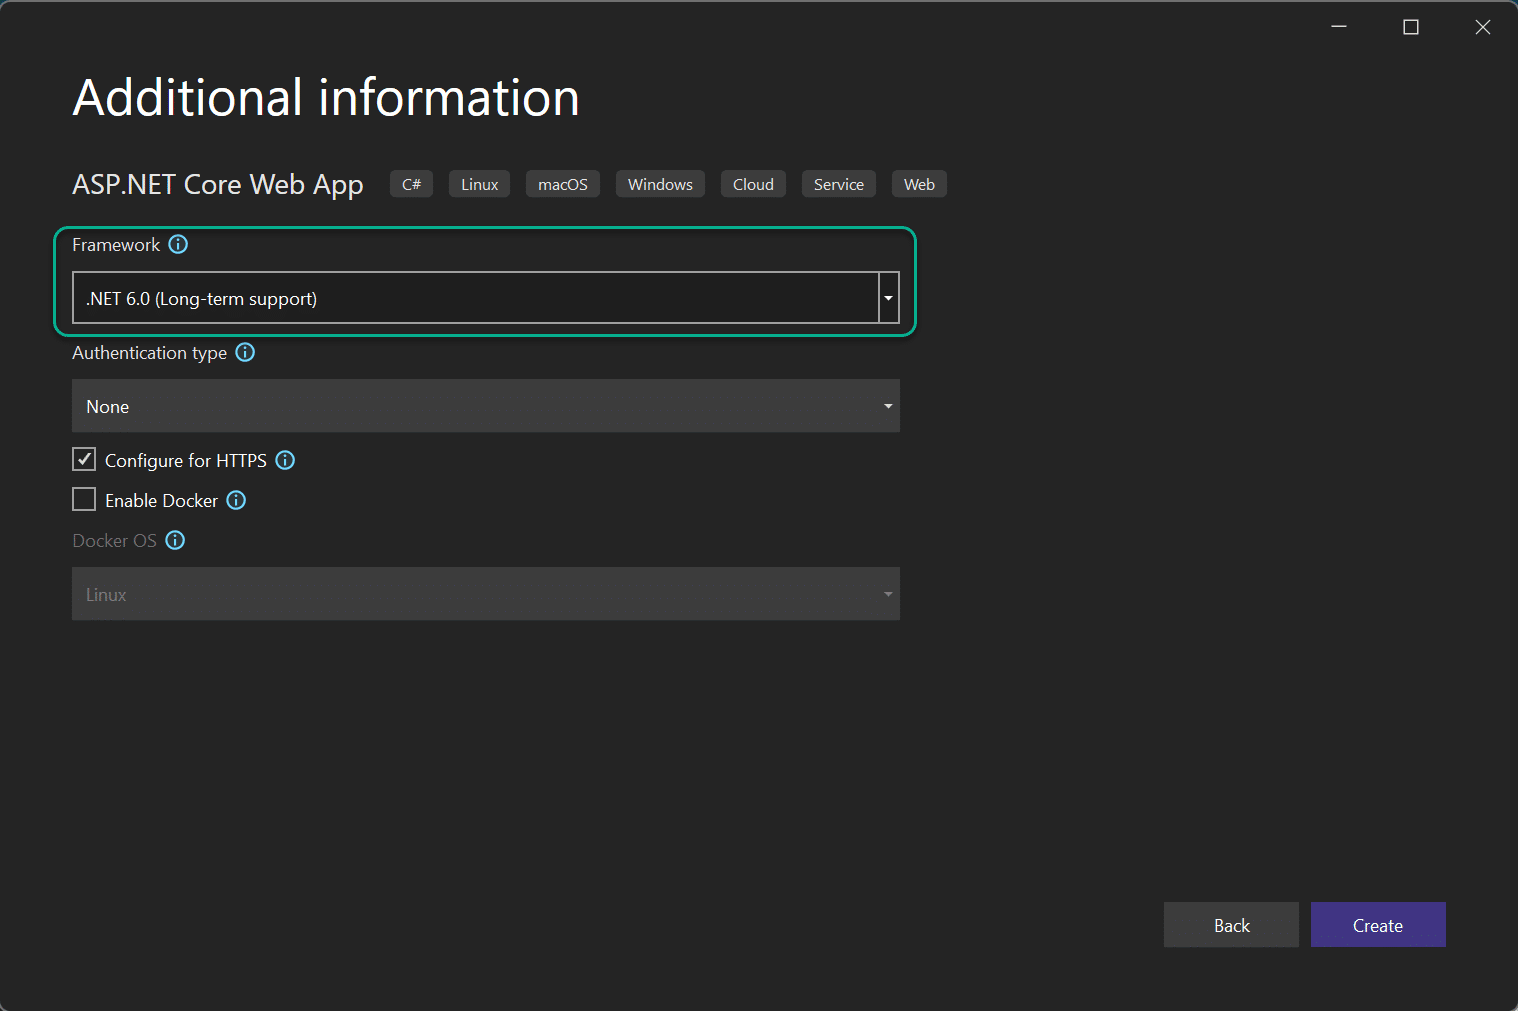
I will select “.NET 6.0” for this project and leave the rest as default.
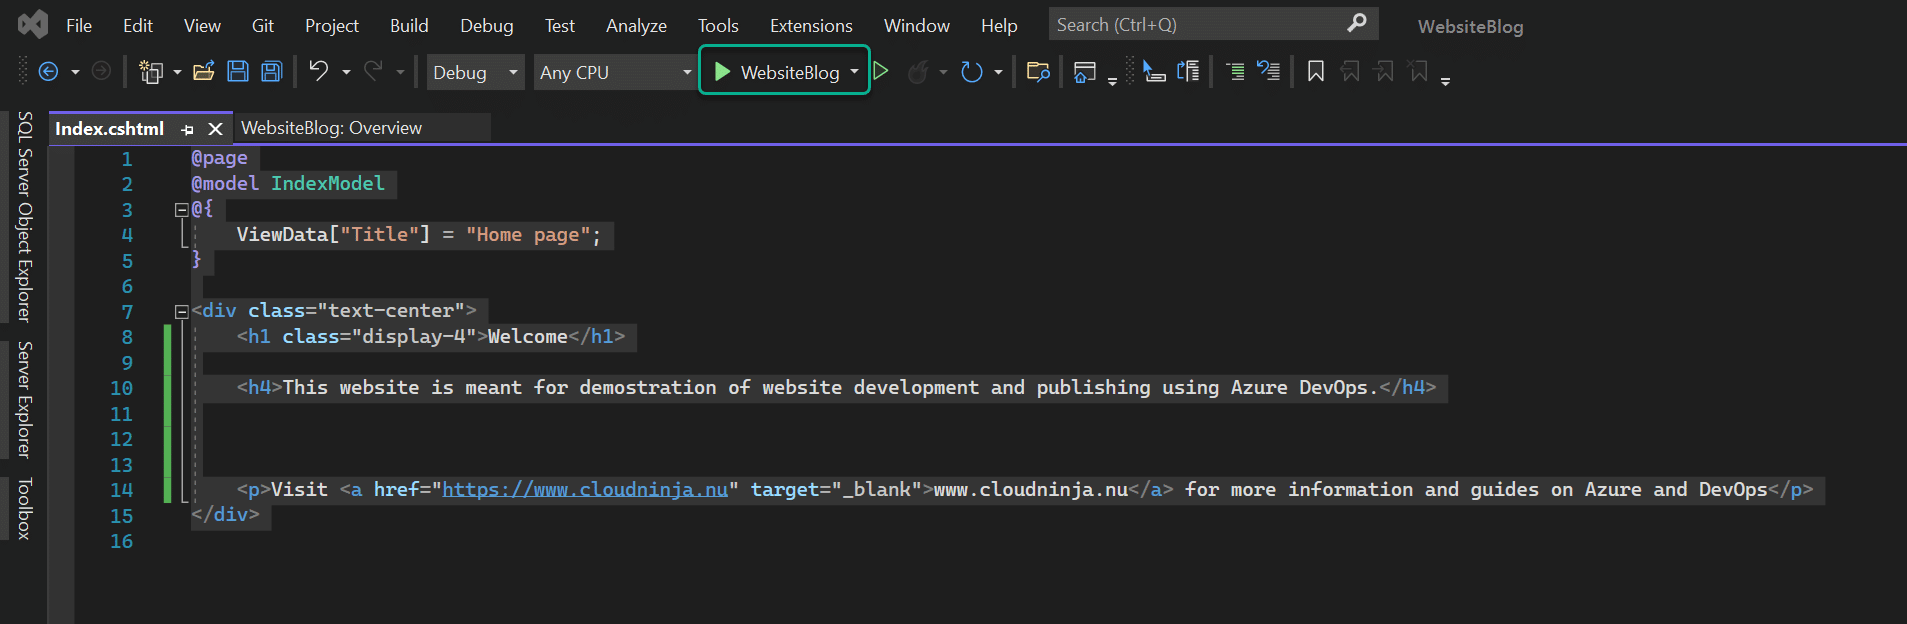
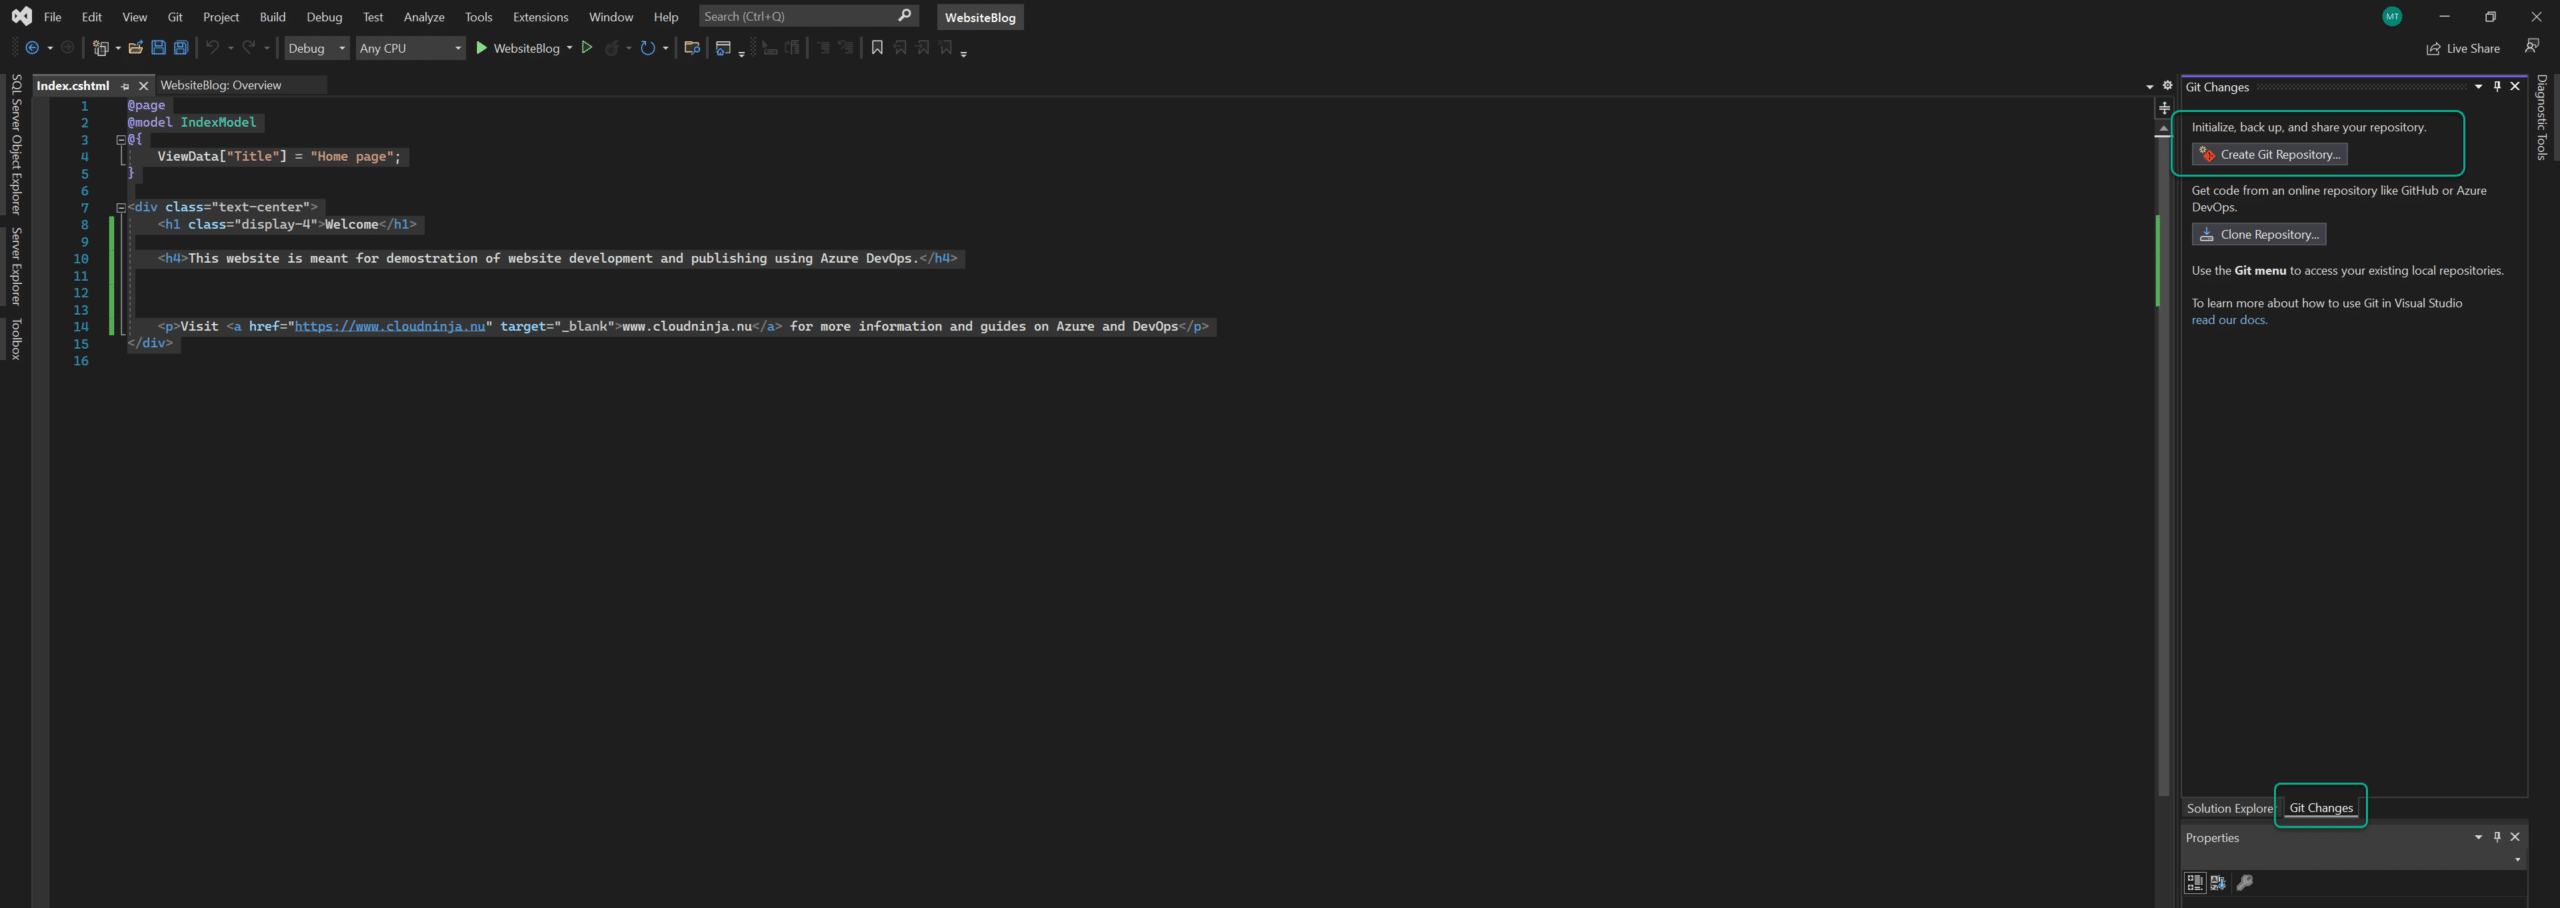
I will modify the index.cshtml file to add some custom content. The file is in the “Pages” folder.
@page
@model IndexModel
@{
    ViewData\["Title"\] = "Home page";
}

<div class="text-center">
    <h1 class="display-4">Welcome</h1>

    <h4>This website is meant for demostration of website development and publishing using Azure DevOps.</h4>

    <p>Visit <a href="" target="\_blank">www.cloudninja.nu</a> for more information and guides on Azure and DevOps</p>
</div>
I click on the “WebsiteBlog” play button to test my code.
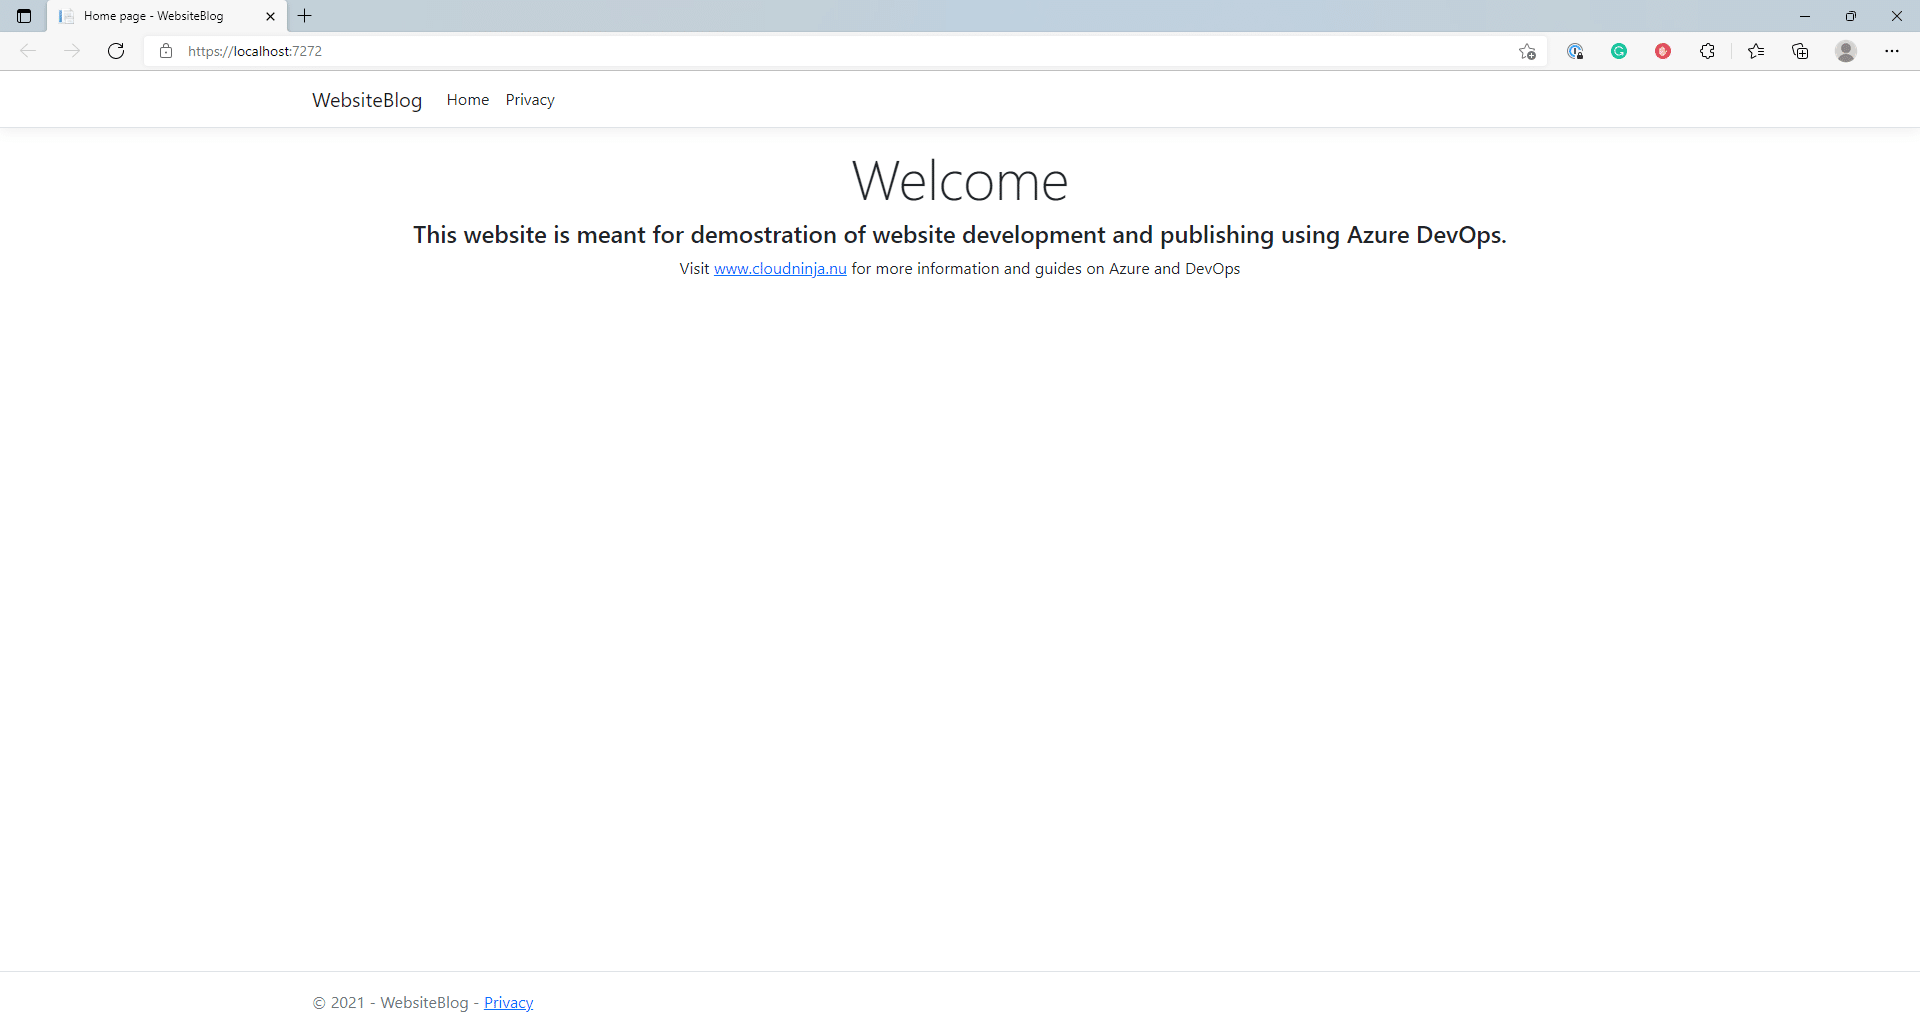
As shown below, my page is rendering just fine with the slight change I made.
Add code to Azure DevOps
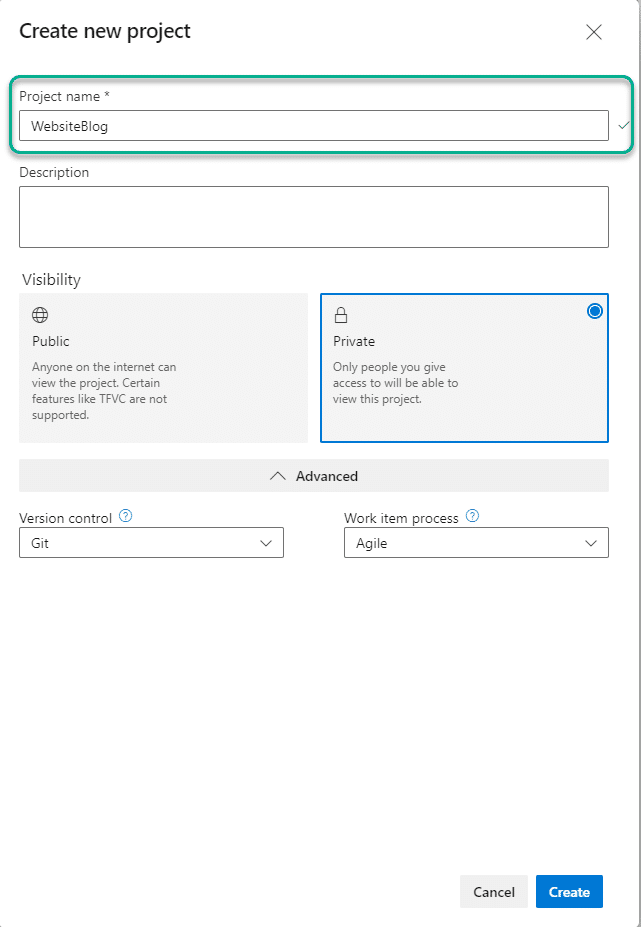
In Azure DevOps, I will create a new project.

I will name the project “WebsiteBlog” and click “Create.”
I am now ready to push the code from VS into Azure DevOps. I can do this from VS by clicking on “Git Changes” and then “Create Git Repository.”
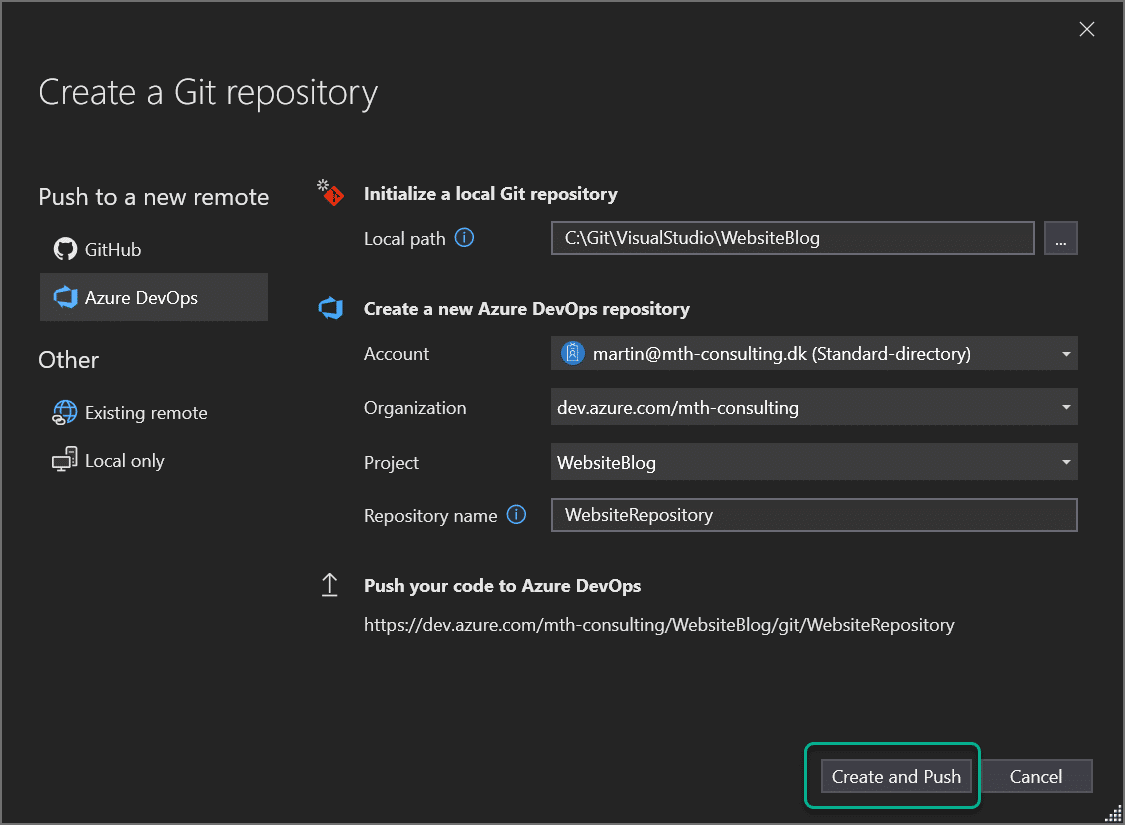
I select “Azure DevOps” and set my account and project. I can provide a name for the repository. I have named it “WebsiteRepository.”

If you haven’t added your DevOps account already, you can do so in the dropdown menu and click “Microsoft - Work, school or personal account.”
I will click on “Create and Push” to make the first push to Azure DevOps.
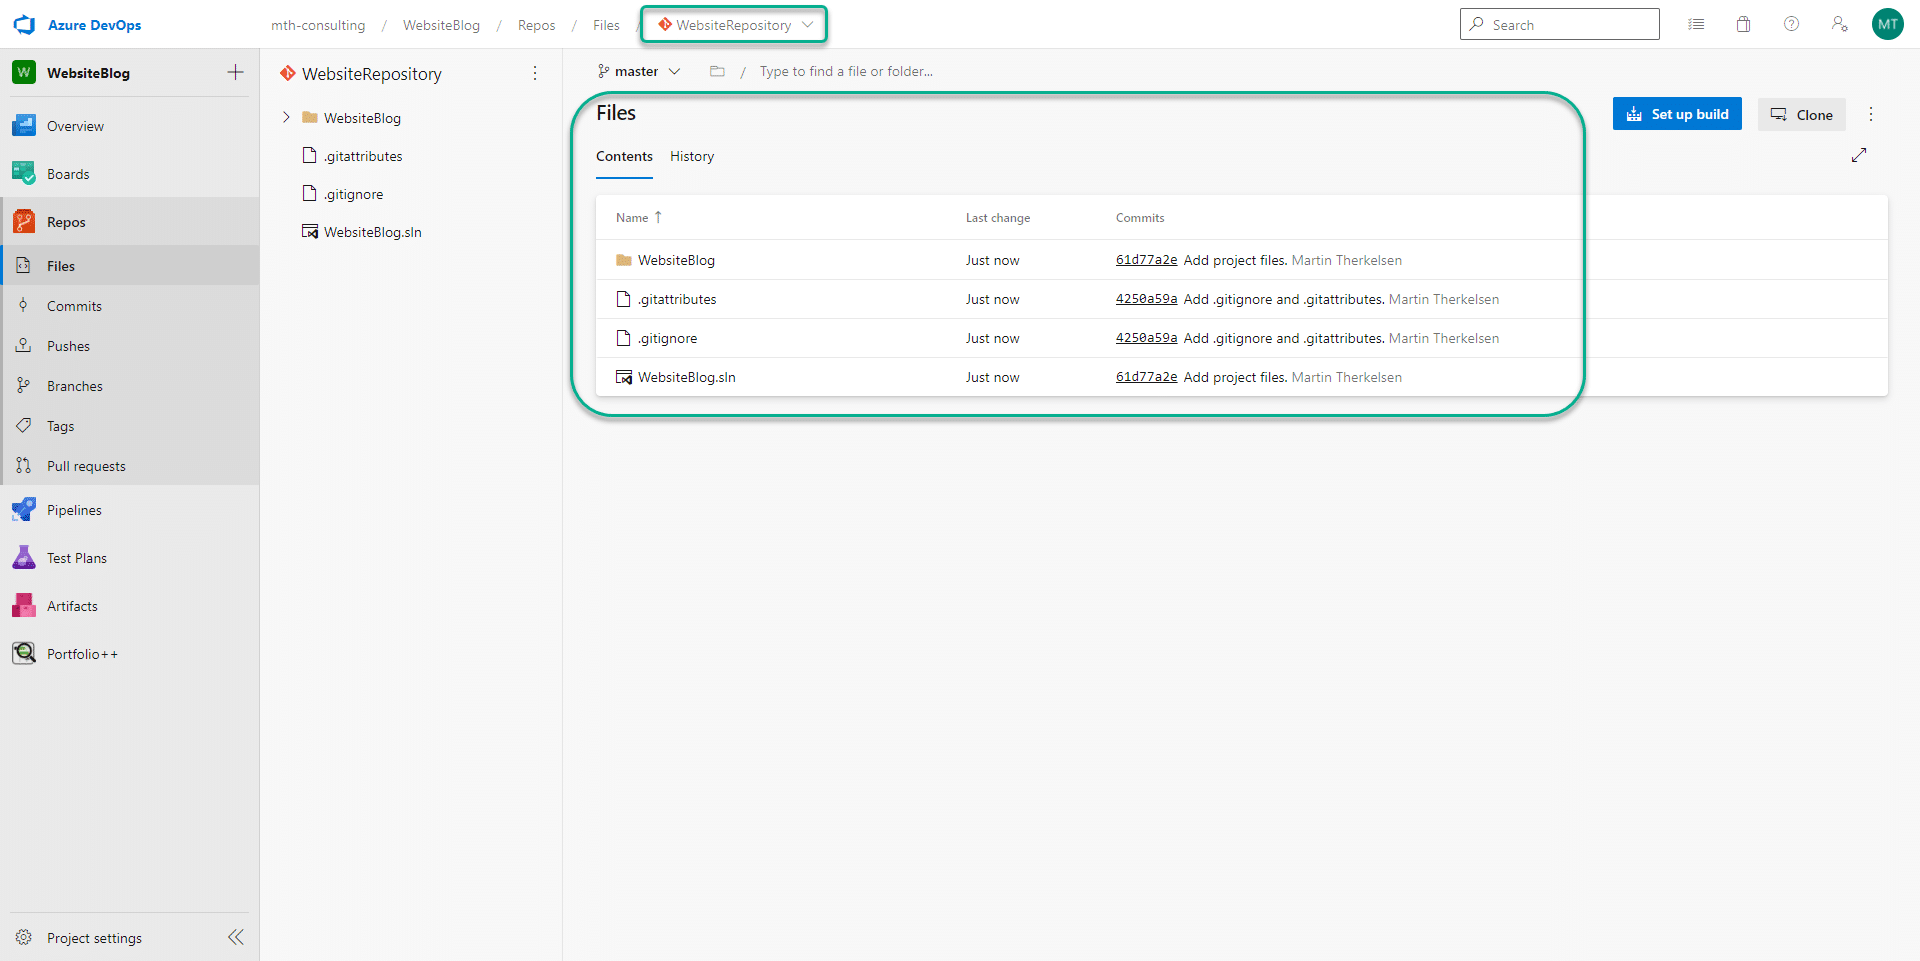
I can now verify that my code is present in Azure DevOps. Remember to select the new repository at the top of the page.
Create build pipeline
I am using .NET 6 in this demo, and there isn’t any standard task in Azure DevOps for deploying this yet. It is possible to modify the Azure Website deployment to deploy our code. Let us take a look at that now.
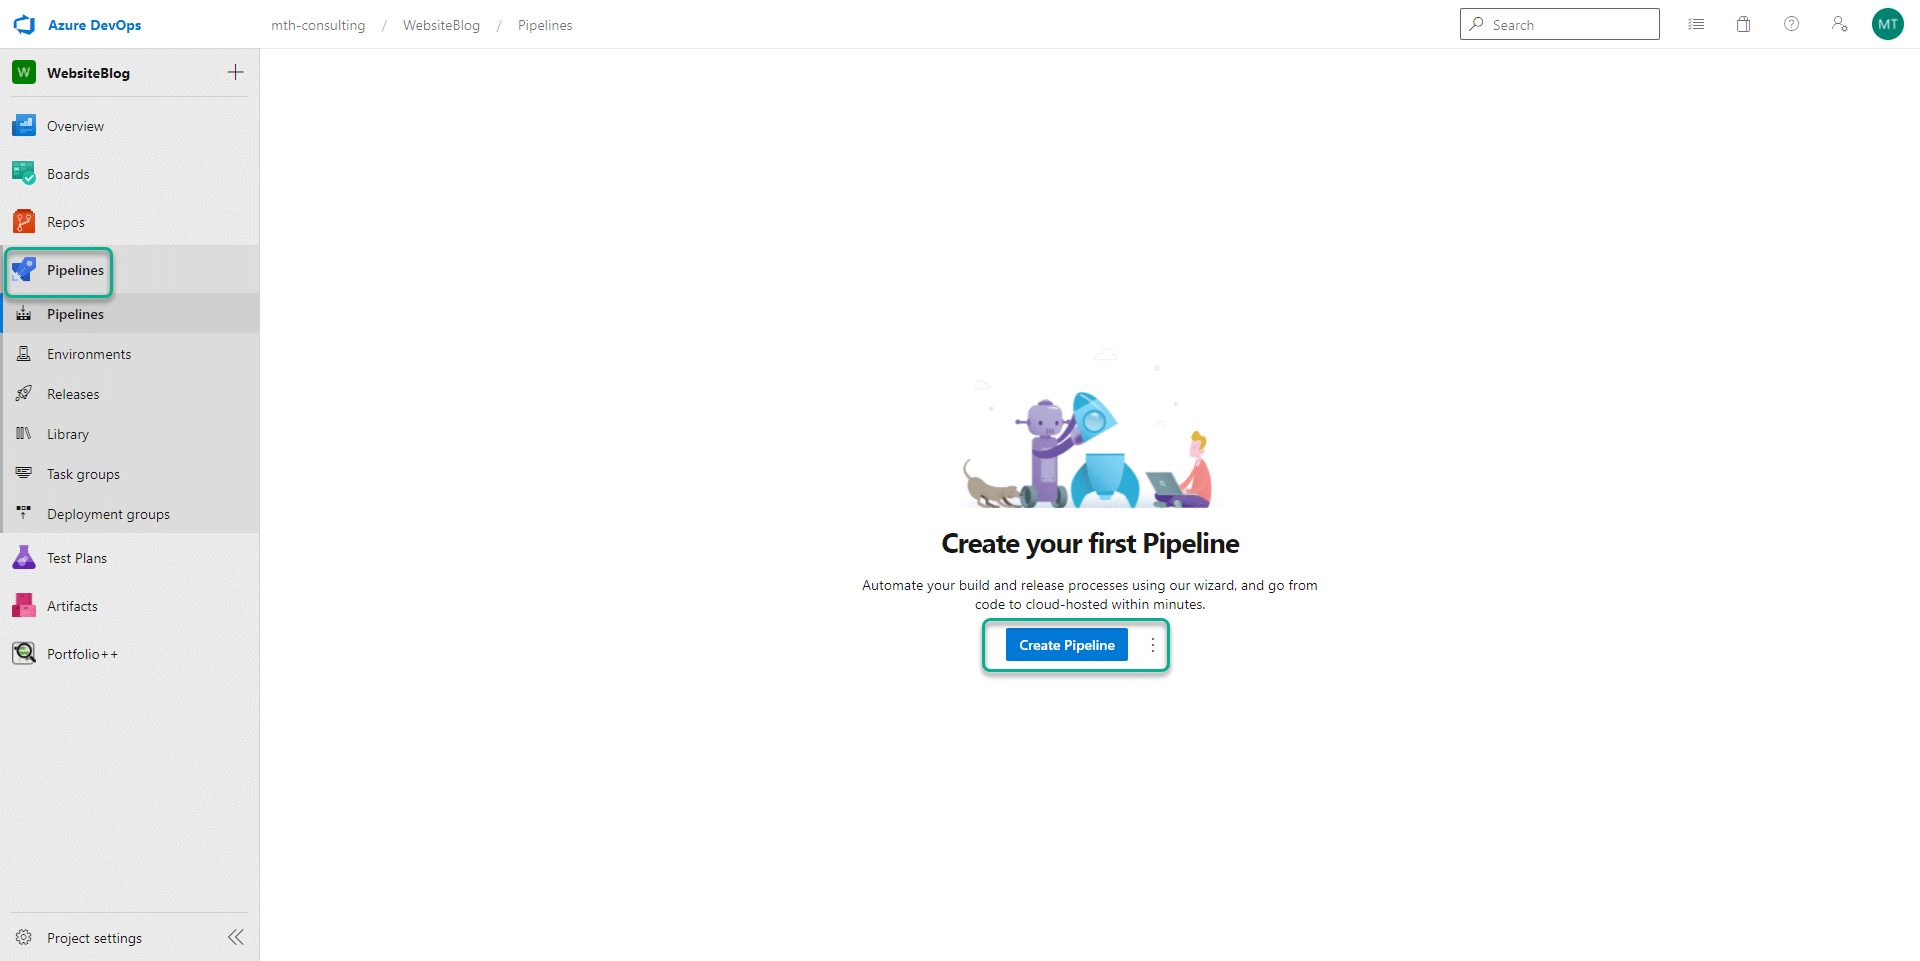
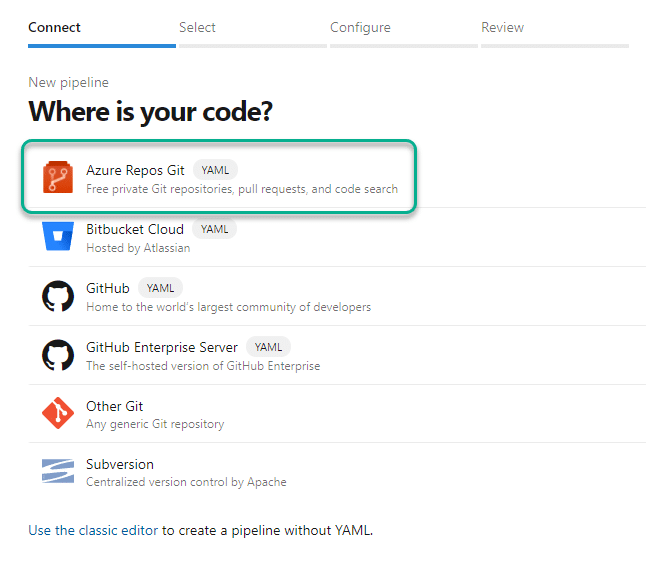
I will be using the YAML-based deployment pipeline in this demo. I created my service connection to Azure, so please make it before moving on with the pipeline if you haven’t done that yet. To create the pipeline, click on “Pipelines” and then “Create Pipeline.”
I select “Azure Repos Git” as the location of my code.
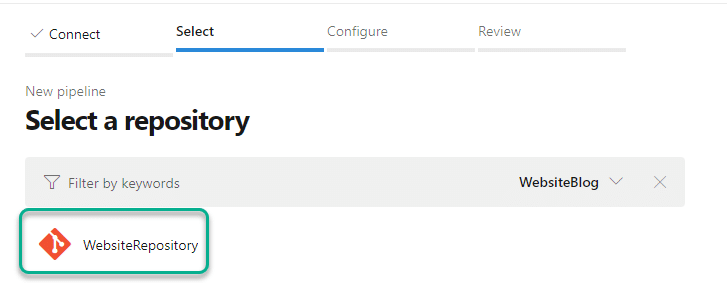
I select my repository.
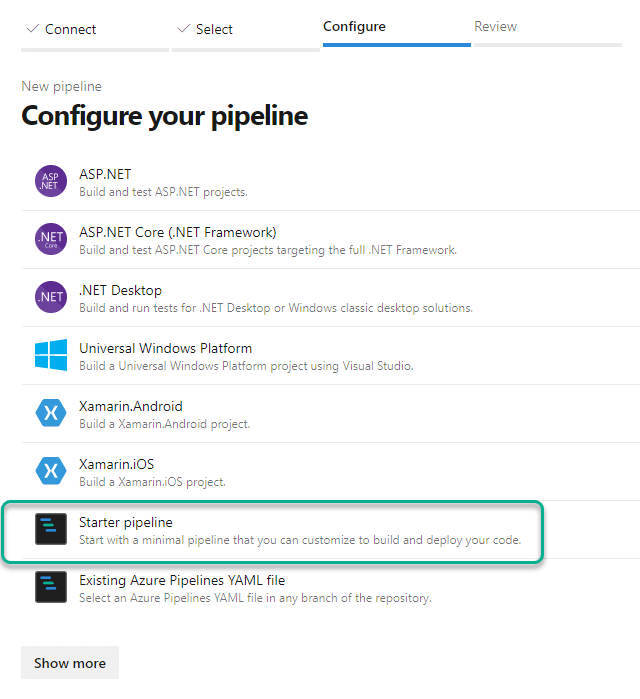
I will use the “Starter pipeline.”
I will replace the code in the starter pipeline with the code below.
trigger:
- master

pool:
  vmImage: 'ubuntu-latest'

variables:
  solution: '\*\*/\*.sln'
  buildPlatform: 'Any CPU'
  buildConfiguration: 'Release'
  dotNetFramework: 'net6.0'
  dotNetVersion: '6.0.x'
  targetRuntime: 'win-x86'

steps:
# Set .NET version
- task: UseDotNet@2
  displayName: "Set .NET version"
  inputs:
    version: $(dotNetVersion)
    includePreviewVersions: true

# Build website with .NET 6
- script: dotnet build --configuration $(buildConfiguration)
  displayName: 'Build website'

# Publish website with .NET 6
- task: DotNetCoreCLI@2
  displayName: "Publish website"
  inputs:
    command: publish
    publishWebProjects: True
    arguments: '--configuration $(BuildConfiguration) --framework $(dotNetFramework) --runtime $(targetRuntime) --output $(Build.ArtifactStagingDirectory)'
    zipAfterPublish: True

# Deploy website to Azure
- task: AzureRmWebAppDeployment@4
  displayName: "Deploy website to Azure"
  inputs:
    ConnectionType: 'AzureRM'
    azureSubscription: 'Cloudninja-Azure'
    appType: 'webApp'
    WebAppName: 'WebsiteBlog'
    packageForLinux: '$(Build.ArtifactStagingDirectory)/\*\*/\*.zip'
Below is the pipeline result.
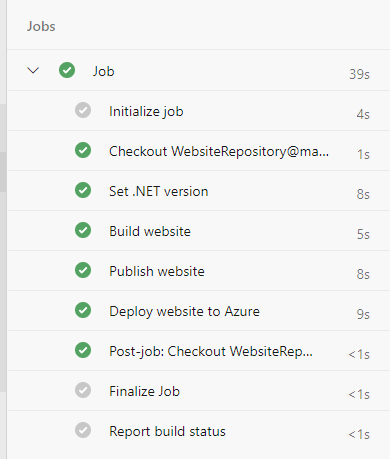
I now have the pipeline up and running, and with the current configuration, the pipeline will run on each commit to the “master” branch. If I go into VS again and change a few lines of code and commit, those changes will be in production a few minutes later, and I will get notified of a successful pipeline build.
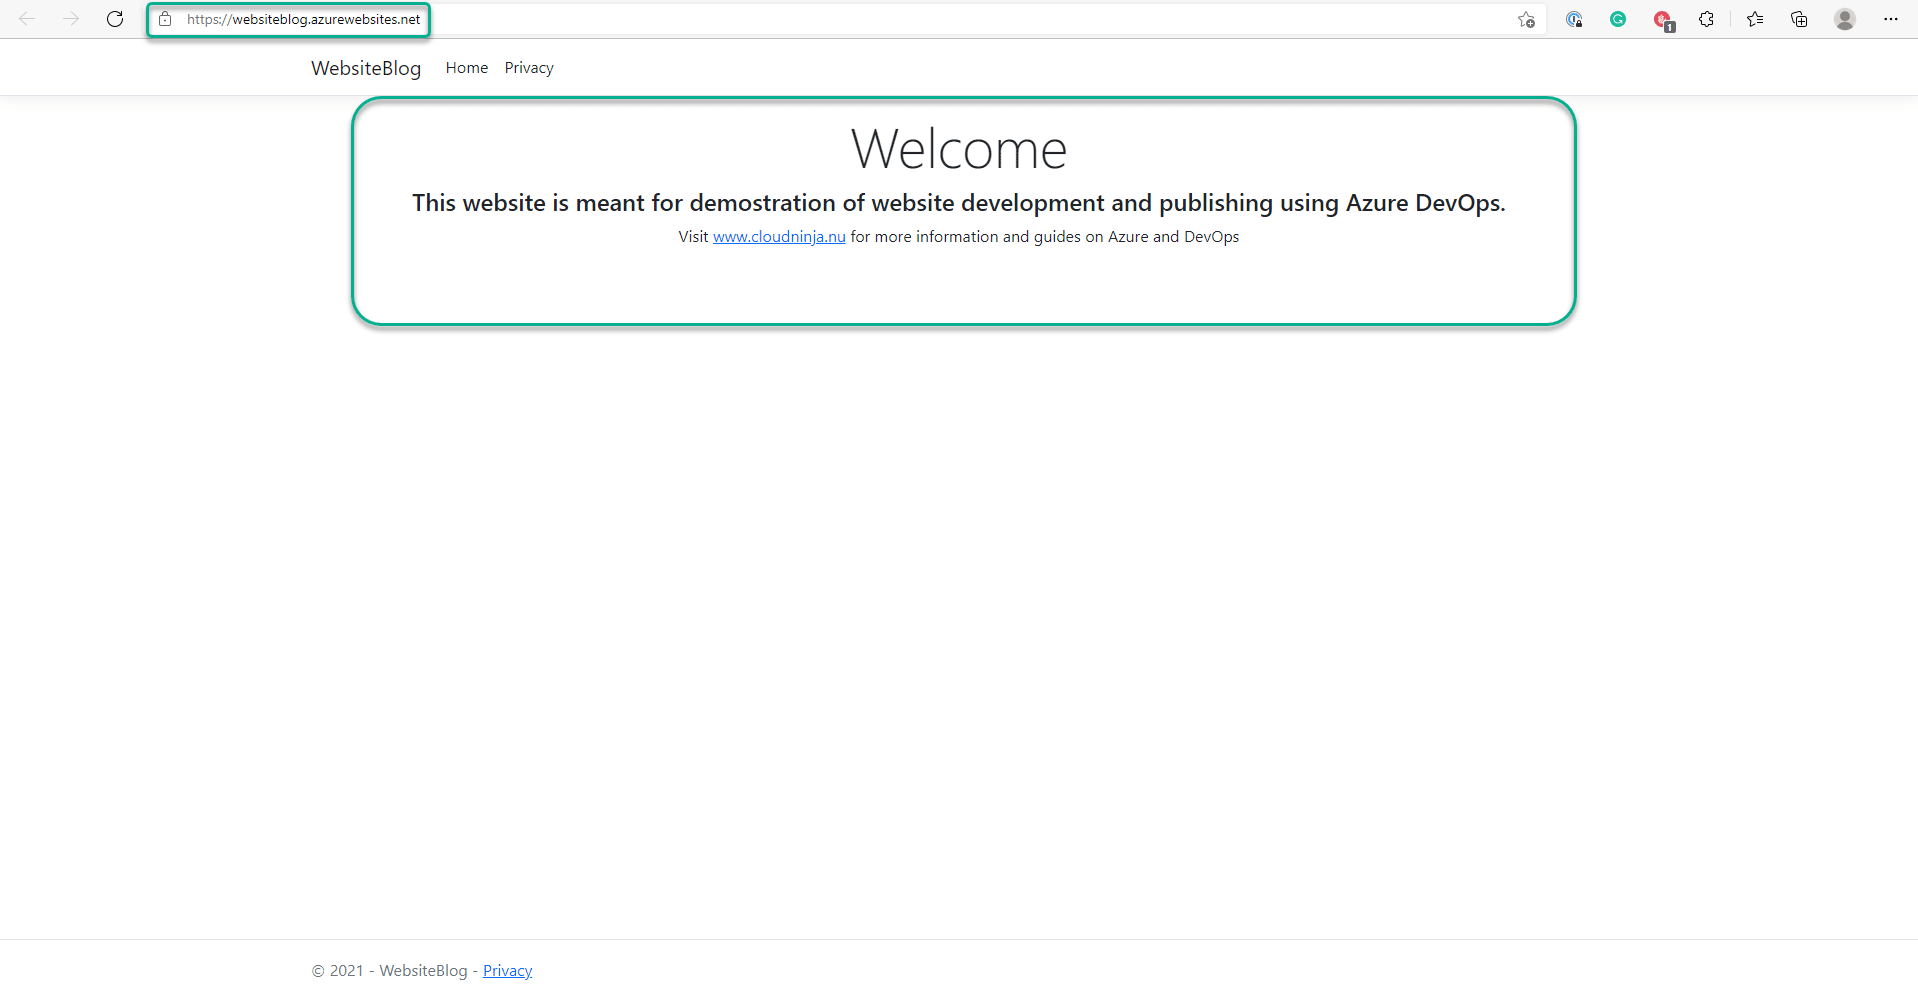
The website is now online.
Summary
I hope this post has been informative and if you have any questions, please reach out to me on Twitter or comment here in the post.