In this part of the series, I will create two virtual machines and join them in my on-premises domain. These machines will be Citrix Cloud Connectors that will serve my Citrix environment with a new resource location in Azure. The Cloud Connectors will be deployed in an Azure Availability Set to ensure high availability.
Source code can be found on my GitHub, find it here .
I start with the creation of a new branch for my code, this will be called “VM”.
The first template I will create will be for the availability set. I found the documentation here. I adapted the code and pasted it below. I chose to paste in the parameters in the code section this time to make it more clear as to which part of the code the parameters belong to.
param availabilitySetName string
param location string
param availabilitySetPlatformFaultDomainCount int
param availabilitySetPlatformUpdateDomainCount int

resource availabilityset 'Microsoft.Compute/availabilitySets@2021-03-01' = {
  name: availabilitySetName
  location: location
  properties: {
    platformFaultDomainCount: availabilitySetPlatformFaultDomainCount
    platformUpdateDomainCount: availabilitySetPlatformUpdateDomainCount
  }
  sku: {
    name: 'Aligned'
  }
}
Next, I will create the network interfaces that my virtual machines will use. To control the order of creation, I have set the network interfaces dependent on the availability set. The network interfaces need a reference to the subnet they will be created in. I, therefore, added the variable that references the subnet id.
param CCVMPrefix string
param vNetName string
param vNetResourceGroup string
param SubnetName string

var subnetRef = resourceId(vNetResourceGroup, 'Microsoft.Network/virtualNetworks/subnets', vNetName, SubnetName)

resource nic 'Microsoft.Network/networkInterfaces@2021-02-01' = [for i in range(0, virtualMachineCount): {
  name: '${CCVMPrefix}-${i + 1}-NIC1'
  location: location
  properties: {
    ipConfigurations: [
      {
        name: 'ipconfig1'
        properties: {
          privateIPAllocationMethod: 'Dynamic'
          subnet: {
            id: subnetRef
          }
        }
      }
    ]
    enableIPForwarding: false
  }
  dependsOn: [
    availabilityset
  ]
}]
I am now ready to add the virtual machine resource to the code. I have set the dependency for this resource to be the network interface resource. The code below shows that I have the option of multiple operating systems. I have added this to ensure compatibility with customers that want to make use of this. Normally I only use the Windows Server 2019 option, but I know several customers are still using Windows Server 2016. The code also shows that I am using a loop on the virtual machine count. This ensures that I can deploy any number of Citrix Cloud Connectors without changing anything in my template.
param VMUserName string

@secure()
param VMPassword string
param CCVMPrefix string
param virtualMachineCount int
param VMSize string
param OS string

@secure()
param domainJoinUserPassword string

var operatingSystemValues = {
  Server2012R2: {
    PublisherValue: 'MicrosoftWindowsServer'
    OfferValue: 'WindowsServer'
    SkuValue: '2012-R2-Datacenter'
  }
  Server2016: {
    PublisherValue: 'MicrosoftWindowsServer'
    OfferValue: 'WindowsServer'
    SkuValue: '2016-Datacenter'
  }
  Server2019: {
    PublisherValue: 'MicrosoftWindowsServer'
    OfferValue: 'WindowsServer'
    SkuValue: '2019-Datacenter'
  }
}

resource virtualmachine 'Microsoft.Compute/virtualMachines@2021-03-01' = [for i in range(0, virtualMachineCount): {
  name: '${CCVMPrefix}-${i + 1}'
  location: location
  properties: {
    hardwareProfile: {
      vmSize: VMSize
    }
    storageProfile: {
      imageReference: {
        publisher: operatingSystemValues[OS].PublisherValue
        offer: operatingSystemValues[OS].OfferValue
        sku: operatingSystemValues[OS].SkuValue
        version: 'latest'
      }
      osDisk: {
        name: 'OSDisk-${CCVMPrefix}-${i + 1}'
        createOption: 'FromImage'
        managedDisk: {
          storageAccountType: 'Premium_LRS'
        }
        caching: 'ReadWrite'
      }
    }
    osProfile: {
      computerName: '${CCVMPrefix}-${i + 1}'
      adminUsername: VMUserName
      windowsConfiguration: {
        provisionVMAgent: true
      }
      adminPassword: VMPassword
    }
    networkProfile: {
      networkInterfaces: [
        {
          id: resourceId('Microsoft.Network/networkInterfaces', '${CCVMPrefix}-${i + 1}-NIC1')
        }
      ]
    }
    availabilitySet: {
      id: availabilityset.id
    }
    diagnosticsProfile: {
      bootDiagnostics: {
        enabled: false
      }
    }
  }
  dependsOn: [
    nic
  ]
}]
The last part of the template I want to add is the domain join section. This could be a separate template, but in this case, I have selected to include it in the Citrix Cloud Connector since these machines have a domain join requirement. Otherwise, the Citrix software will fail to install. As with the virtual machine creation, I also use a loop to ensure that each created virtual machine will be joined to the domain as required. Remember to use an OU path that fits your environment, ensuring the correct security on the server.
resource joindomain 'Microsoft.Compute/virtualMachines/extensions@2021-03-01' = [for i in range(0, virtualMachineCount): {
  name: toLower('${CCVMPrefix}-${i + 1}/joindomain')
  location: location
  properties: {
    publisher: 'Microsoft.Compute'
    type: 'JsonADDomainExtension'
    typeHandlerVersion: '1.3'
    autoUpgradeMinorVersion: true
    settings: {
      Name: domainFQDN
      User: '${domainFQDN}${domainJoinUserName}'
      Restart: 'true'
      Options: 3
      OUPath: ouPath
    }
    protectedSettings: {
      Password: domainJoinUserPassword
    }
  }
  dependsOn: [
    virtualmachine
  ]
}]
To make it all a bit easier to copy/paste, I have pasted the complete template file below.
param VMUserName string

@secure()
param VMPassword string
param CCVMPrefix string
param virtualMachineCount int
param VMSize string
param OS string
param availabilitySetName string
param location string
param vNetName string
param vNetResourceGroup string
param SubnetName string
param availabilitySetPlatformFaultDomainCount int
param availabilitySetPlatformUpdateDomainCount int
param domainFQDN string
param domainJoinUserName string
param ouPath string

@secure()
param domainJoinUserPassword string

var operatingSystemValues = {
  Server2012R2: {
    PublisherValue: 'MicrosoftWindowsServer'
    OfferValue: 'WindowsServer'
    SkuValue: '2012-R2-Datacenter'
  }
  Server2016: {
    PublisherValue: 'MicrosoftWindowsServer'
    OfferValue: 'WindowsServer'
    SkuValue: '2016-Datacenter'
  }
  Server2019: {
    PublisherValue: 'MicrosoftWindowsServer'
    OfferValue: 'WindowsServer'
    SkuValue: '2019-Datacenter'
  }
}
var subnetRef = resourceId(vNetResourceGroup, 'Microsoft.Network/virtualNetworks/subnets', vNetName, SubnetName)

resource availabilityset 'Microsoft.Compute/availabilitySets@2021-03-01' = {
  name: availabilitySetName
  location: location
  properties: {
    platformFaultDomainCount: availabilitySetPlatformFaultDomainCount
    platformUpdateDomainCount: availabilitySetPlatformUpdateDomainCount
  }
  sku: {
    name: 'Aligned'
  }
}

resource virtualmachine 'Microsoft.Compute/virtualMachines@2021-03-01' = [for i in range(0, virtualMachineCount): {
  name: '${CCVMPrefix}-${i + 1}'
  location: location
  properties: {
    hardwareProfile: {
      vmSize: VMSize
    }
    storageProfile: {
      imageReference: {
        publisher: operatingSystemValues[OS].PublisherValue
        offer: operatingSystemValues[OS].OfferValue
        sku: operatingSystemValues[OS].SkuValue
        version: 'latest'
      }
      osDisk: {
        name: 'OSDisk-${CCVMPrefix}-${i + 1}'
        createOption: 'FromImage'
        managedDisk: {
          storageAccountType: 'Premium_LRS'
        }
        caching: 'ReadWrite'
      }
    }
    osProfile: {
      computerName: '${CCVMPrefix}-${i + 1}'
      adminUsername: VMUserName
      windowsConfiguration: {
        provisionVMAgent: true
      }
      adminPassword: VMPassword
    }
    networkProfile: {
      networkInterfaces: [
        {
          id: resourceId('Microsoft.Network/networkInterfaces', '${CCVMPrefix}-${i + 1}-NIC1')
        }
      ]
    }
    availabilitySet: {
      id: availabilityset.id
    }
    diagnosticsProfile: {
      bootDiagnostics: {
        enabled: false
      }
    }
  }
  dependsOn: [
    nic
  ]
}]

resource nic 'Microsoft.Network/networkInterfaces@2021-02-01' = [for i in range(0, virtualMachineCount): {
  name: '${CCVMPrefix}-${i + 1}-NIC1'
  location: location
  properties: {
    ipConfigurations: [
      {
        name: 'ipconfig1'
        properties: {
          privateIPAllocationMethod: 'Dynamic'
          subnet: {
            id: subnetRef
          }
        }
      }
    ]
    enableIPForwarding: false
  }
  dependsOn: [
    availabilityset
  ]
}]

resource joindomain 'Microsoft.Compute/virtualMachines/extensions@2021-03-01' = [for i in range(0, virtualMachineCount): {
  name: toLower('${CCVMPrefix}-${i + 1}/joindomain')
  location: location
  properties: {
    publisher: 'Microsoft.Compute'
    type: 'JsonADDomainExtension'
    typeHandlerVersion: '1.3'
    autoUpgradeMinorVersion: true
    settings: {
      Name: domainFQDN
      User: '${domainFQDN}${domainJoinUserName}'
      Restart: 'true'
      Options: 3
      OUPath: ouPath
    }
    protectedSettings: {
      Password: domainJoinUserPassword
    }
  }
  dependsOn: [
    virtualmachine
  ]
}]
Now I can go ahead and save my template file. I will name this “CitrixCloudConnector.bicep” and store it in the “Templates” folder under the “VM” folder.
To deploy the new template, I will create a new deployment file called “DeployCCCVM.bicep” and store it in the “VM” folder. The module is pretty simple compared to the quite large template this time. Below I have pasted the code I use except for a dummy password.
param companyPrefix string = 'bicep'
module citrixcloudconnector './Templates/CitrixCloudConnector.bicep' = {
  name: 'CitrixCloudConnector'
  params: {
    availabilitySetName: 'as-citrix-001'
    availabilitySetPlatformFaultDomainCount: 2
    availabilitySetPlatformUpdateDomainCount: 5
    CCVMPrefix: 'vm-ctx-cc'
    domainFQDN: 'citrixlab.dk'
    domainJoinUserName: 'domainjoin'
    domainJoinUserPassword: '0nly4BlogPosting!!'
    location: resourceGroup().location
    OS: 'Server2019'
    ouPath: 'OU=CloudConnectors,OU=Citrix,OU=Servers,OU=Citrixlab,DC=Citrixlab,DC=dk'
    SubnetName: 'snet-citrix-vm-001'
    virtualMachineCount: 2
    VMPassword: '0nly4BlogPosting!!'
    VMSize: 'Standard_B2ms'
    VMUserName: 'azureadmin'
    vNetName: 'vnet-${companyPrefix}-citrix-001'
    vNetResourceGroup: 'rg-${companyPrefix}-citrix-network-001'
  }
}
I will now update my Github Action YAML file to reflect the new branch and the new code for deploying the virtual machine. The updated deployment file is pasted below.
name: CI

# Controls when the action will run.
on:
  # Triggers the workflow on push or pull request events but only for the main branch
  push:
    branches: [ VM ]
  pull_request:
    branches: [ main ]

  # Allows you to run this workflow manually from the Actions tab
  workflow_dispatch:

# A workflow run is made up of one or more jobs that can run sequentially or in parallel
jobs:
  build-and-deploy:
    runs-on: ubuntu-latest
    steps:
    - uses: actions/checkout@master

    - name: Login to Azure
      uses: azure/login@v1
      with:
        creds: ${{ secrets.AZURE_CREDENTIALS_BLOGSERIES }}

    - name: Deploy resource group
      uses: azure/arm-deploy@main
      with:
        scope: subscription
        subscriptionId: ${{ secrets.AZURE_SUBSCRIPTION }}
        region: westeurope
        template: ./ResourceGroup/ResourceGroup.bicep

    - name: Deploy virtual network
      uses: azure/arm-deploy@main
      with:
        scope: subscription
        subscriptionId: ${{ secrets.AZURE_SUBSCRIPTION }}
        region: westeurope
        template: ./Network/DeployNetwork.bicep

    - name: Deploy VPN connection
      uses: azure/arm-deploy@main
      with:
        scope: resourcegroup
        resourceGroupName: rg-bicep-sharedservices-network-001
        subscriptionId: ${{ secrets.AZURE_SUBSCRIPTION }}
        region: westeurope
        template: ./Network/DeployVPN.bicep
        deploymentMode: incremental

    - name: Deploy Citrix Cloud Connectors
      uses: azure/arm-deploy@main
      with:
        scope: resourcegroup
        resourceGroupName: rg-bicep-citrix-vm-001
        subscriptionId: ${{ secrets.AZURE_SUBSCRIPTION }}
        region: westeurope
        template: ./VirtualMachine/DeployCCCVM.bicep
        deploymentMode: incremental
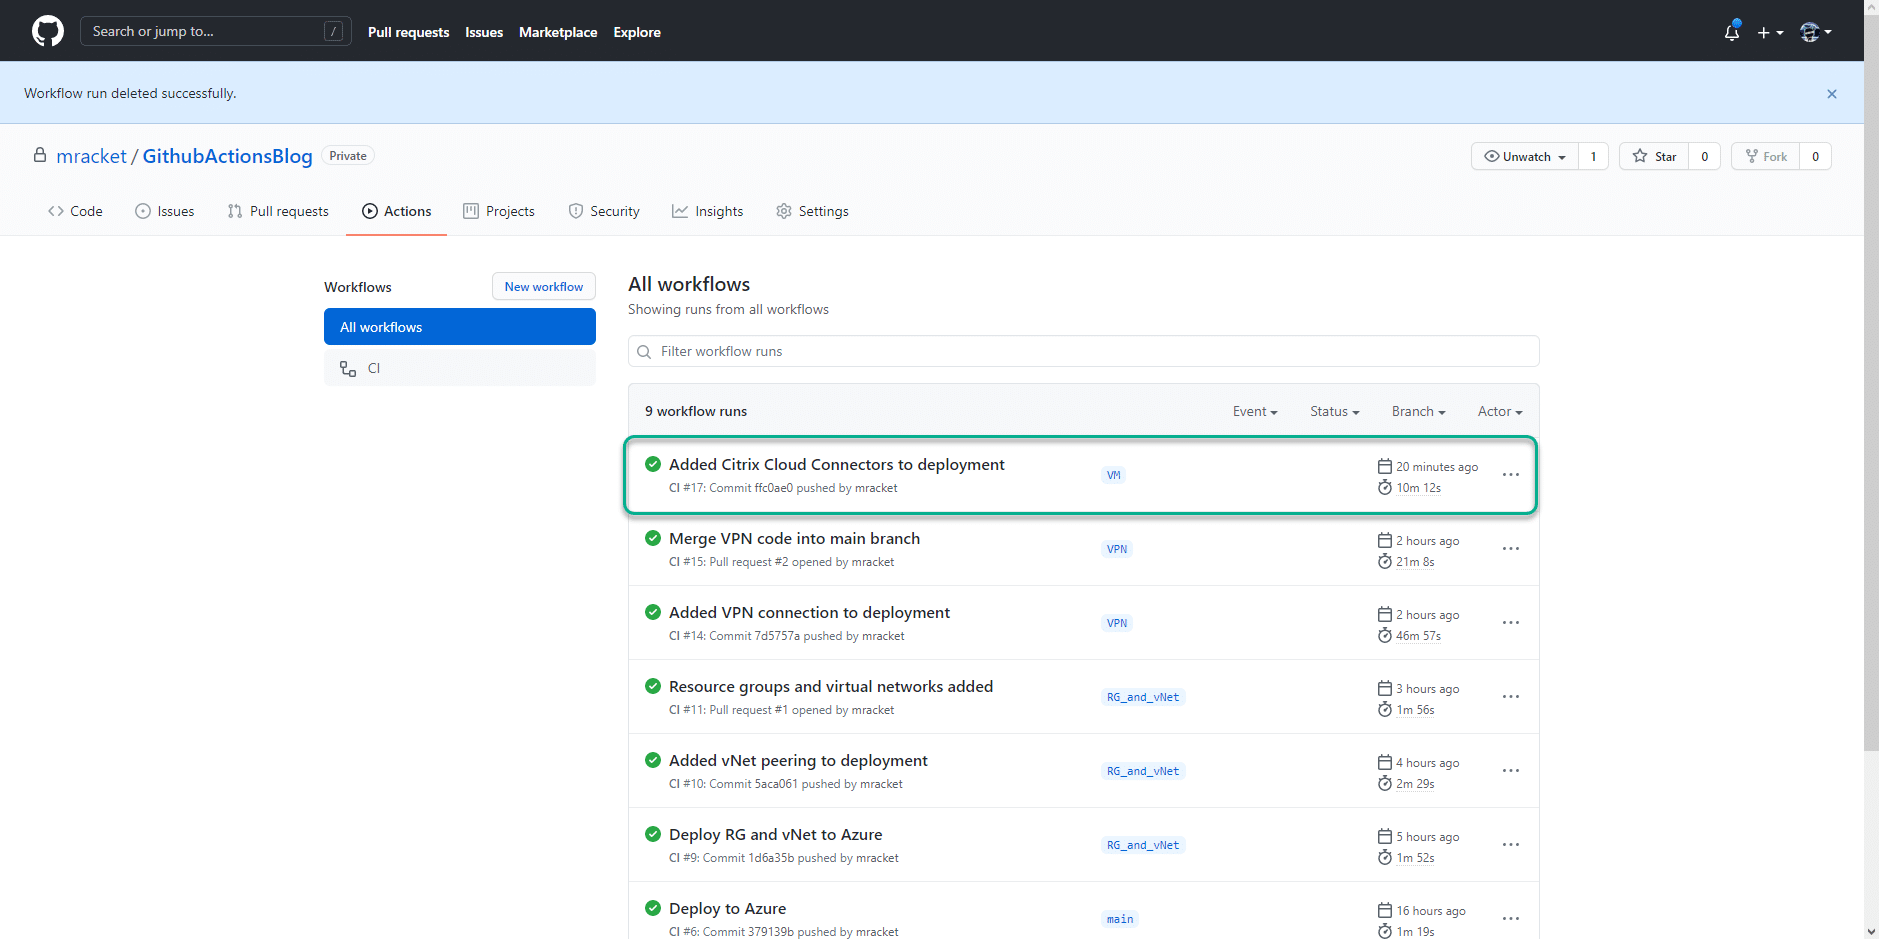
The GitHub Action shows the following status.
Under the virtual machine extensions in Azure I can see the following status.

Finally I can also see the two Citrix Cloud Connectors in my Active Directory Domain.

I have now shown you how to use GitHub Actions and the new Bicep language to deploy resources in Azure. The deployment I have shown could very well be a real-life scenario, and it can be adapted to fit many use cases. I do have one final part to this blog series, and that will be on using a JSON configuration file and a PowerShell script to deploy the same resource as we just did in these last five parts of the blog series. I want to show you this approach since I believe that more approaches to the same solution provide more information on choosing the right solution for the task you are facing.
Stay tuned for the last part.