Intro
In this post, I want to show you how to set up Azure Migrate with VMware vSphere. I will go through the entire process of discovering, testing, and migrating virtual servers from my home lab environment into Azure. It will be a long post with many pictures, but I don’t feel splitting it into a series makes sense.
I have used the Microsoft documentation as a guideline for this blog post. You can find all the information on this Microsoft site.
https://docs.microsoft.com/en-us/azure/migrate/migrate-services-overview
Azure Migrate use-case
Azure Migrate migrates workloads from on-premises or other public clouds into Microsoft Azure. It is possible to migrate workloads from VMware vSphere, Microsoft Hyper-V, or physical servers (other public clouds use physical machine migration). With Azure Migrate, you can migrate servers, databases, and web applications into Azure. In this guide, the focus is on servers.
Migration synchronizes the workload into Azure either from the hypervisor layer or from an agent installed on the machine. After the VM is synchronized, you can do a test migration to verify that it can boot and have the configuration you expect it to have. The test migration can use an isolated network, so you don’t risk having conflicts with the current running machine.
There are third-party tools that can do the same, but Azure Migrate is free to use, and so far, my experience is that it does a great job.
Azure Migrate discovery
The first step in migration is discovering the workloads you want to migrate. This guide will find three servers, two Windows servers, and one Ubuntu Linux server.
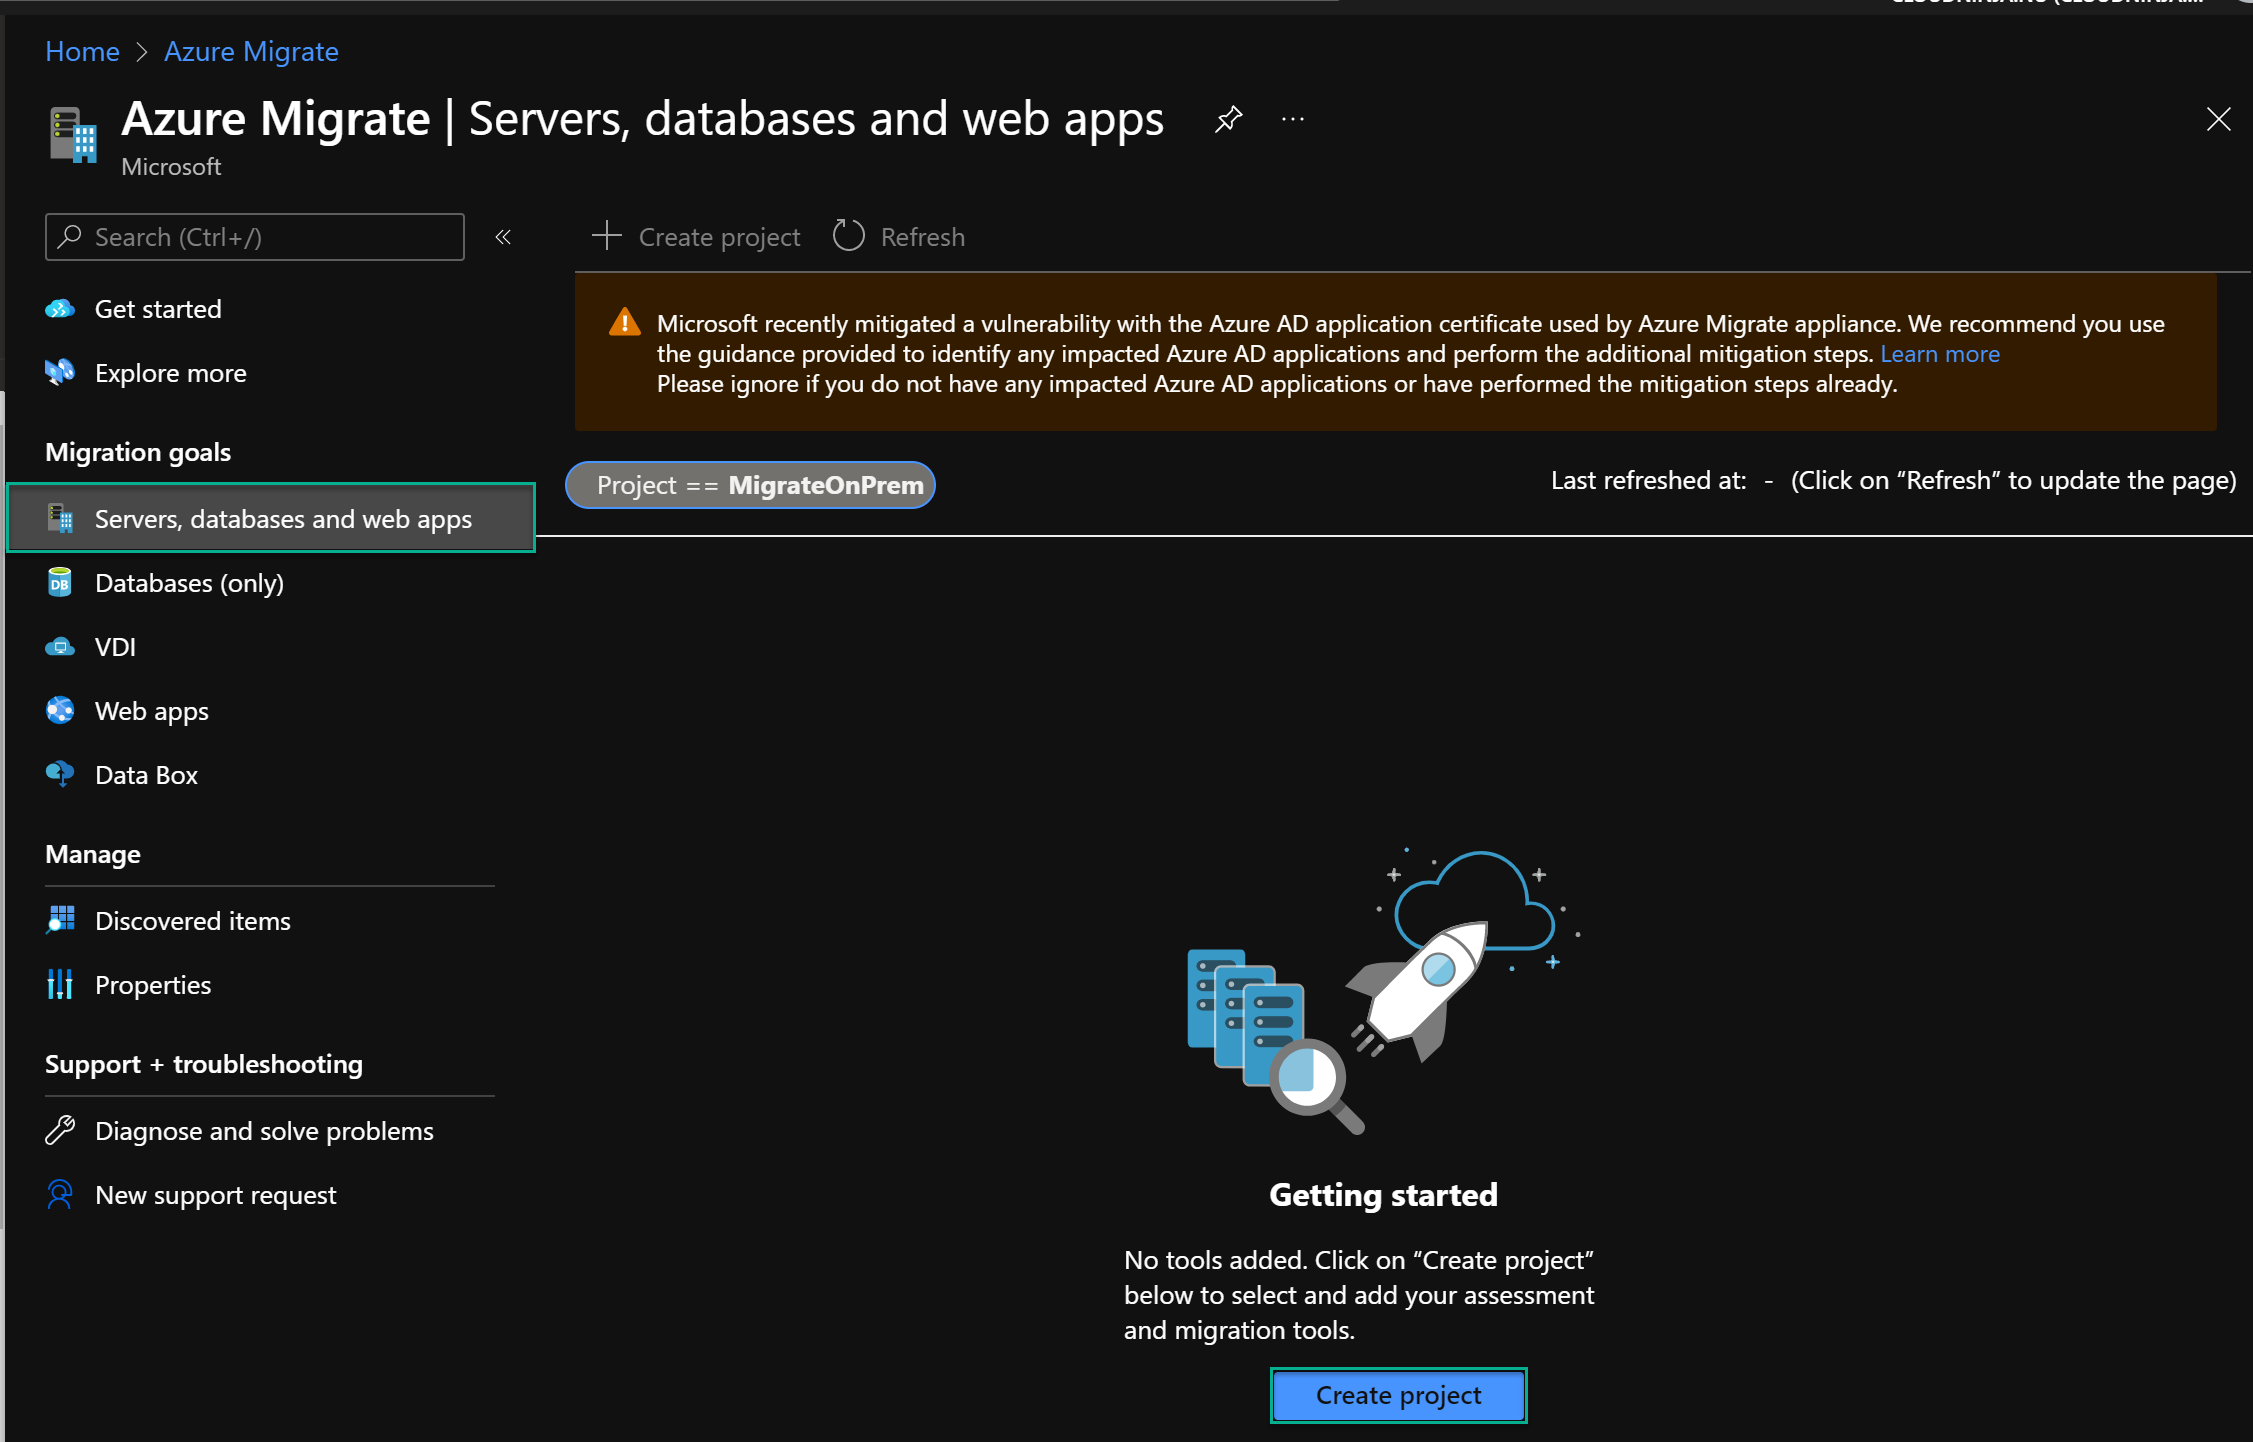
I searched for “Azure Migrate” and clicked on the service to get started. From here, I will click on “Servers, databases and web apps” and then on “Create project.”
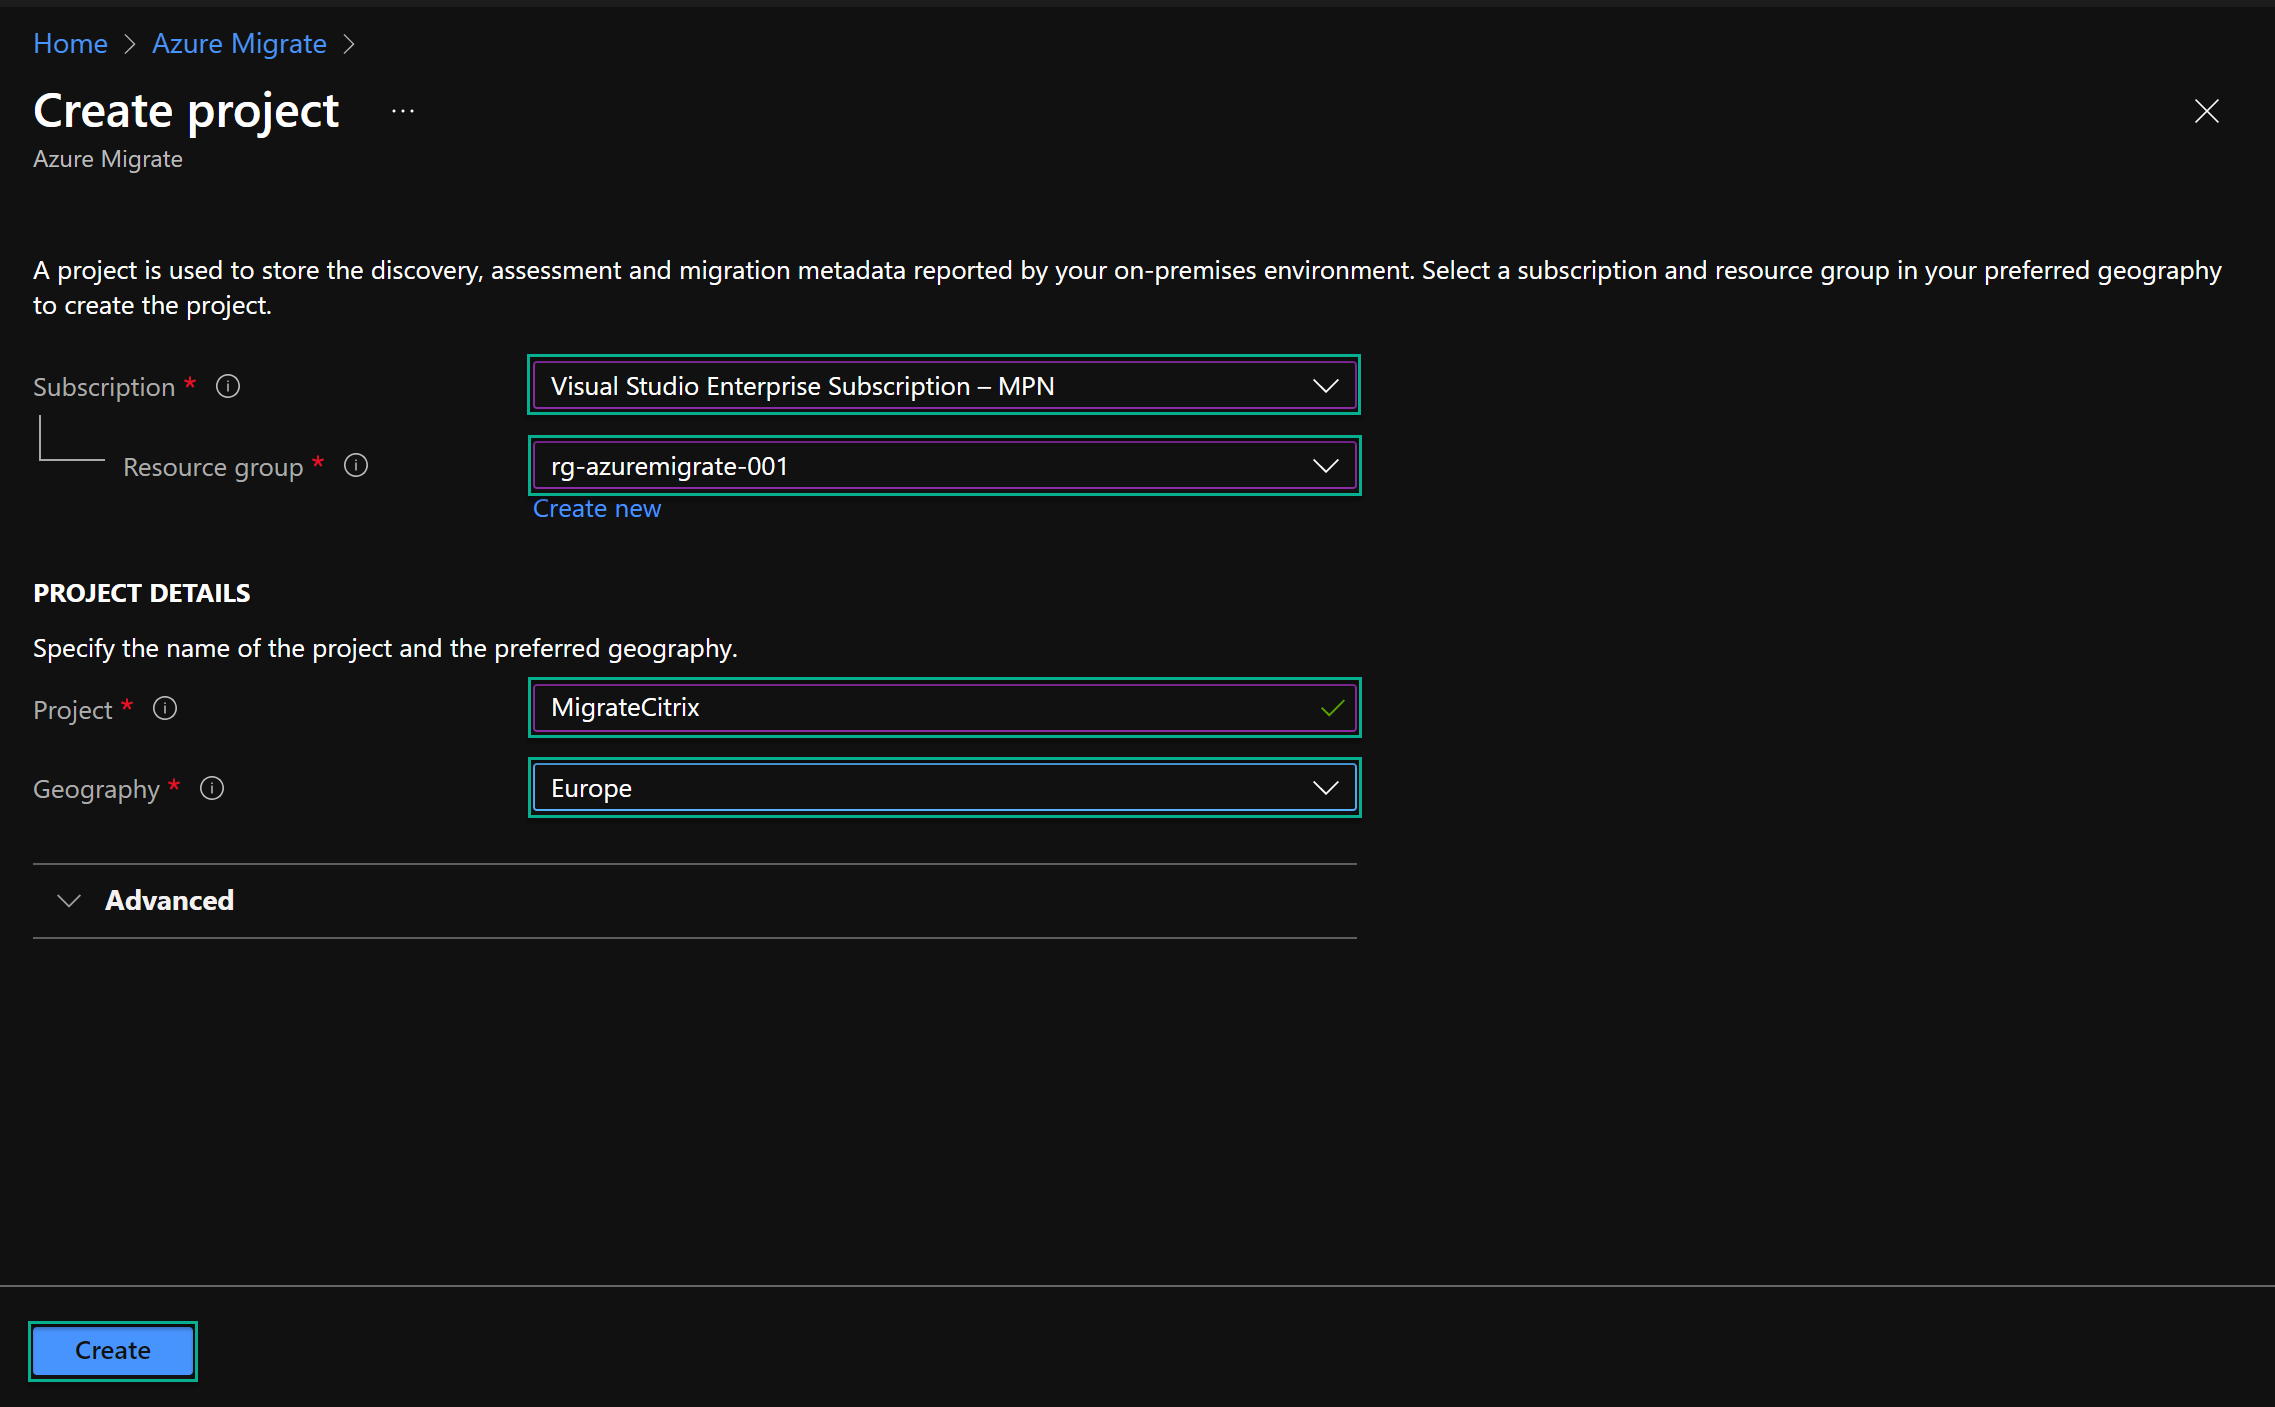
I will create a new resource group called “rg-azuremigrate-001,” name my project “MigrateCitrix,” place it into the “Europe” “Geography” and click on “Create.”"
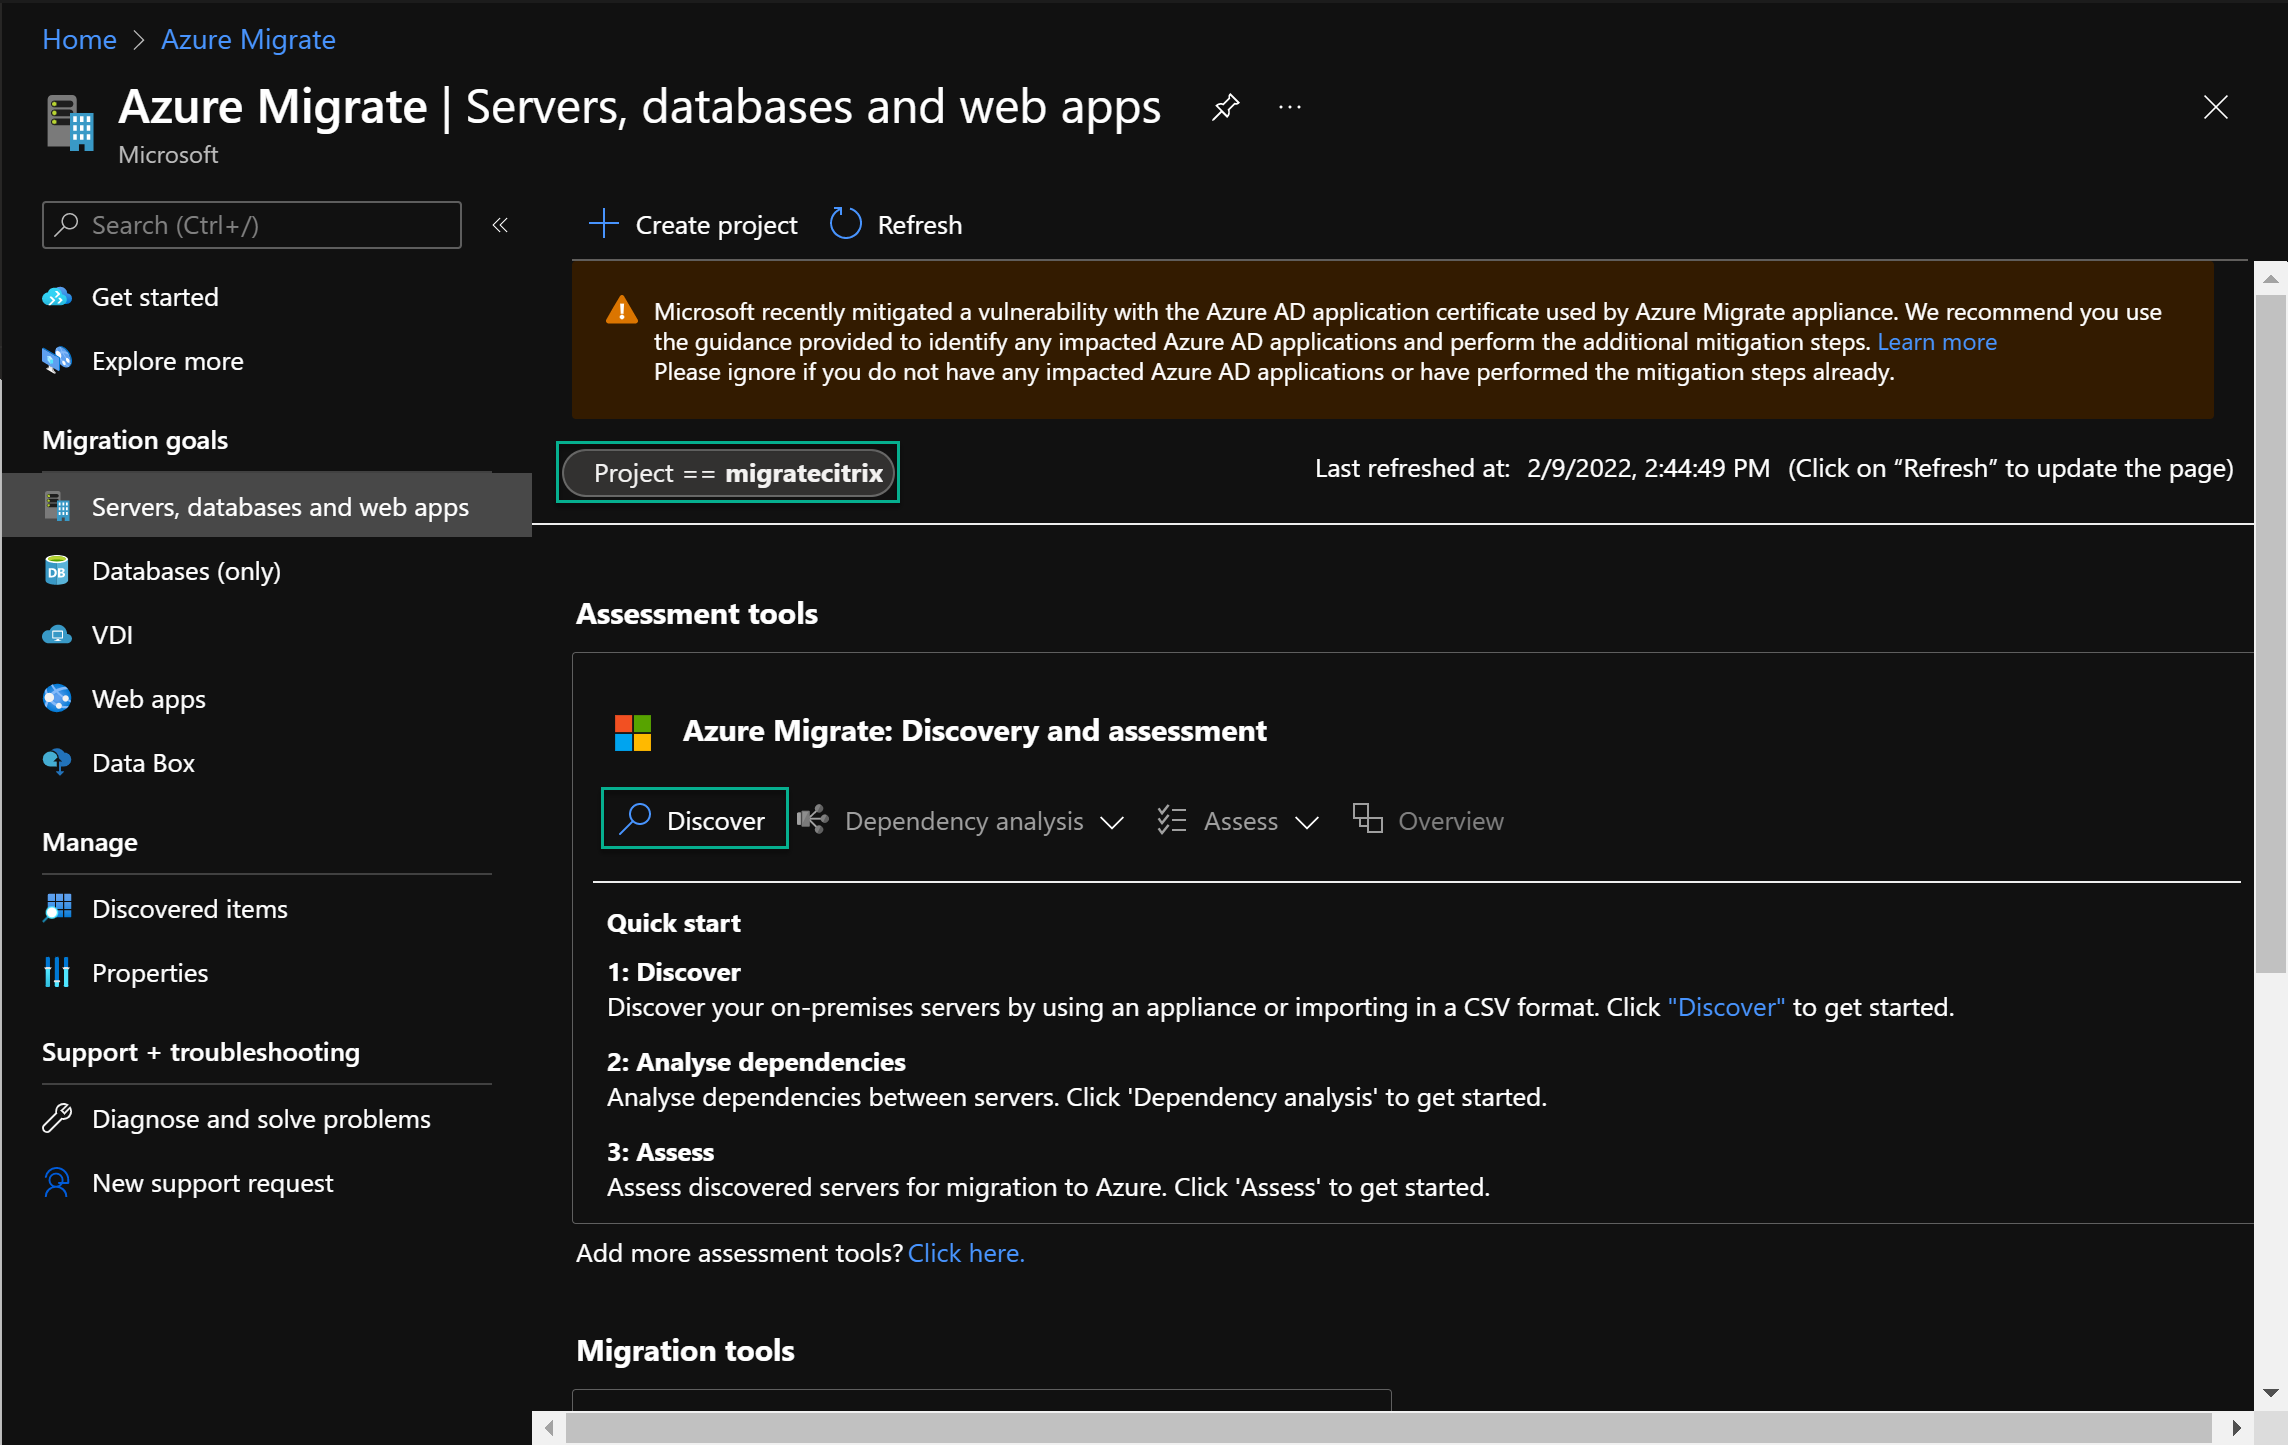
With the project created, I will click on “Discover.”
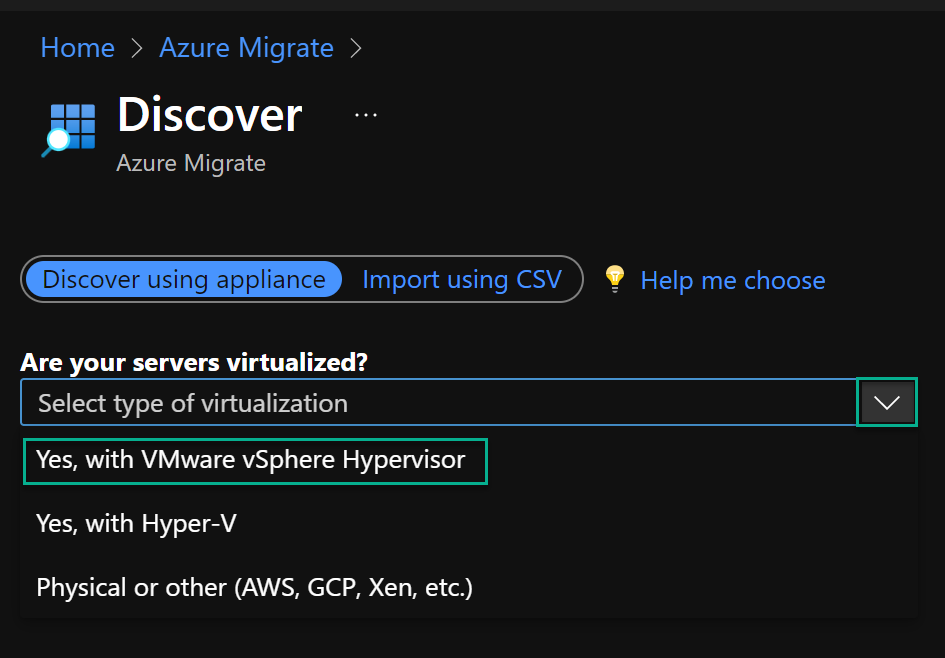
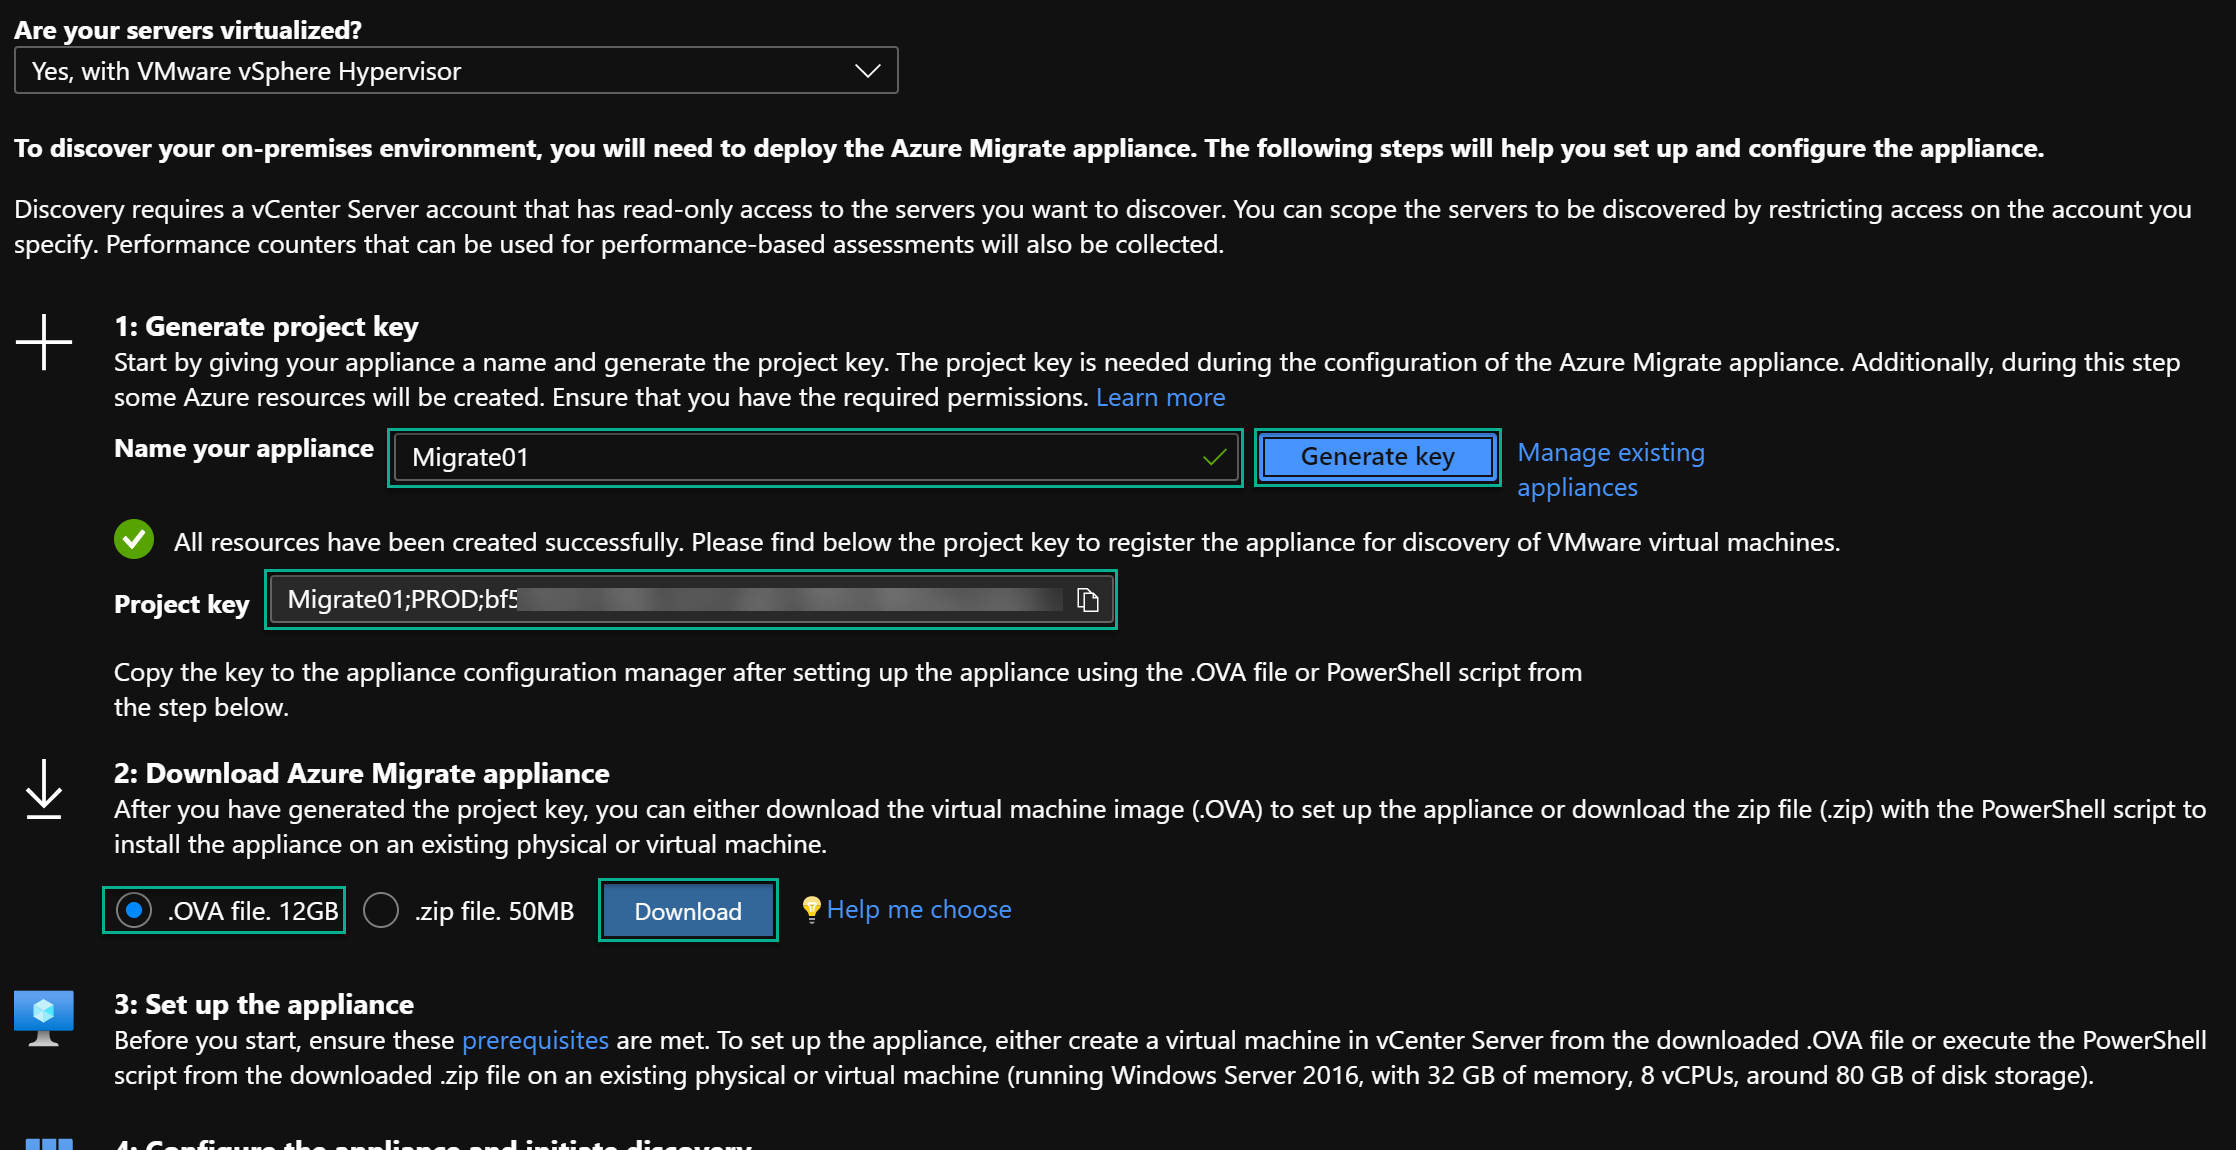
I will use “Discover using appliance” and select “Yes, with VMware vSphere Hypervisor” from the dropdown menu.
I will provide a name for my appliance, “Migrate01,” and click on “Generate key.” I chose to download the OVA file to import into my VMware environment. Don’t leave this page. You will need the “Project key” later. When the download is complete, I will proceed with importing the appliance.
To import the appliance into VMware, I browse my VMware host and click on “Create / Register VM.” Notice that I have 21 VMs in my environment.

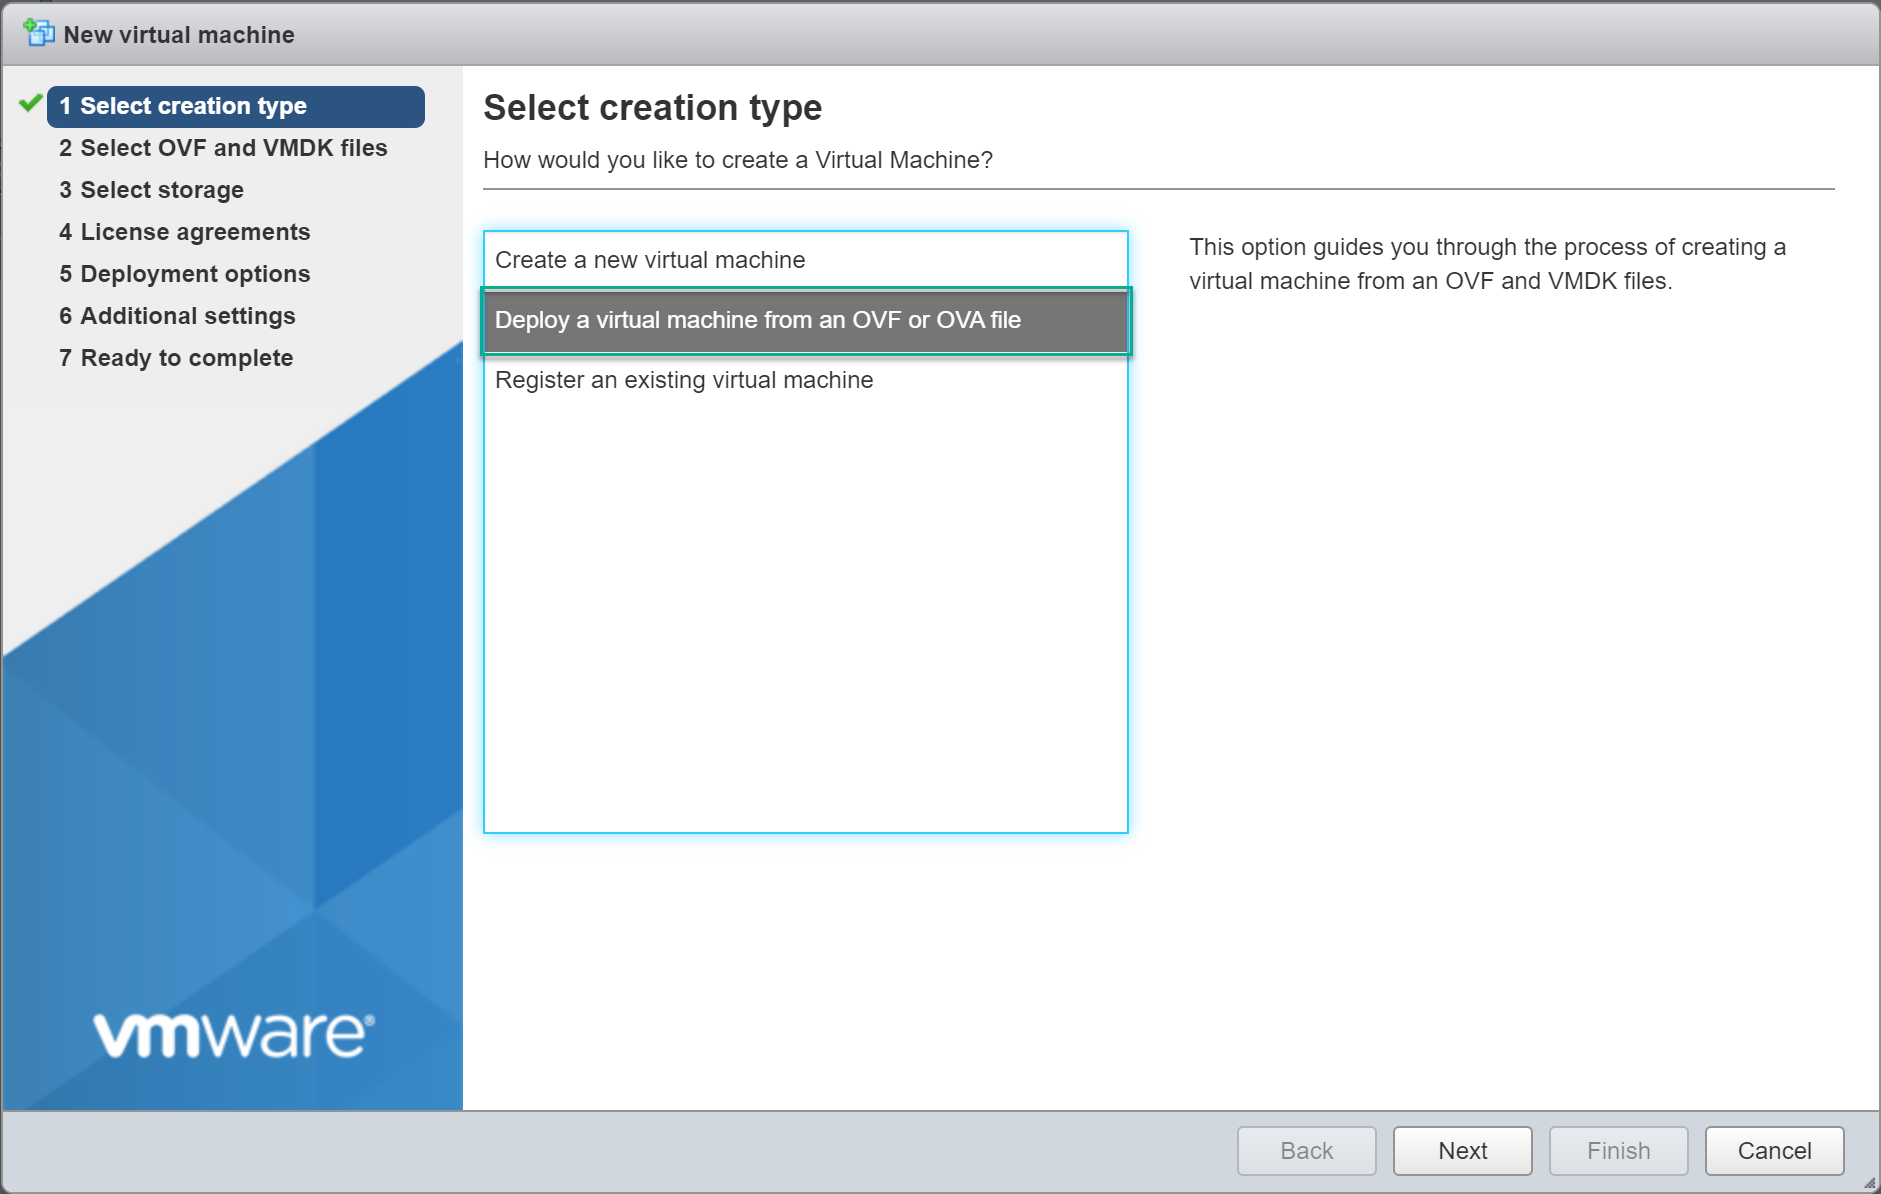
I select “Deploy a virtual machine from an OVF or OVA file” and click on “Next.”
I will name it “Migrate01” to match the name I provided in Azure, add the OVA file and click “Next.”

I select a datastore with space for the appliance and click “Next.”

Select my VM Network, select “Thin” provisioning, and click “Next.”

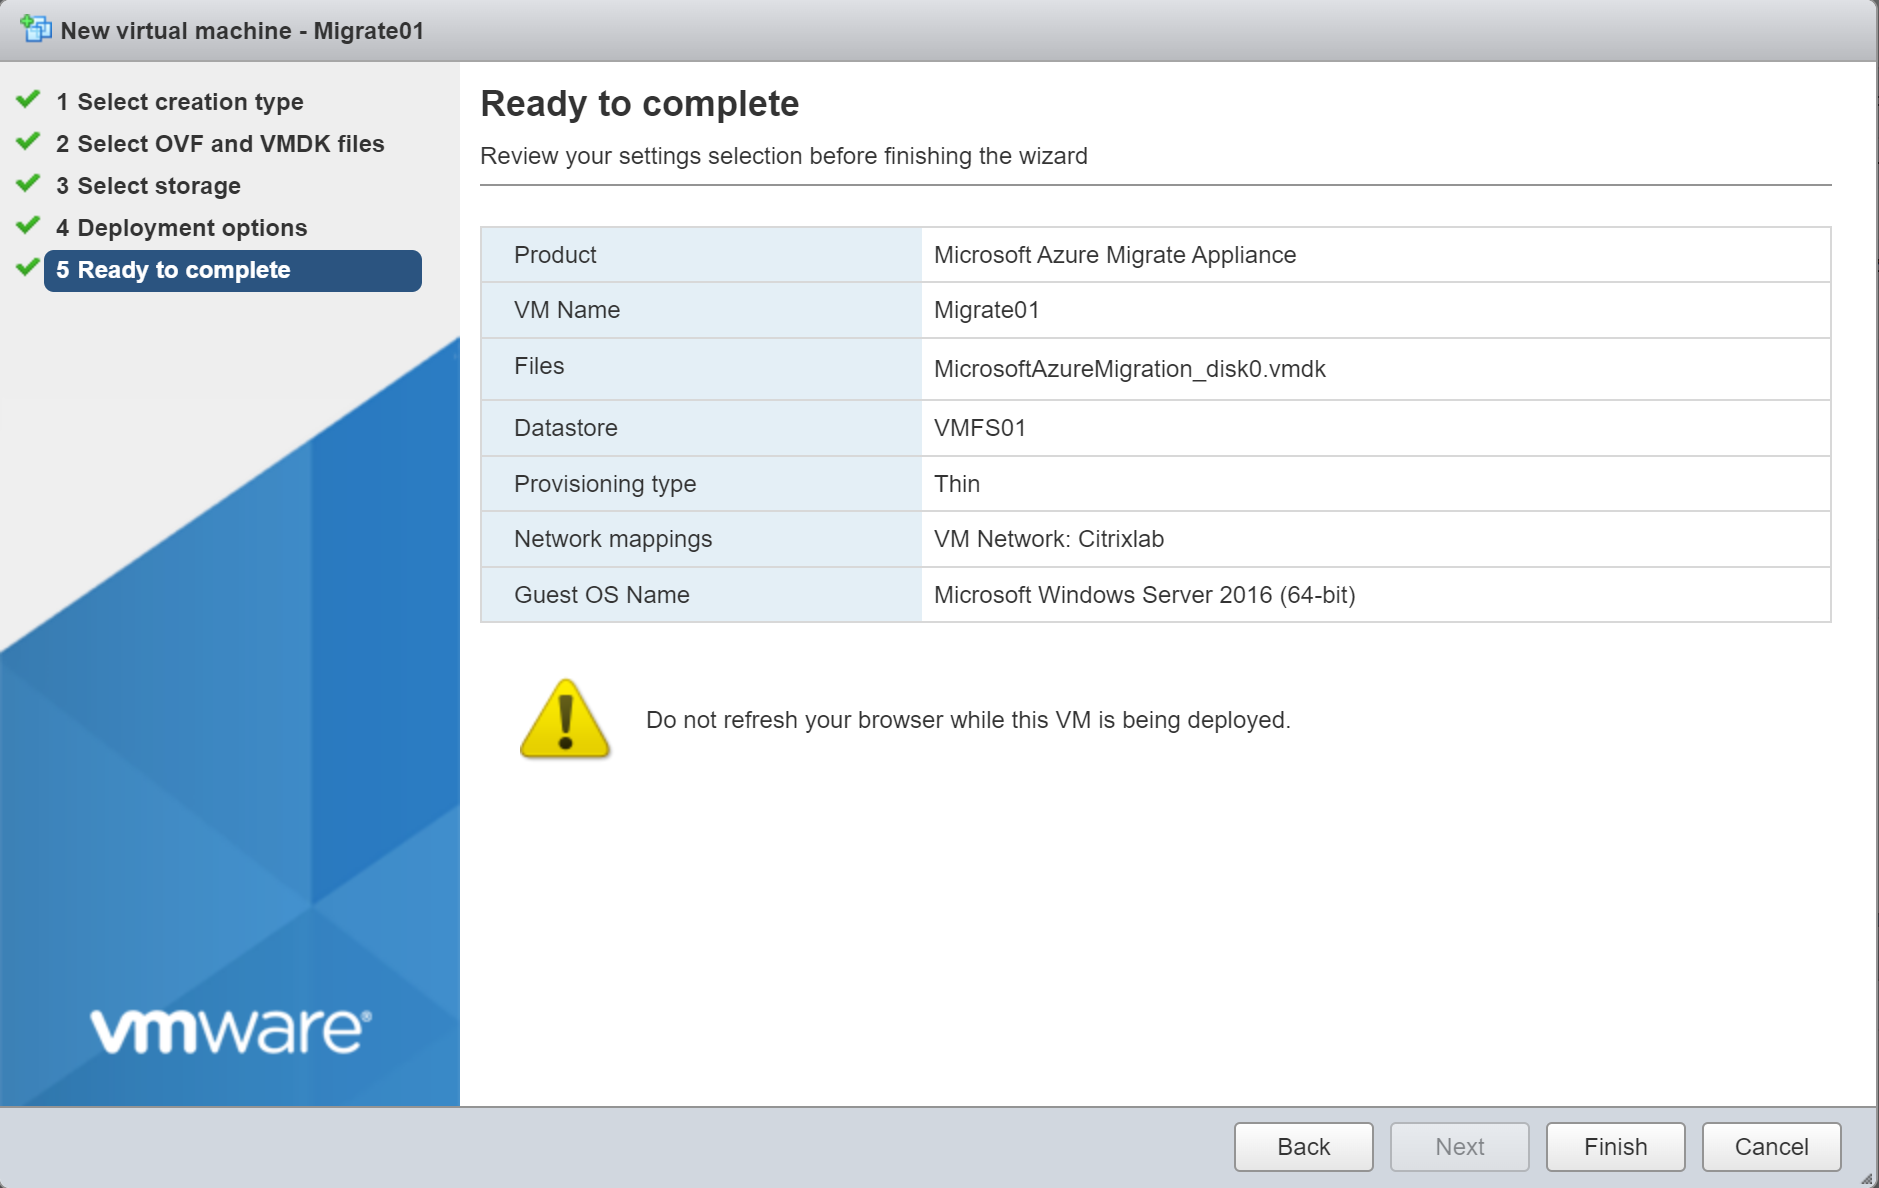
I will click on “Finish” to start the import.
With the imported complete, the VM will start up, and I will connect to the console of the VM.
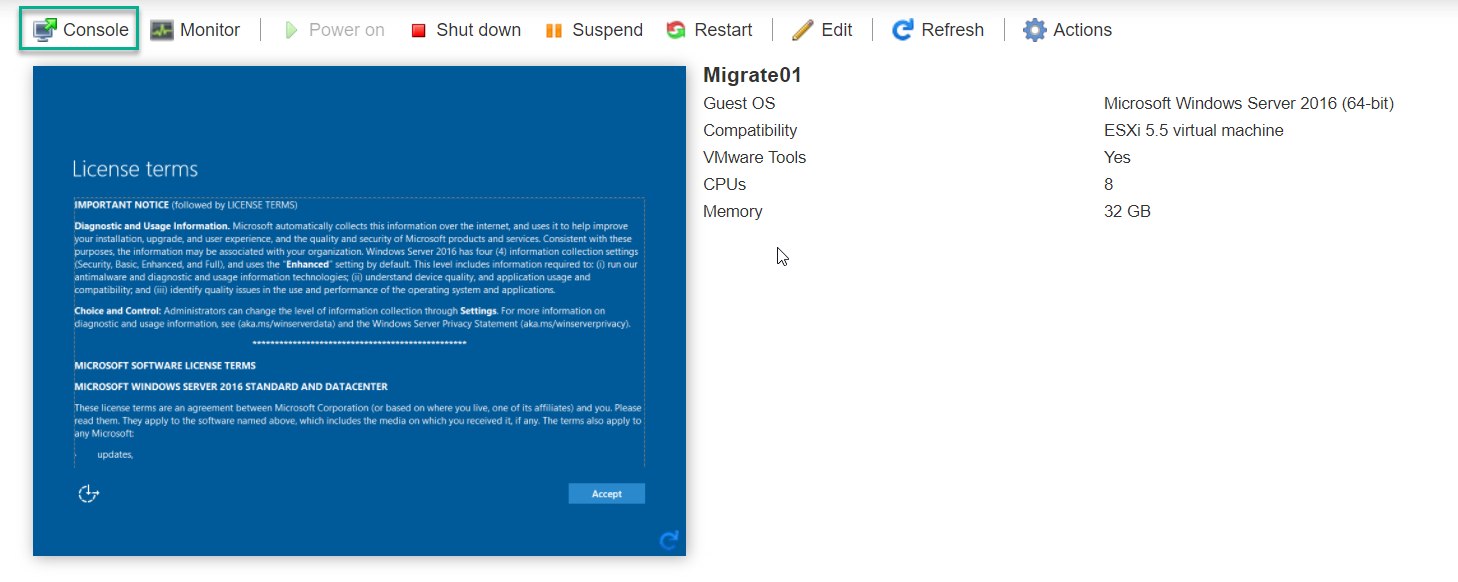
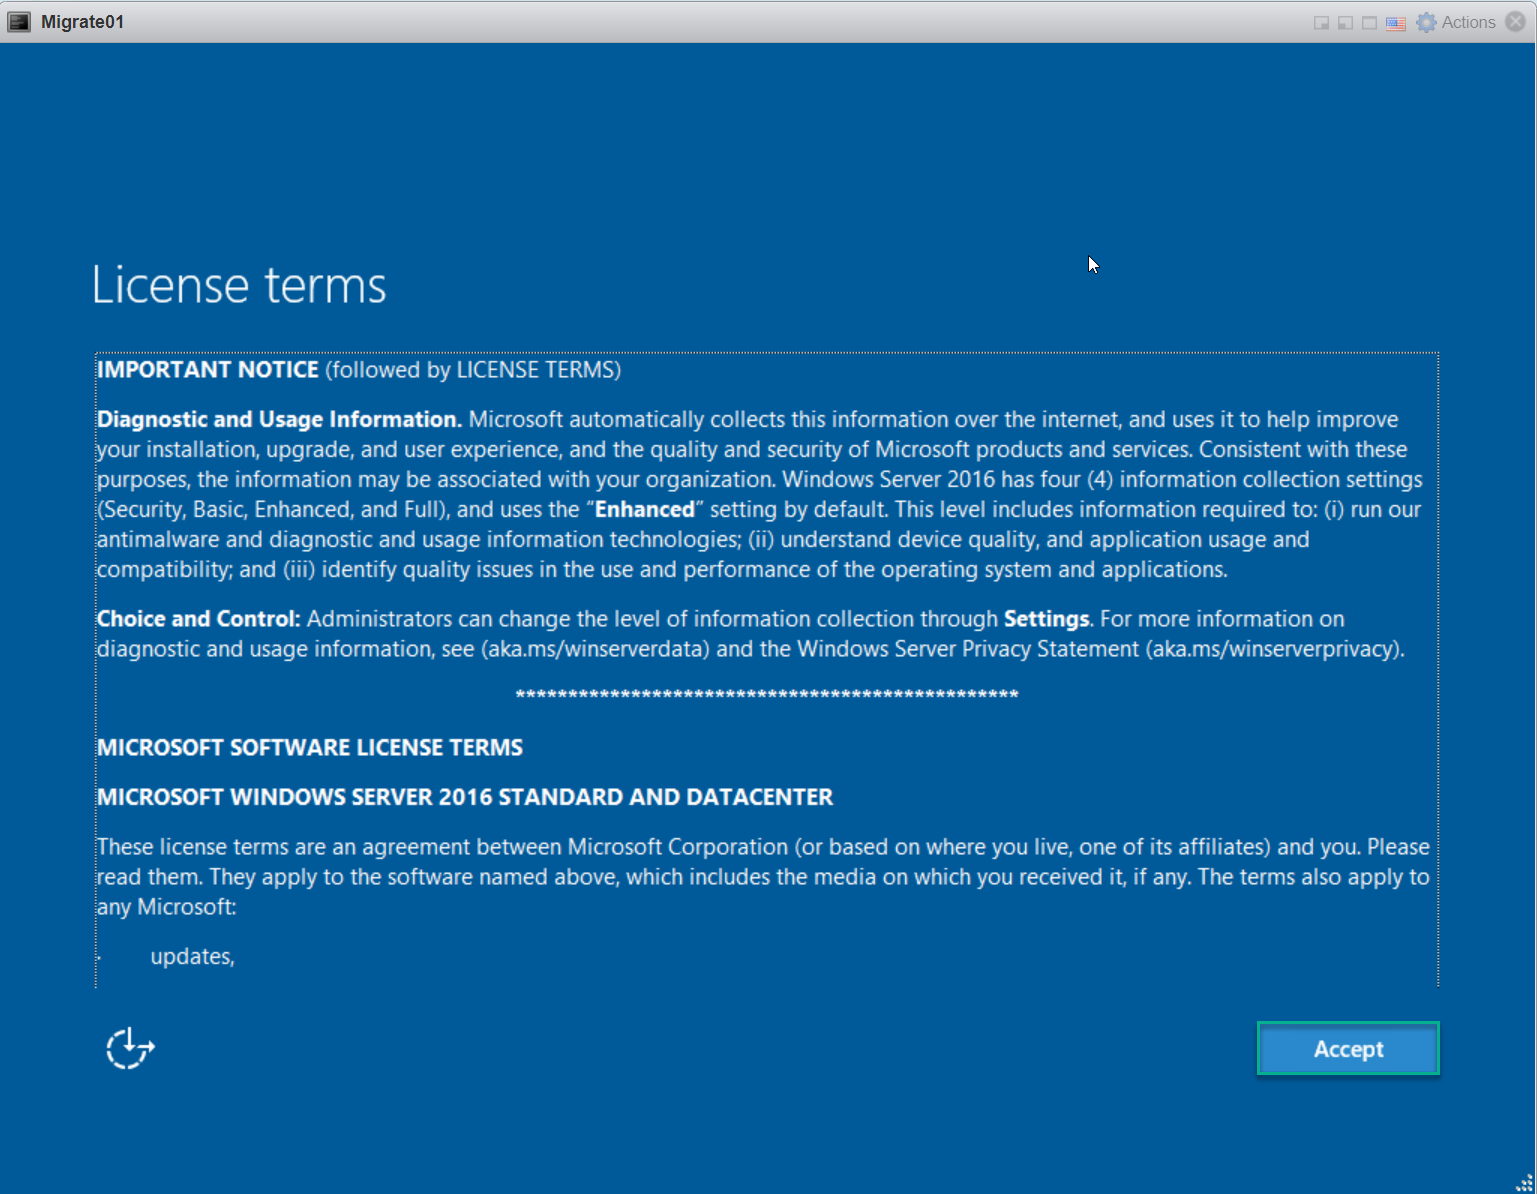
I will accept the license terms.
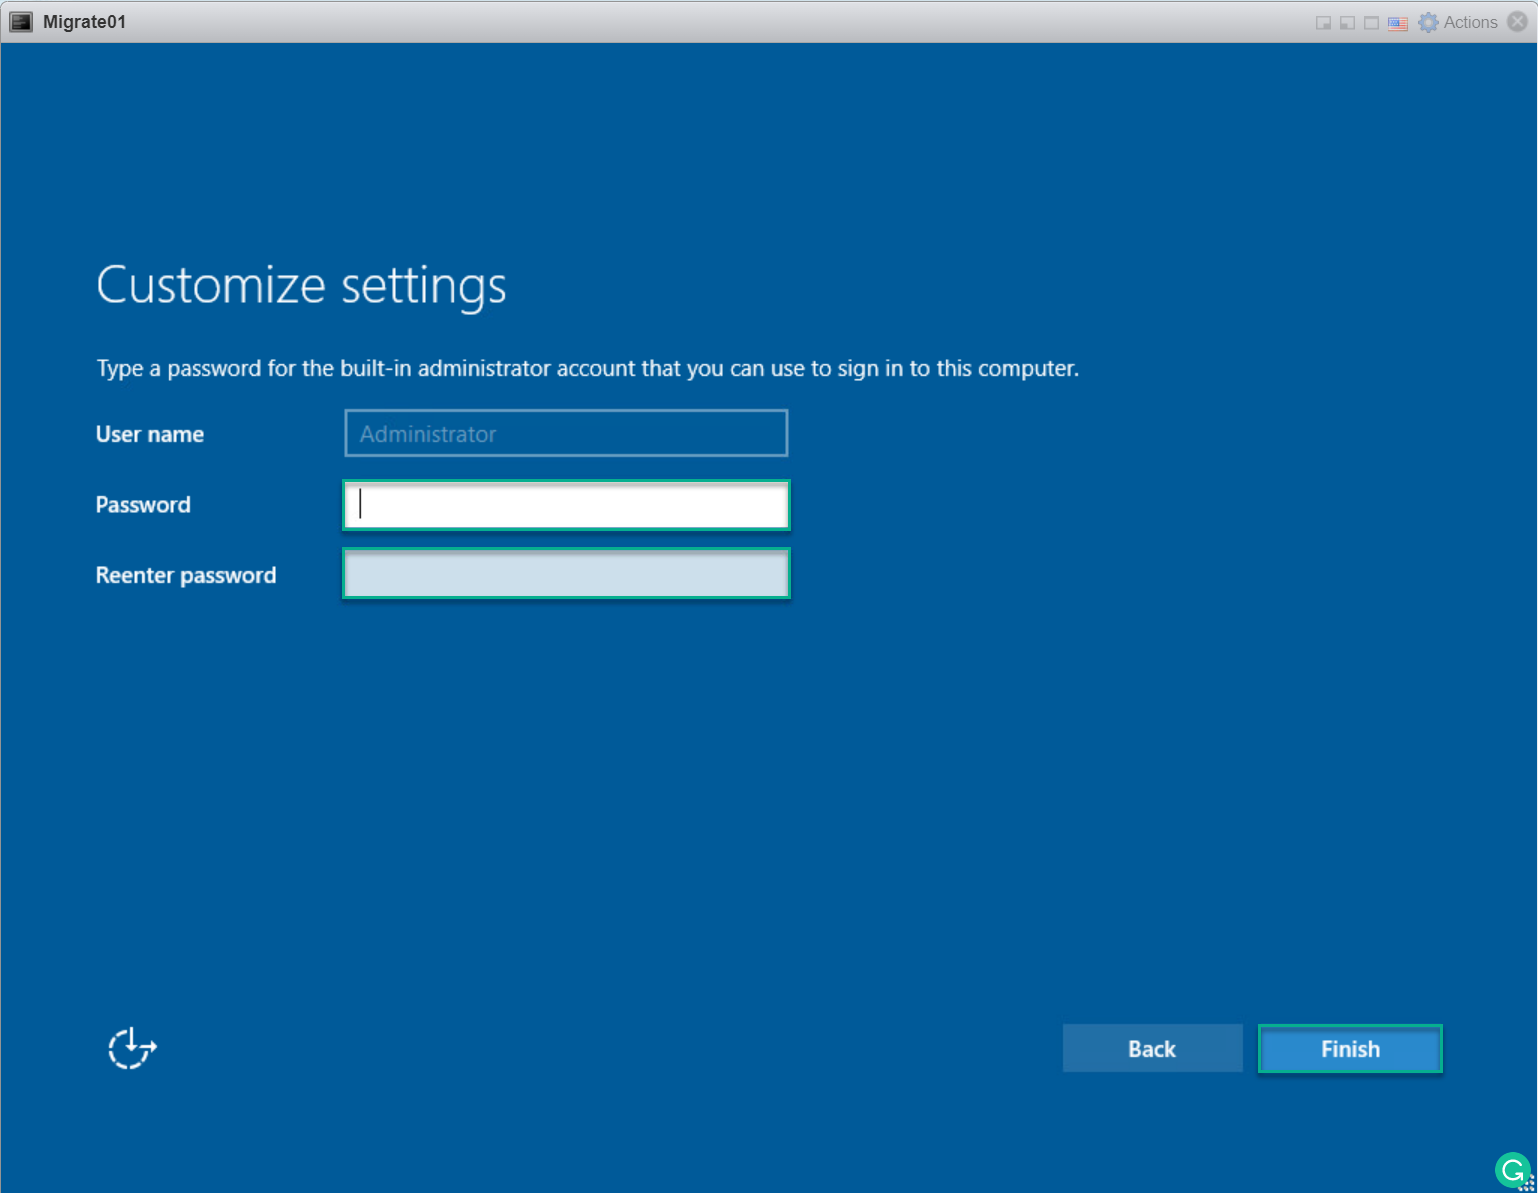
I will provide an administrator password and click on “Finish.”
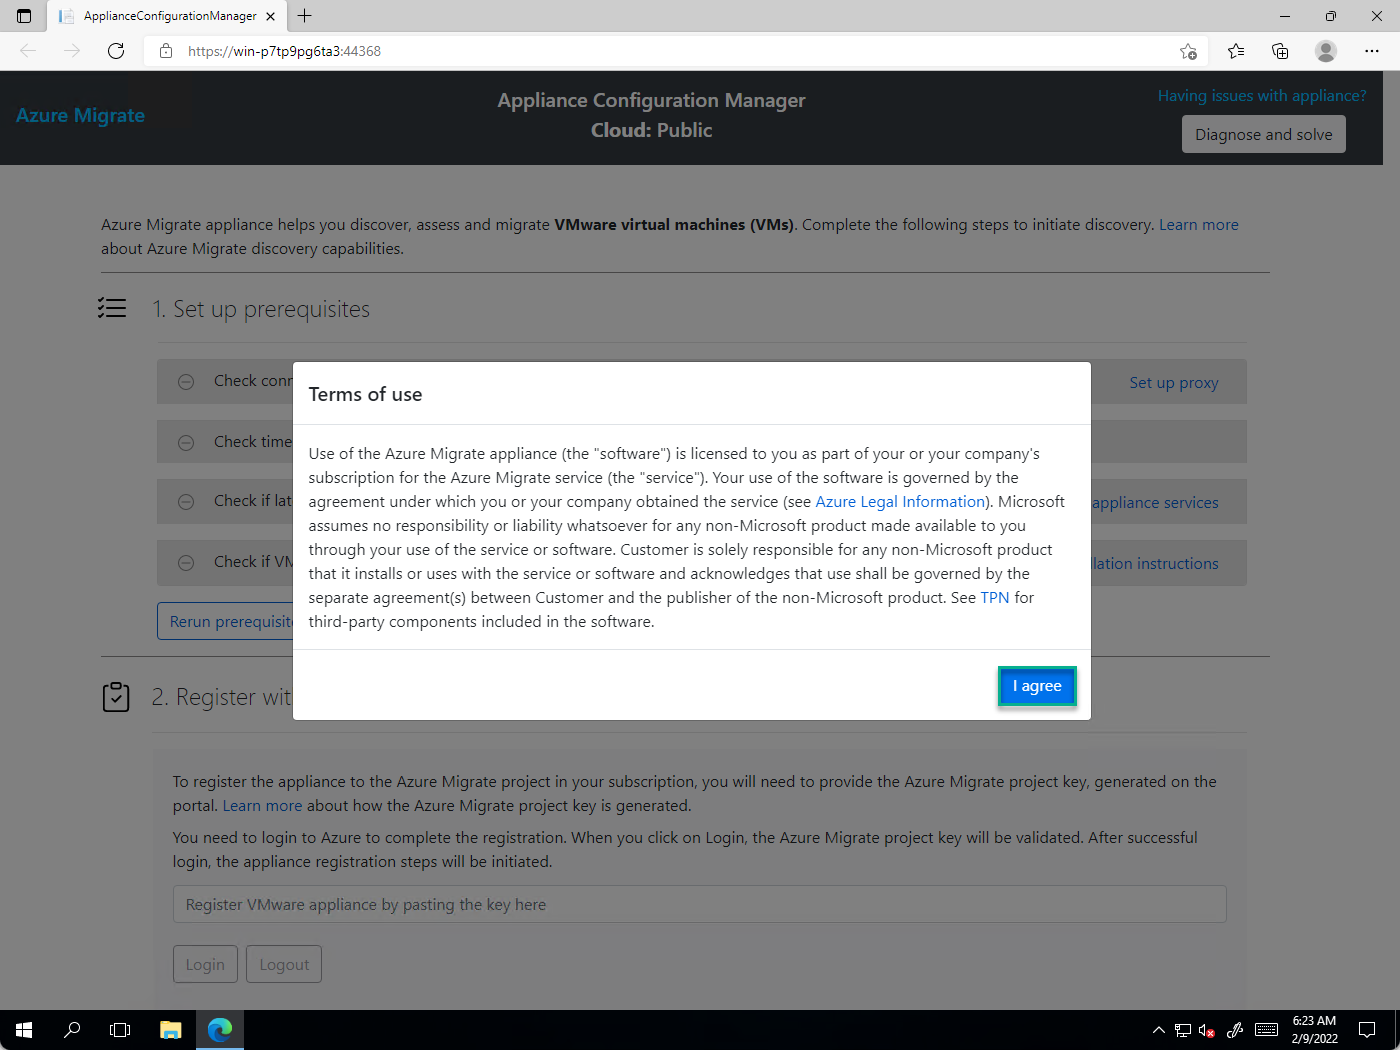
After I click “Finish,” I will switch to an RDP connection to the VM instead of the console. After logging in, the Azure Migrate configuration page starts automatically, and I will click on “I agree” to accept the license terms.
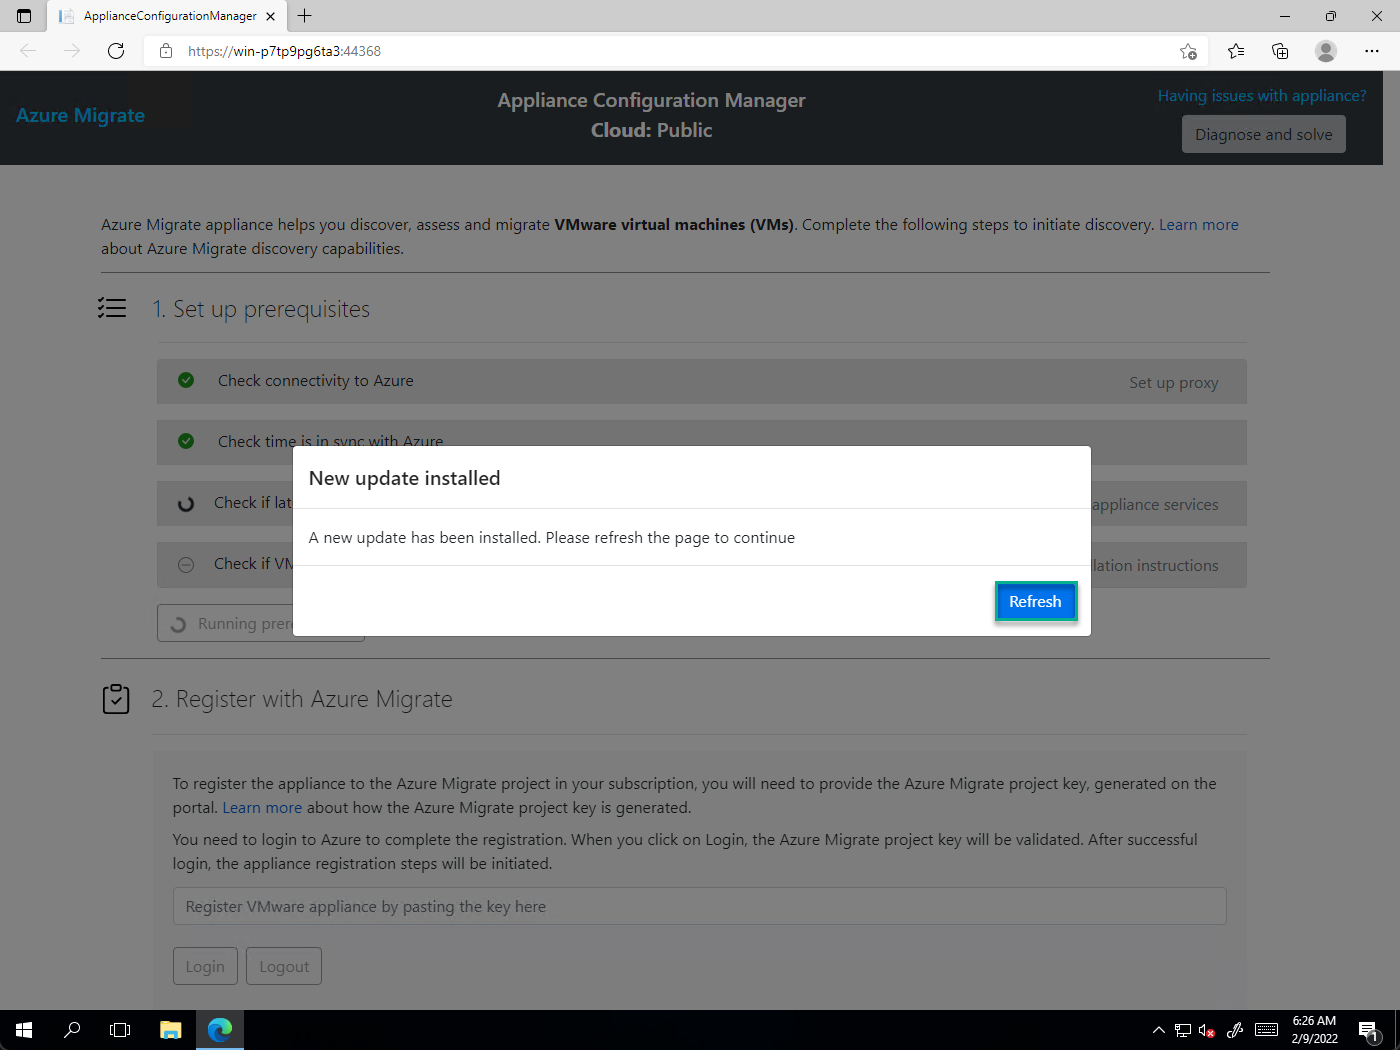
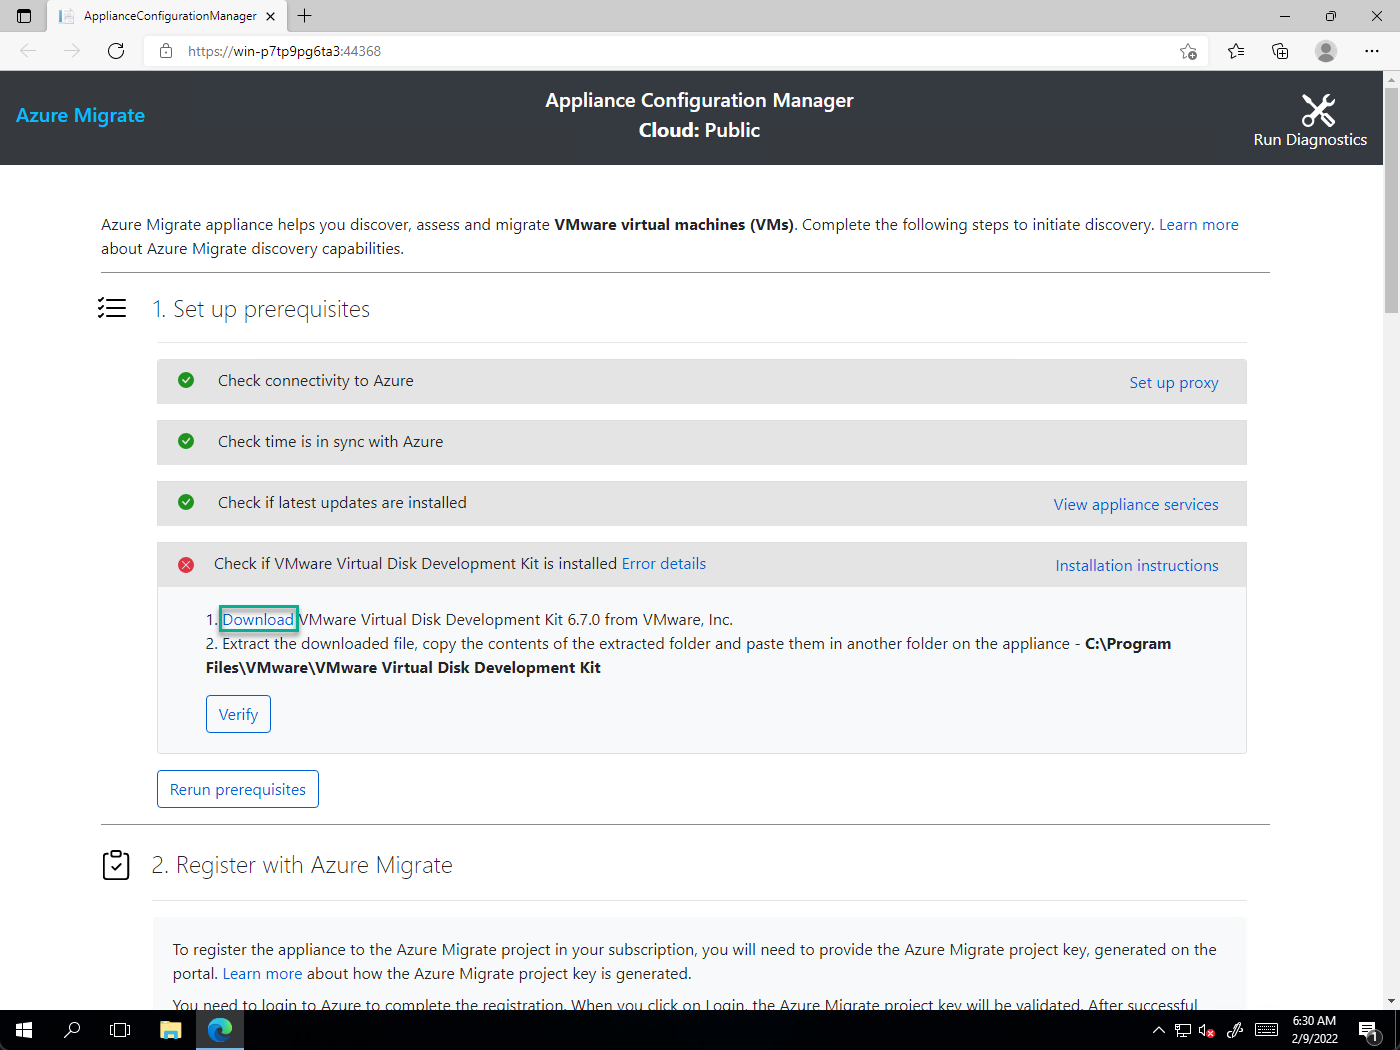
There will often be updates to the appliance, which will auto-install, and I click “Refresh” to reload the configuration.
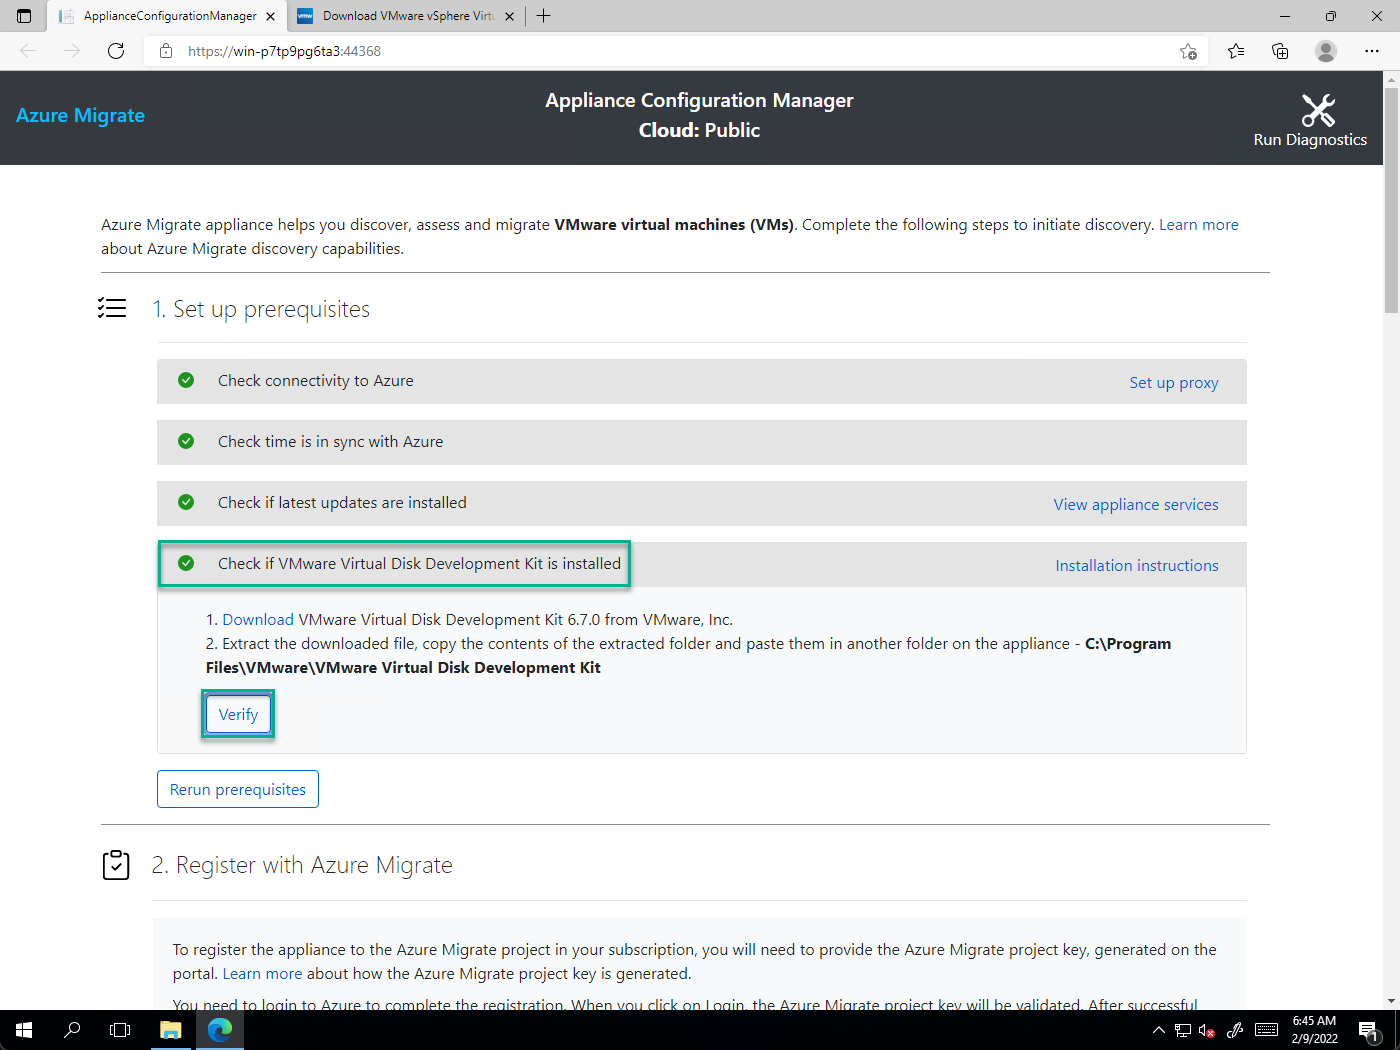
Next, I need to download the “VMware Virtual Disk Development Kit” from VMware. I click on “Download” to open the site.
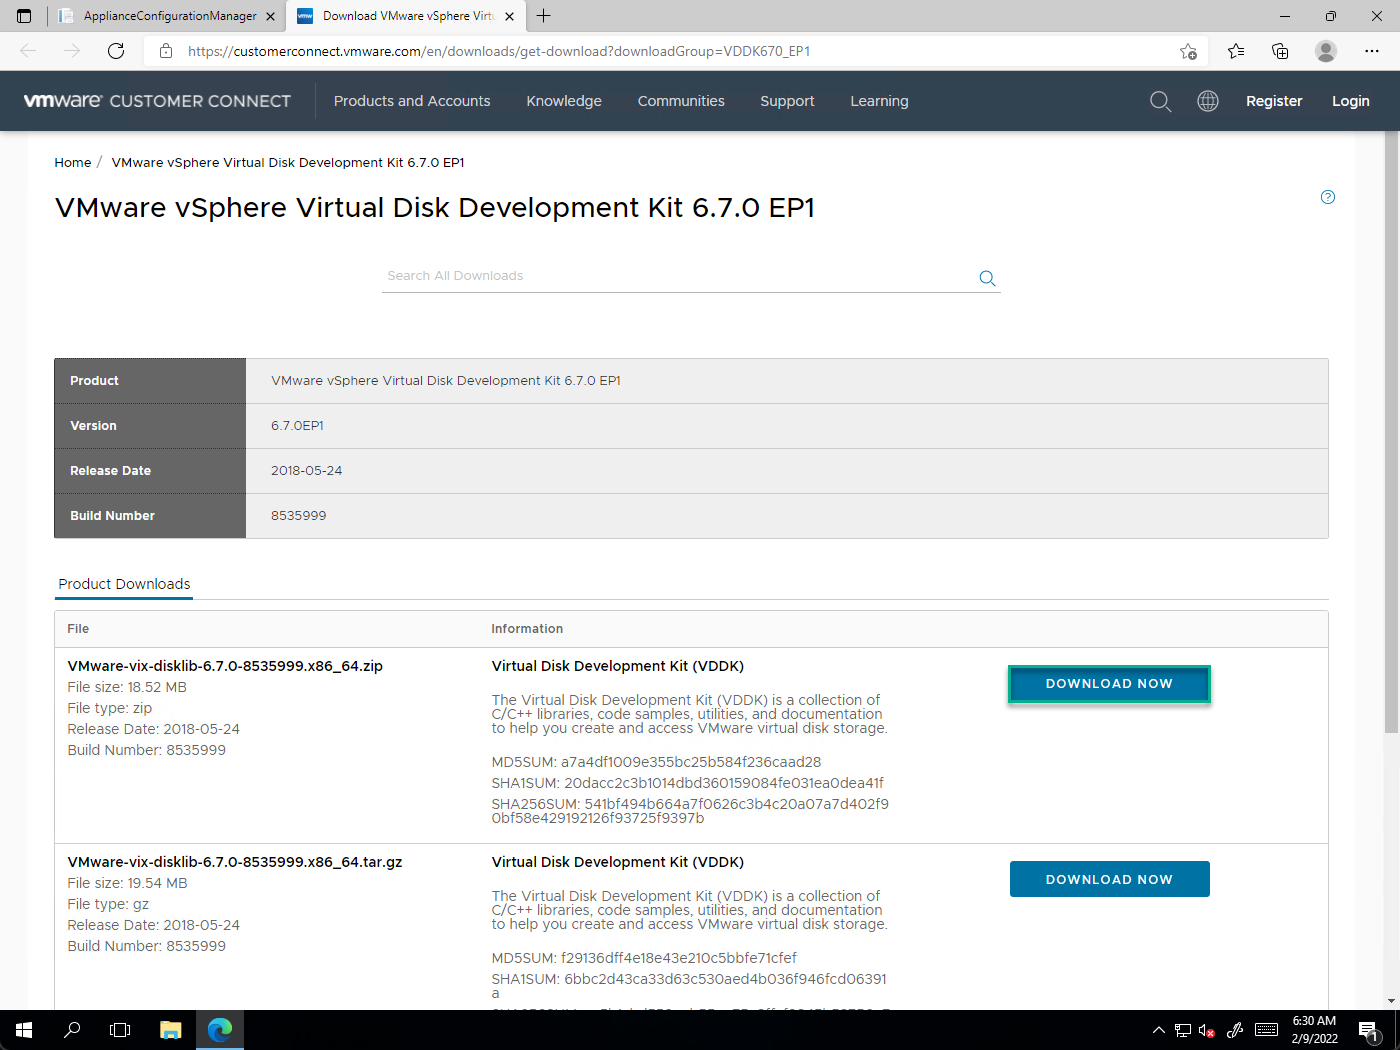
I will click on “Download now” next to the Windows version of the development kit.
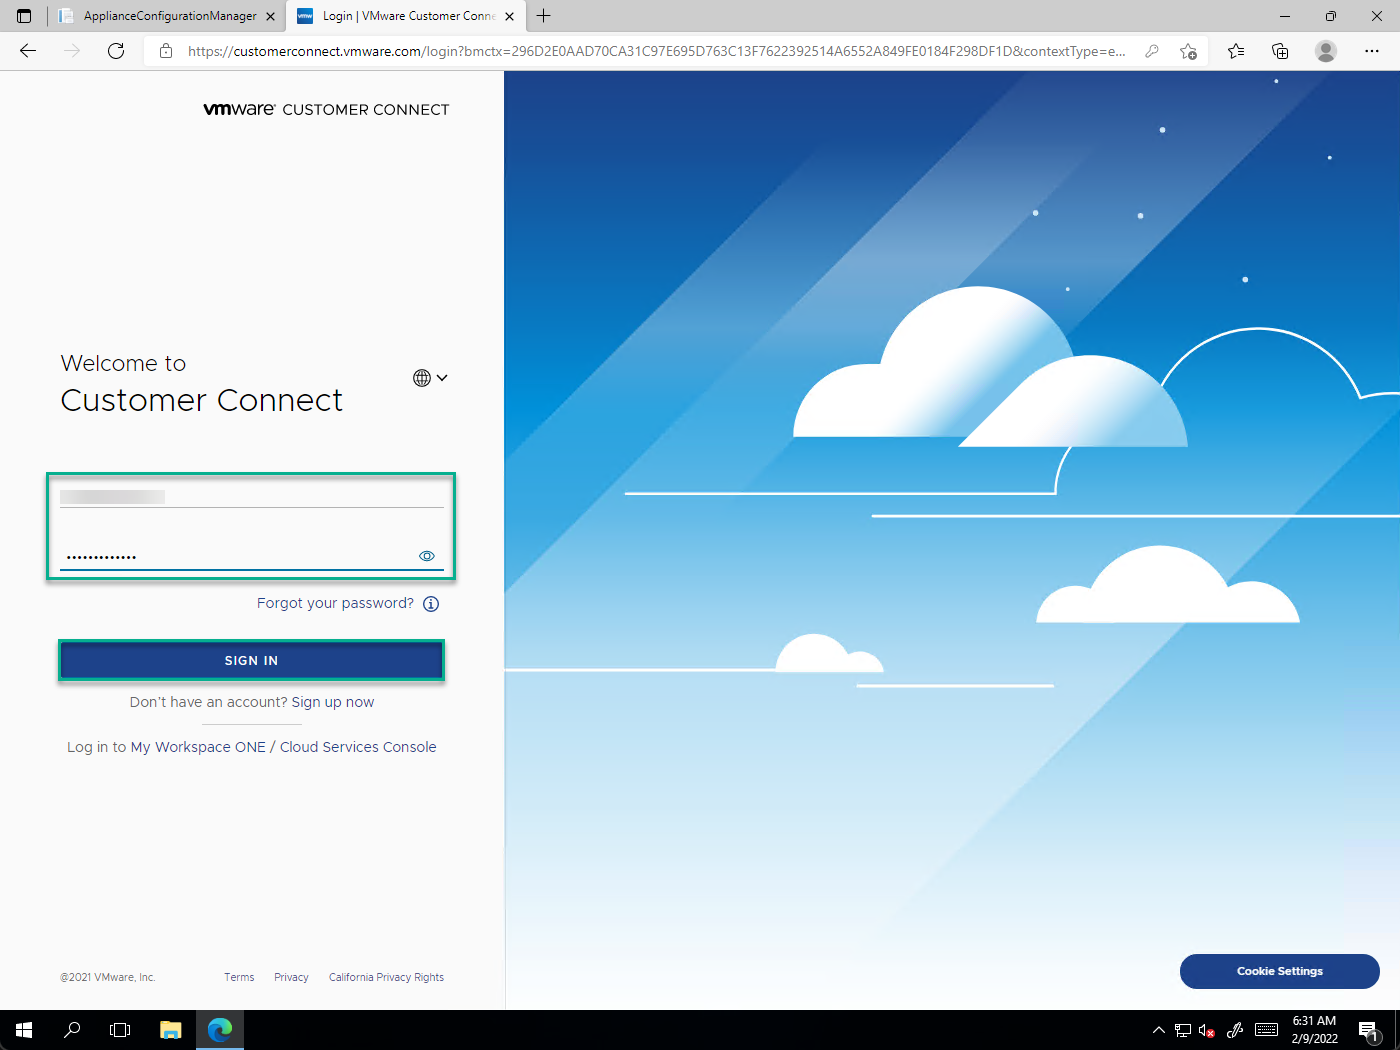
I will need to log in to the VMware site to download. If you don’t have an account, you can create one. The account is free, and so is the download we are using in this guide.
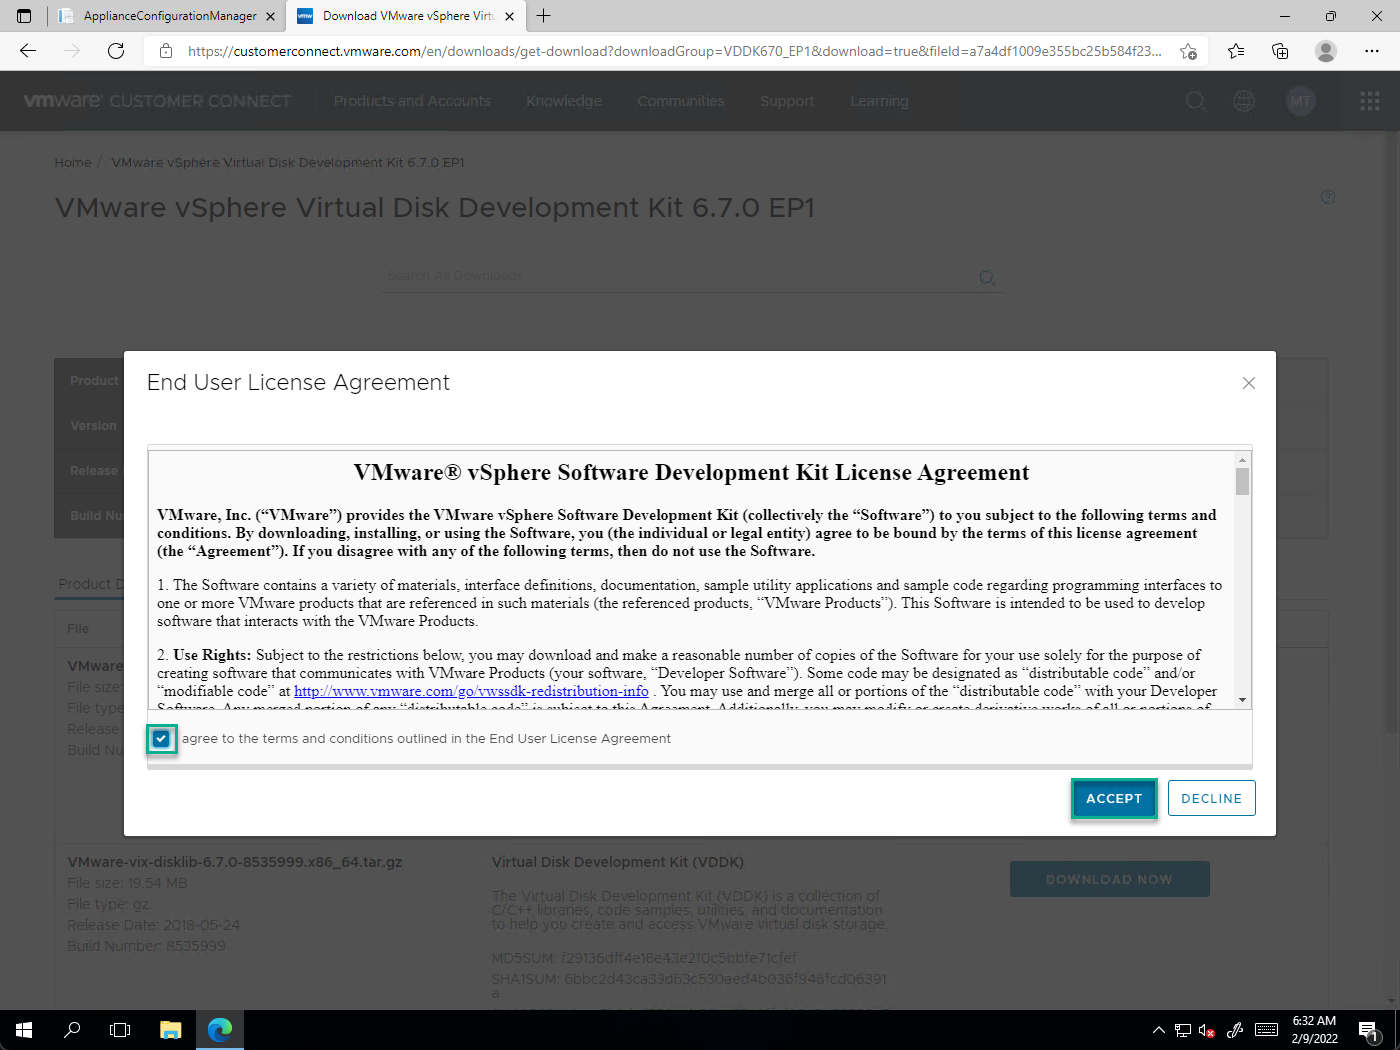
I will accept the end-user license agreement.
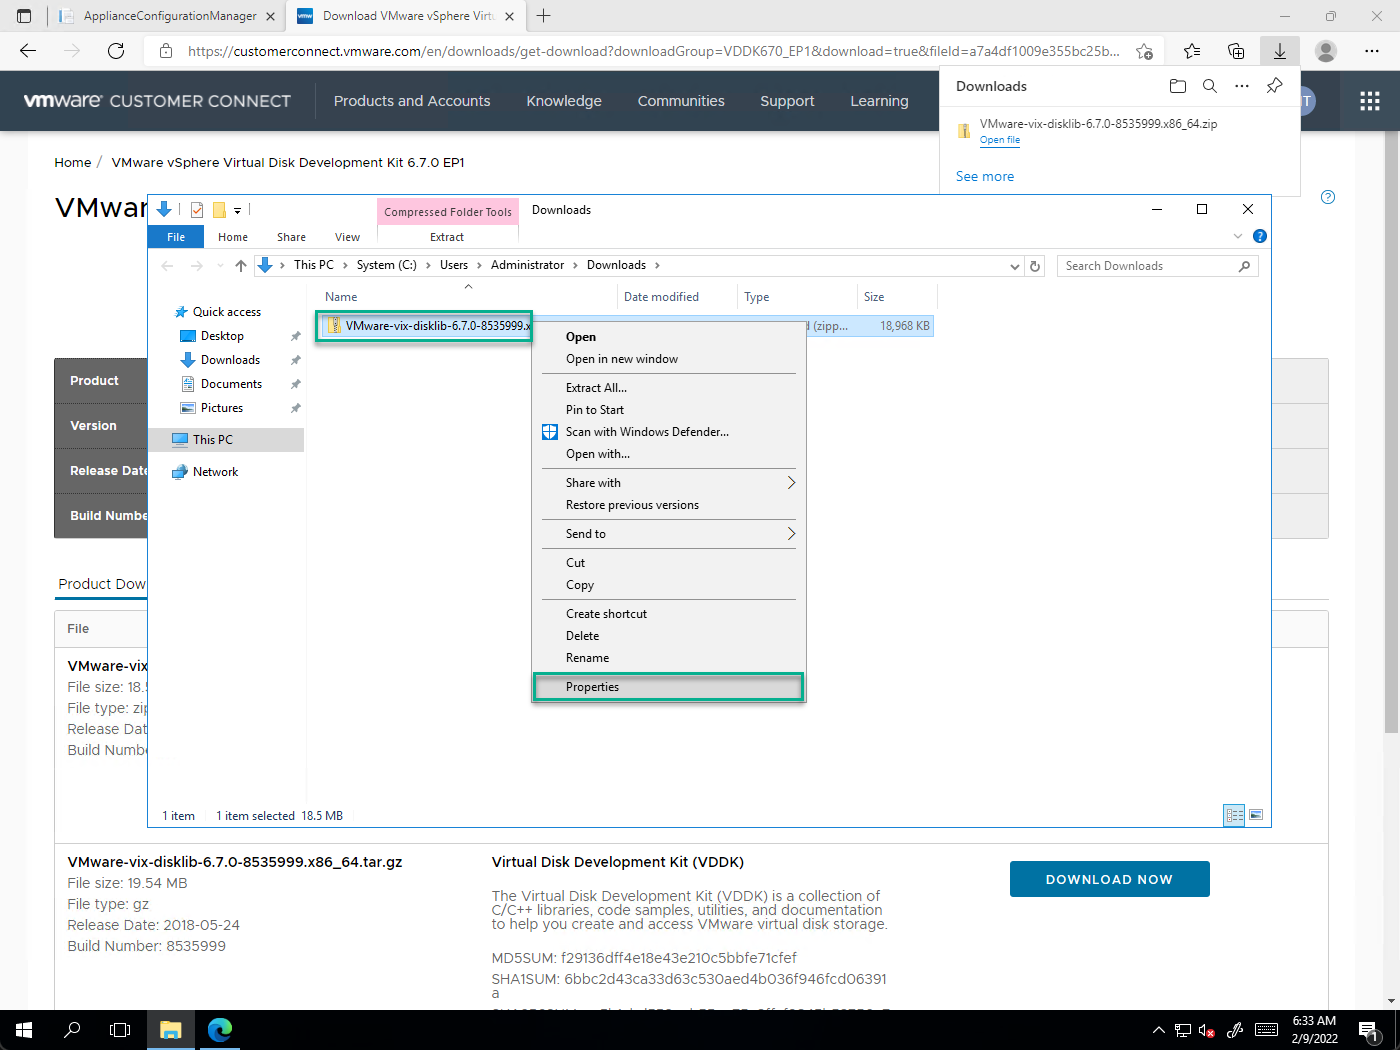
When the download is complete, I will go to “Properties” for the file.
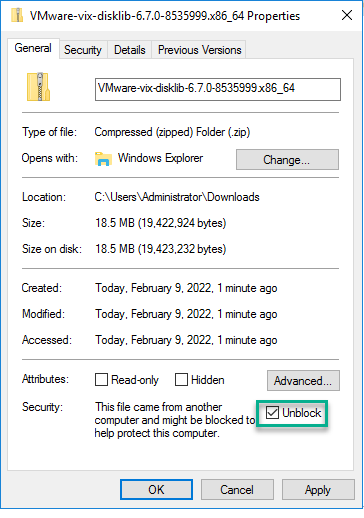
I will mark “Unblock” and click on “OK.”
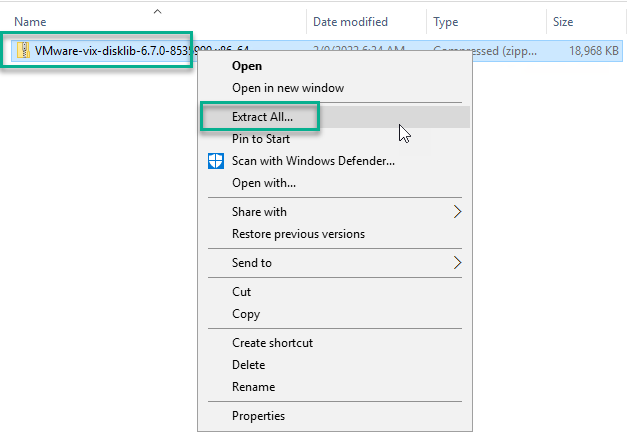
Now, I will right-click the ZIP file and select “Extract All.”
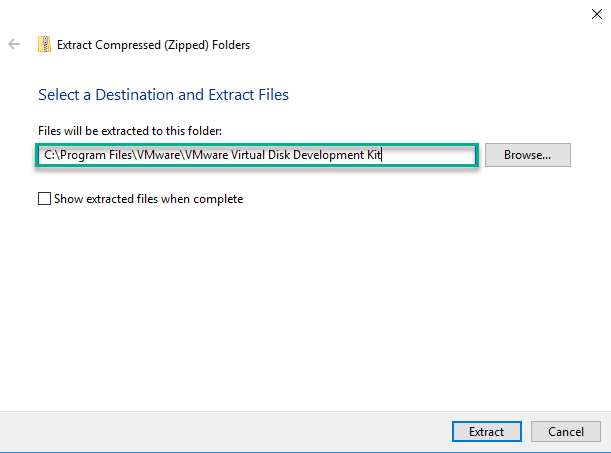
I will extract the files into “C:\Program Files\VMware\VMware Virtual Disk Development Kit.”
I can now click on “Verify” to ensure Azure Migrate has discovered the new files.
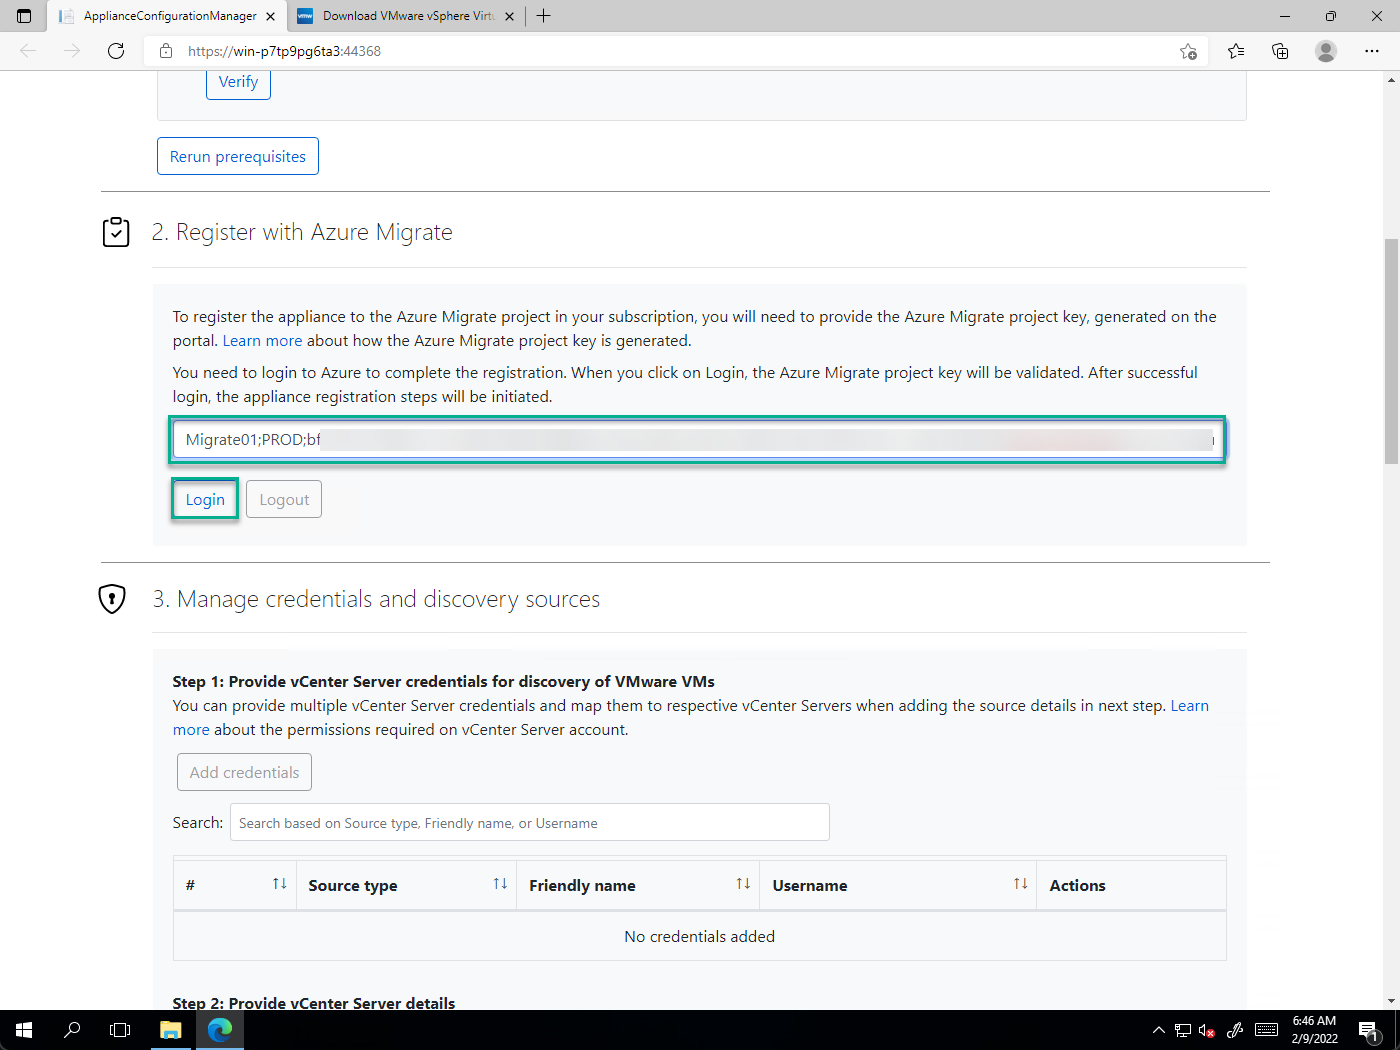
Next, I need the “Project Key” from the Azure portal and click on “Login.”
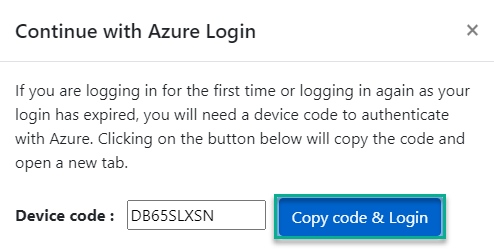
I click on “Copy code & Login.”
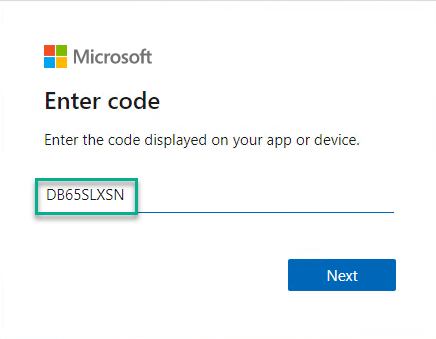
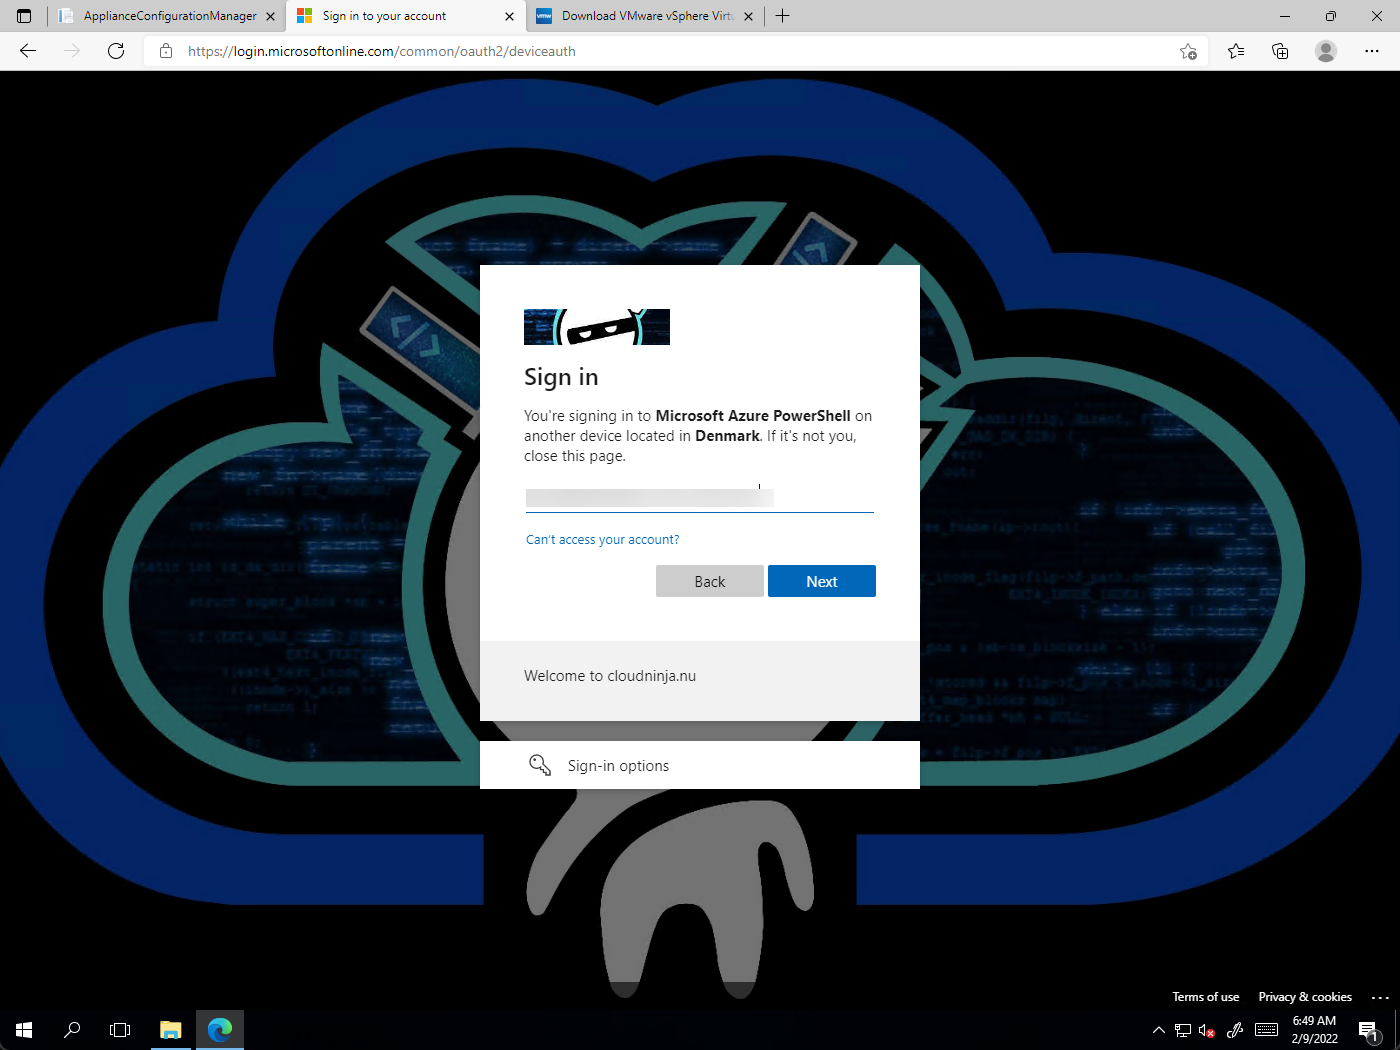
I paste in the code and click on “Next.”
I will sign in with my account. The account needs to have permissions to create app registrations in Azure.
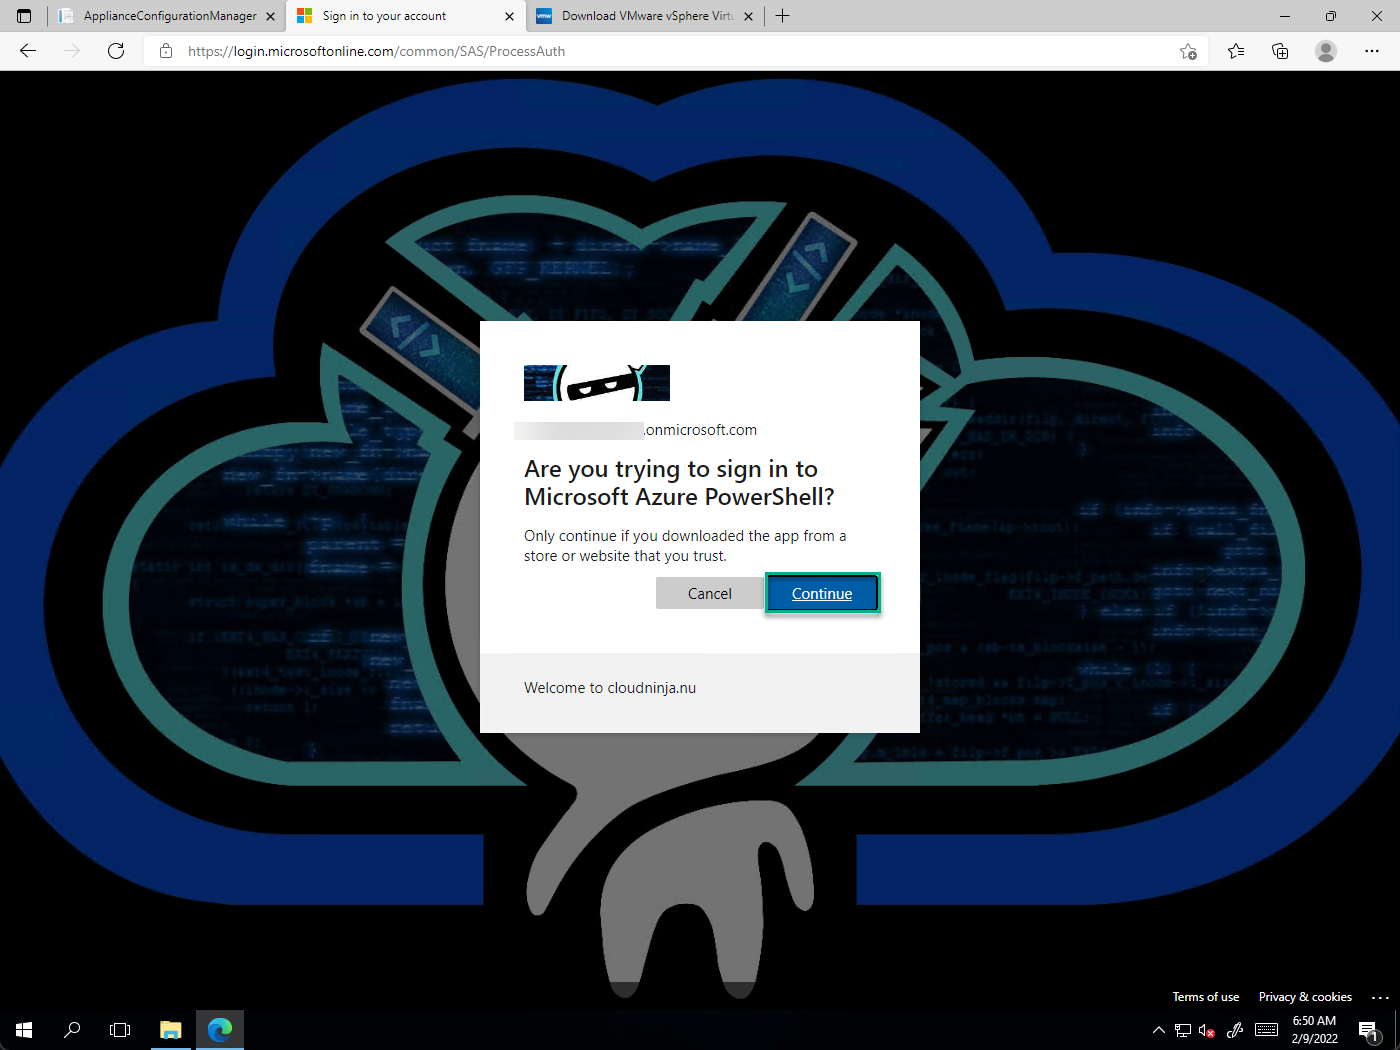
I will click on “Continue.”
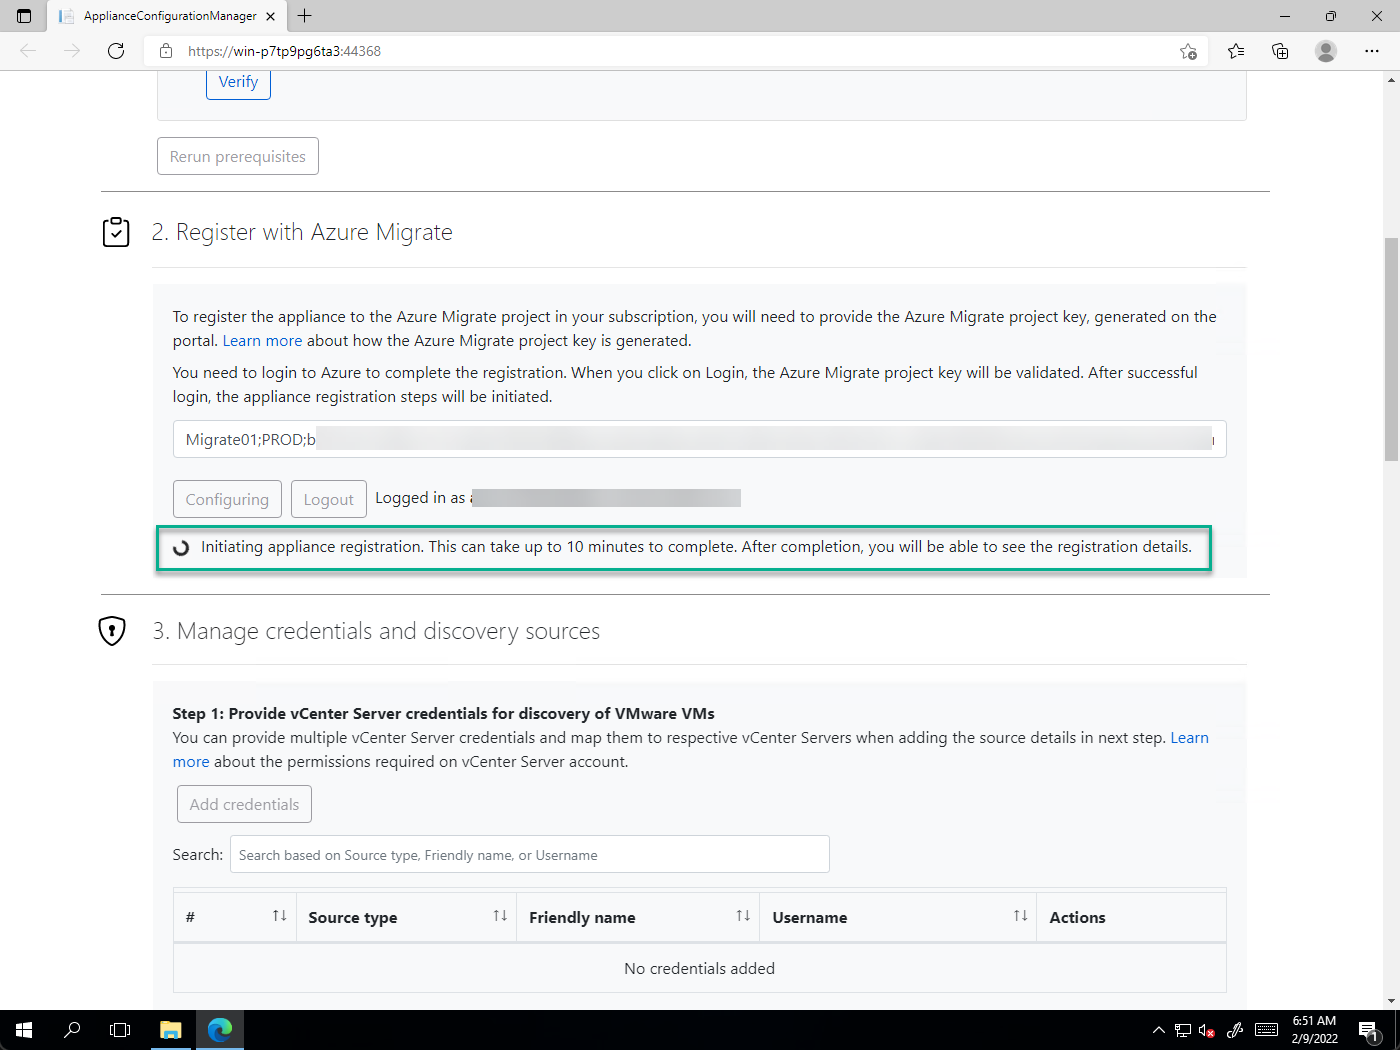
The appliance registration can take up to 10 mins to complete.
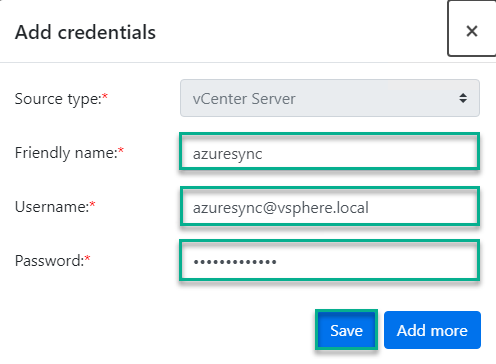
I will click on “Add credentials.”
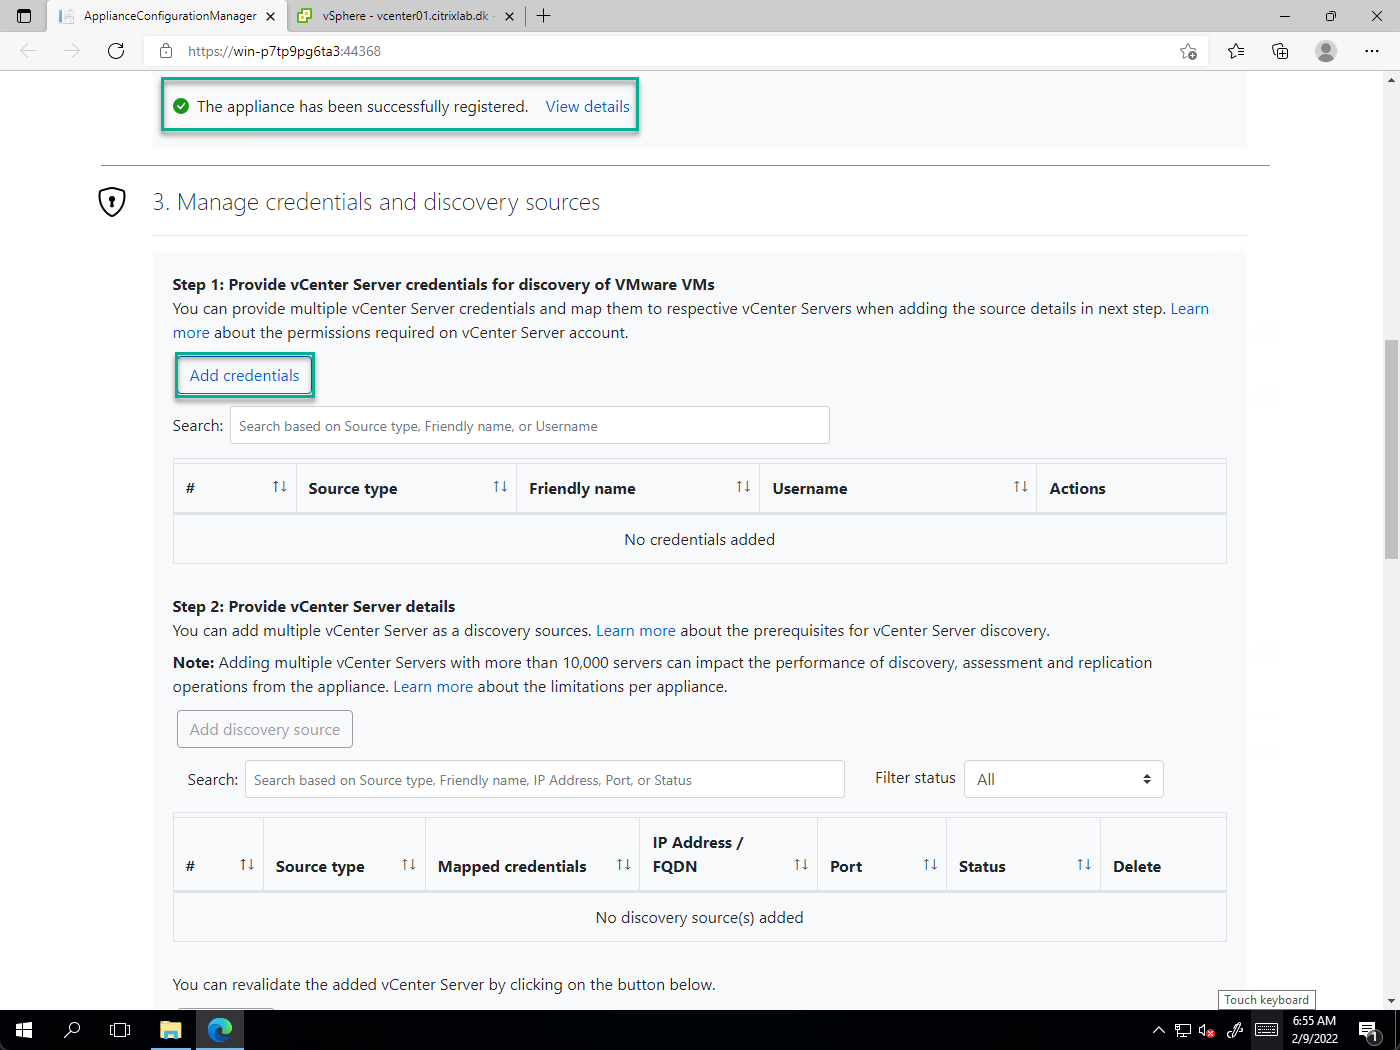
I will add my account for synchronization. In my case, I created a new account for this purpose and assigned permissions to only some folders inside vCenter.
Next, I click on “Add discovery source” type in the FQDN on my vCenter and select the port and credentials to use. I can then click on “Save.”
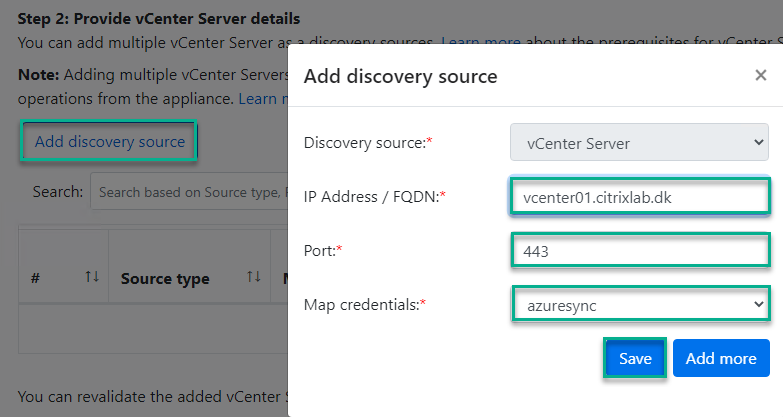
Azure Migrate will validate the vCenter and credentials.

I could add credentials to discover software, SQL, and Web Apps inside my VMs. I will not do this in this article, so I select “I don’t need to perform these features” and click on “Start discovery.”
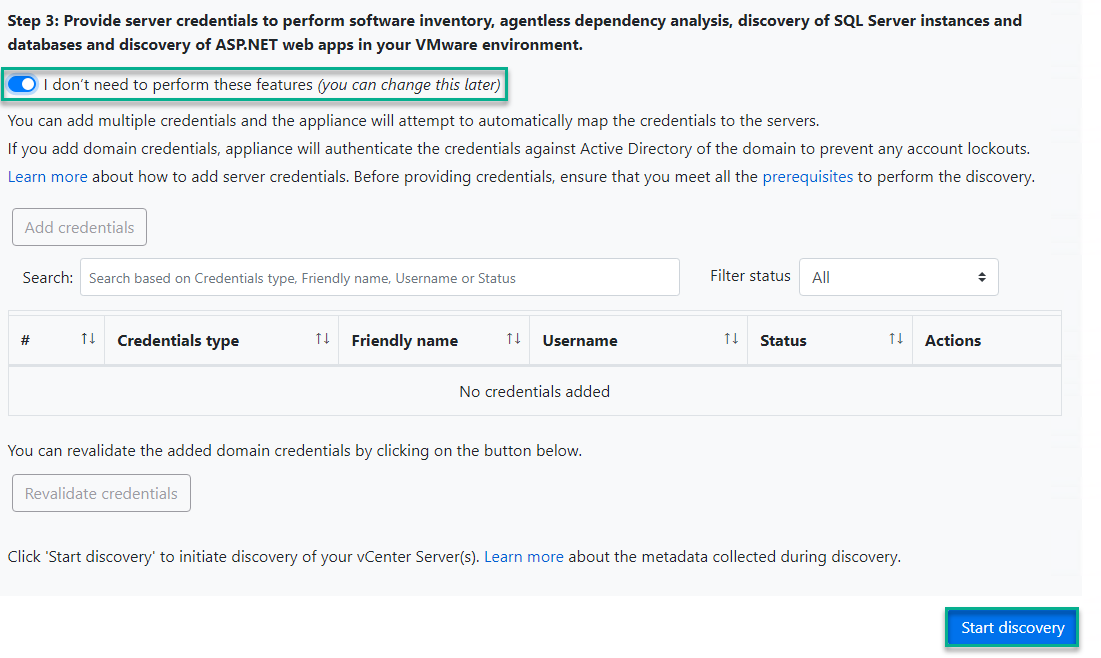
The configuration on my appliance is complete, and I can follow the process in the Azure portal.

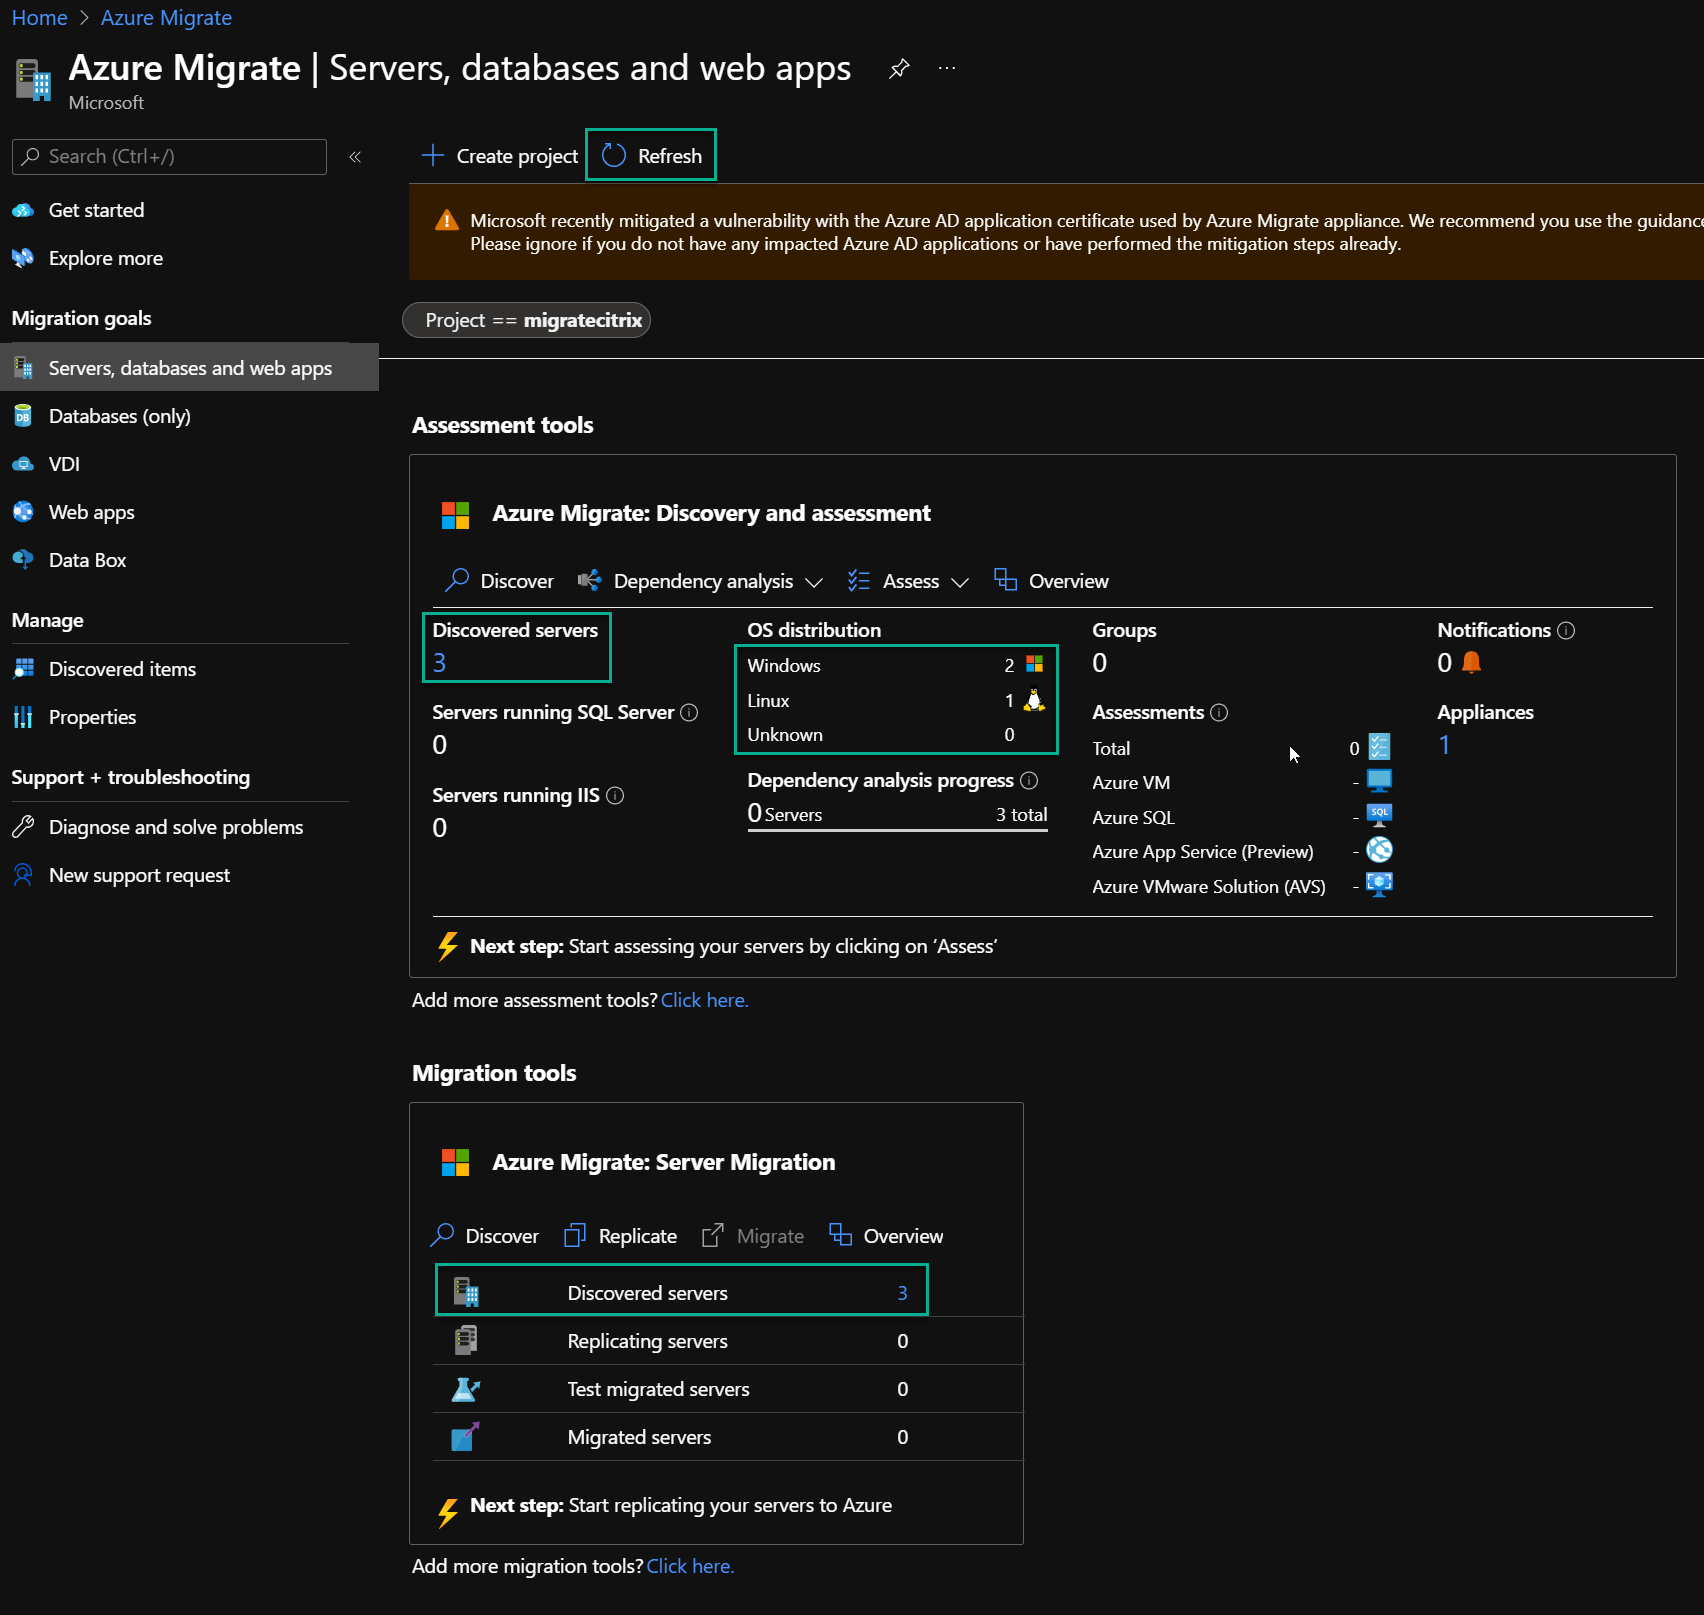
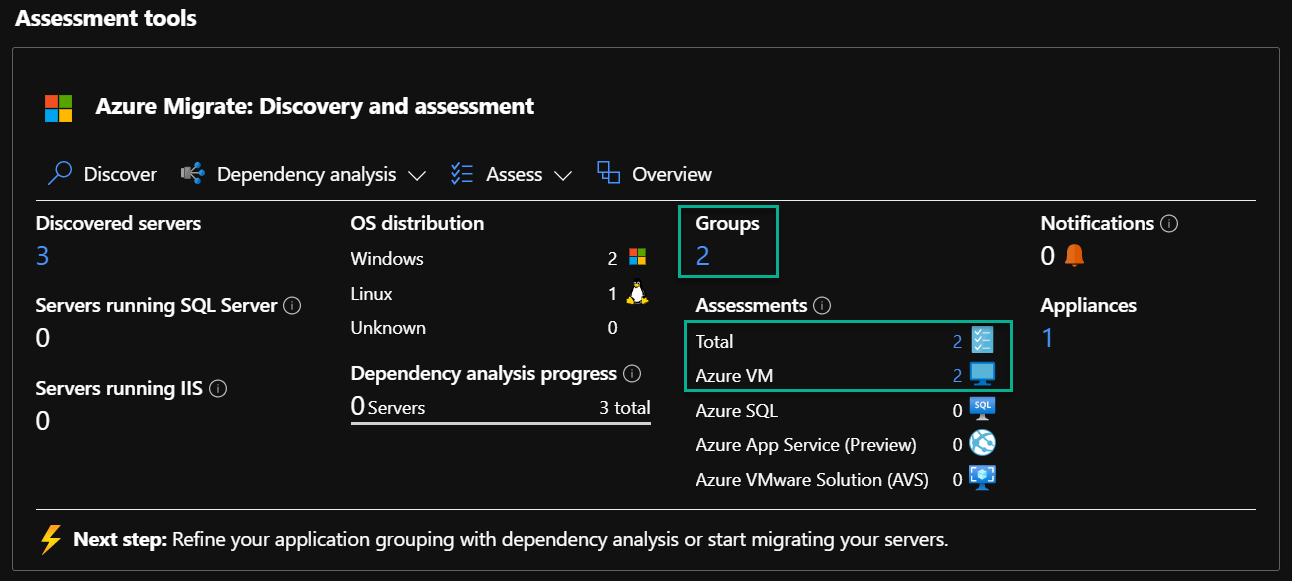
After a bit of time, the discovery is complete, and the Azure portal now shows three discovered servers, two Windows servers, and one Linux. It only sees three servers instead of 21 because of the vCenter permissions I have assigned to my synchronization account. Setting these permissions can be helpful when you need to migrate from a service provider into Azure.
Grouping discovered servers
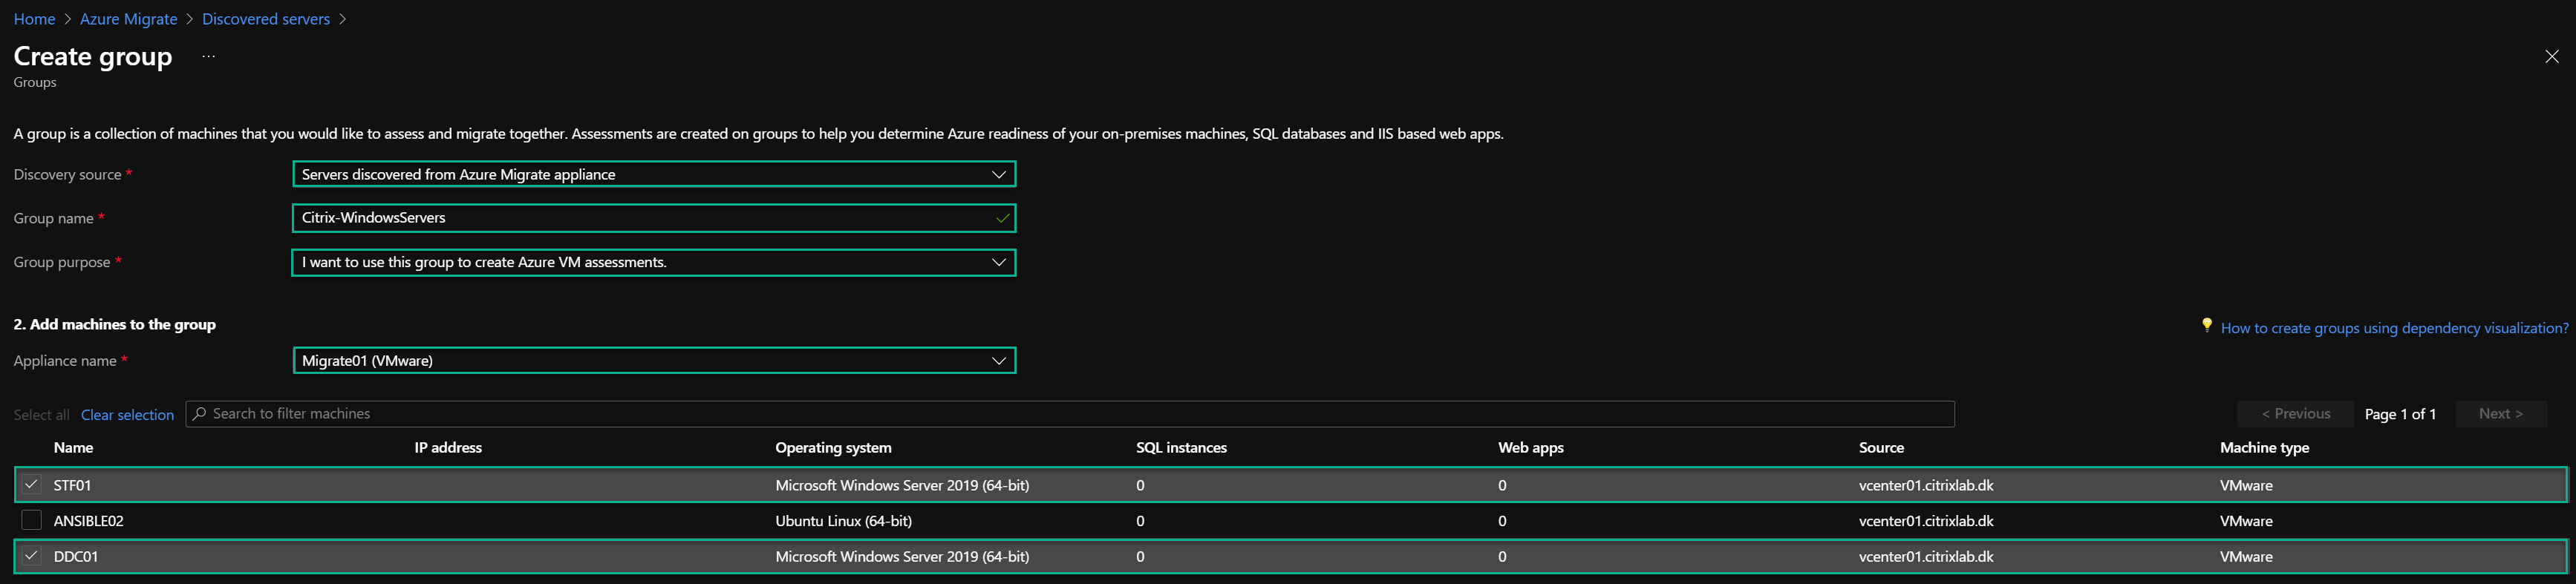
From the overview, I will click on “Discovered servers (see the picture in the above section), and I will then click on “Create group” from the server list view.

I select the discovery source, name my group “Citrix-WindowsServers,” and use the group for Azure VM Assessments. I need to choose my appliance and then mark the servers I need, in this case, “STF01” and “DDC01.”
I will go through the grouping process again to create a group for my Linux server, but I will spare you the pictures for that process.
Assesment of servers
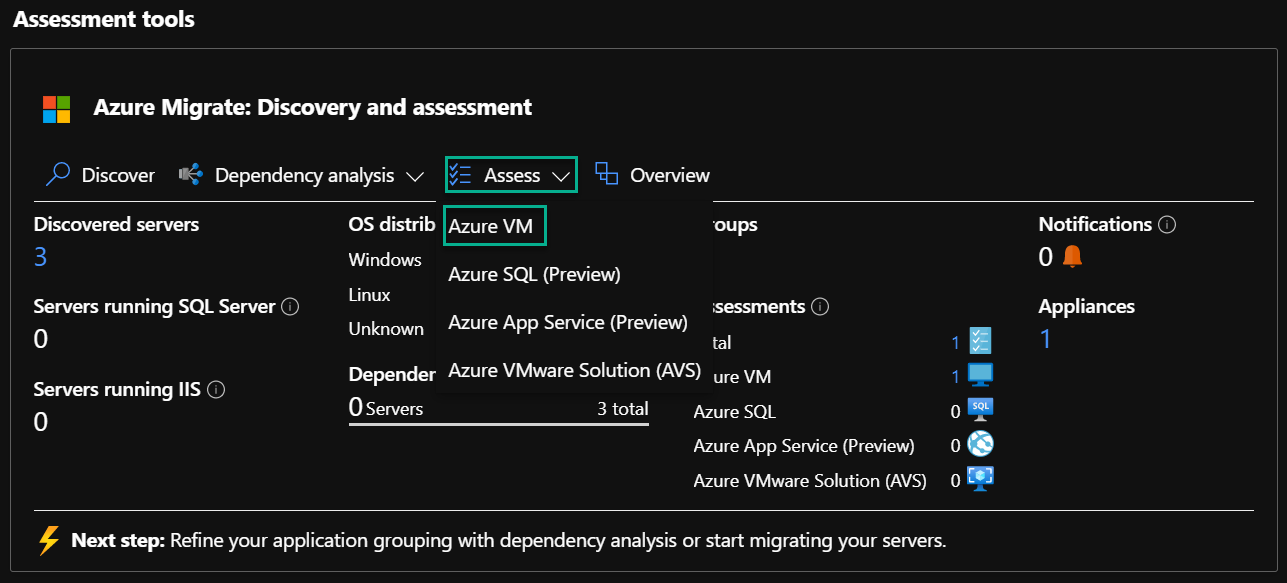
After creating the groups, I want to make an assessment. I do this by clicking on “Asses” and selecting “Azure VM.”
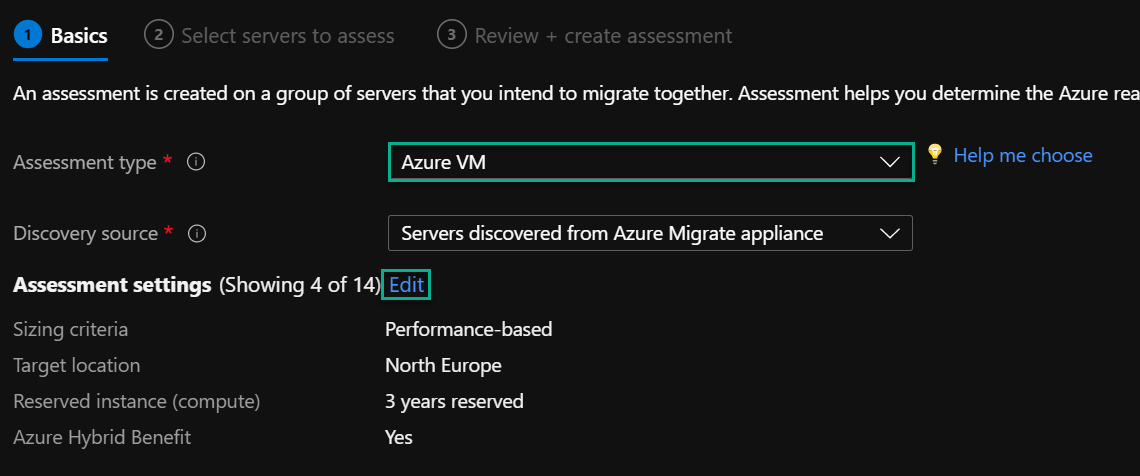
I will click on “Edit” for the “Assessment settings.”
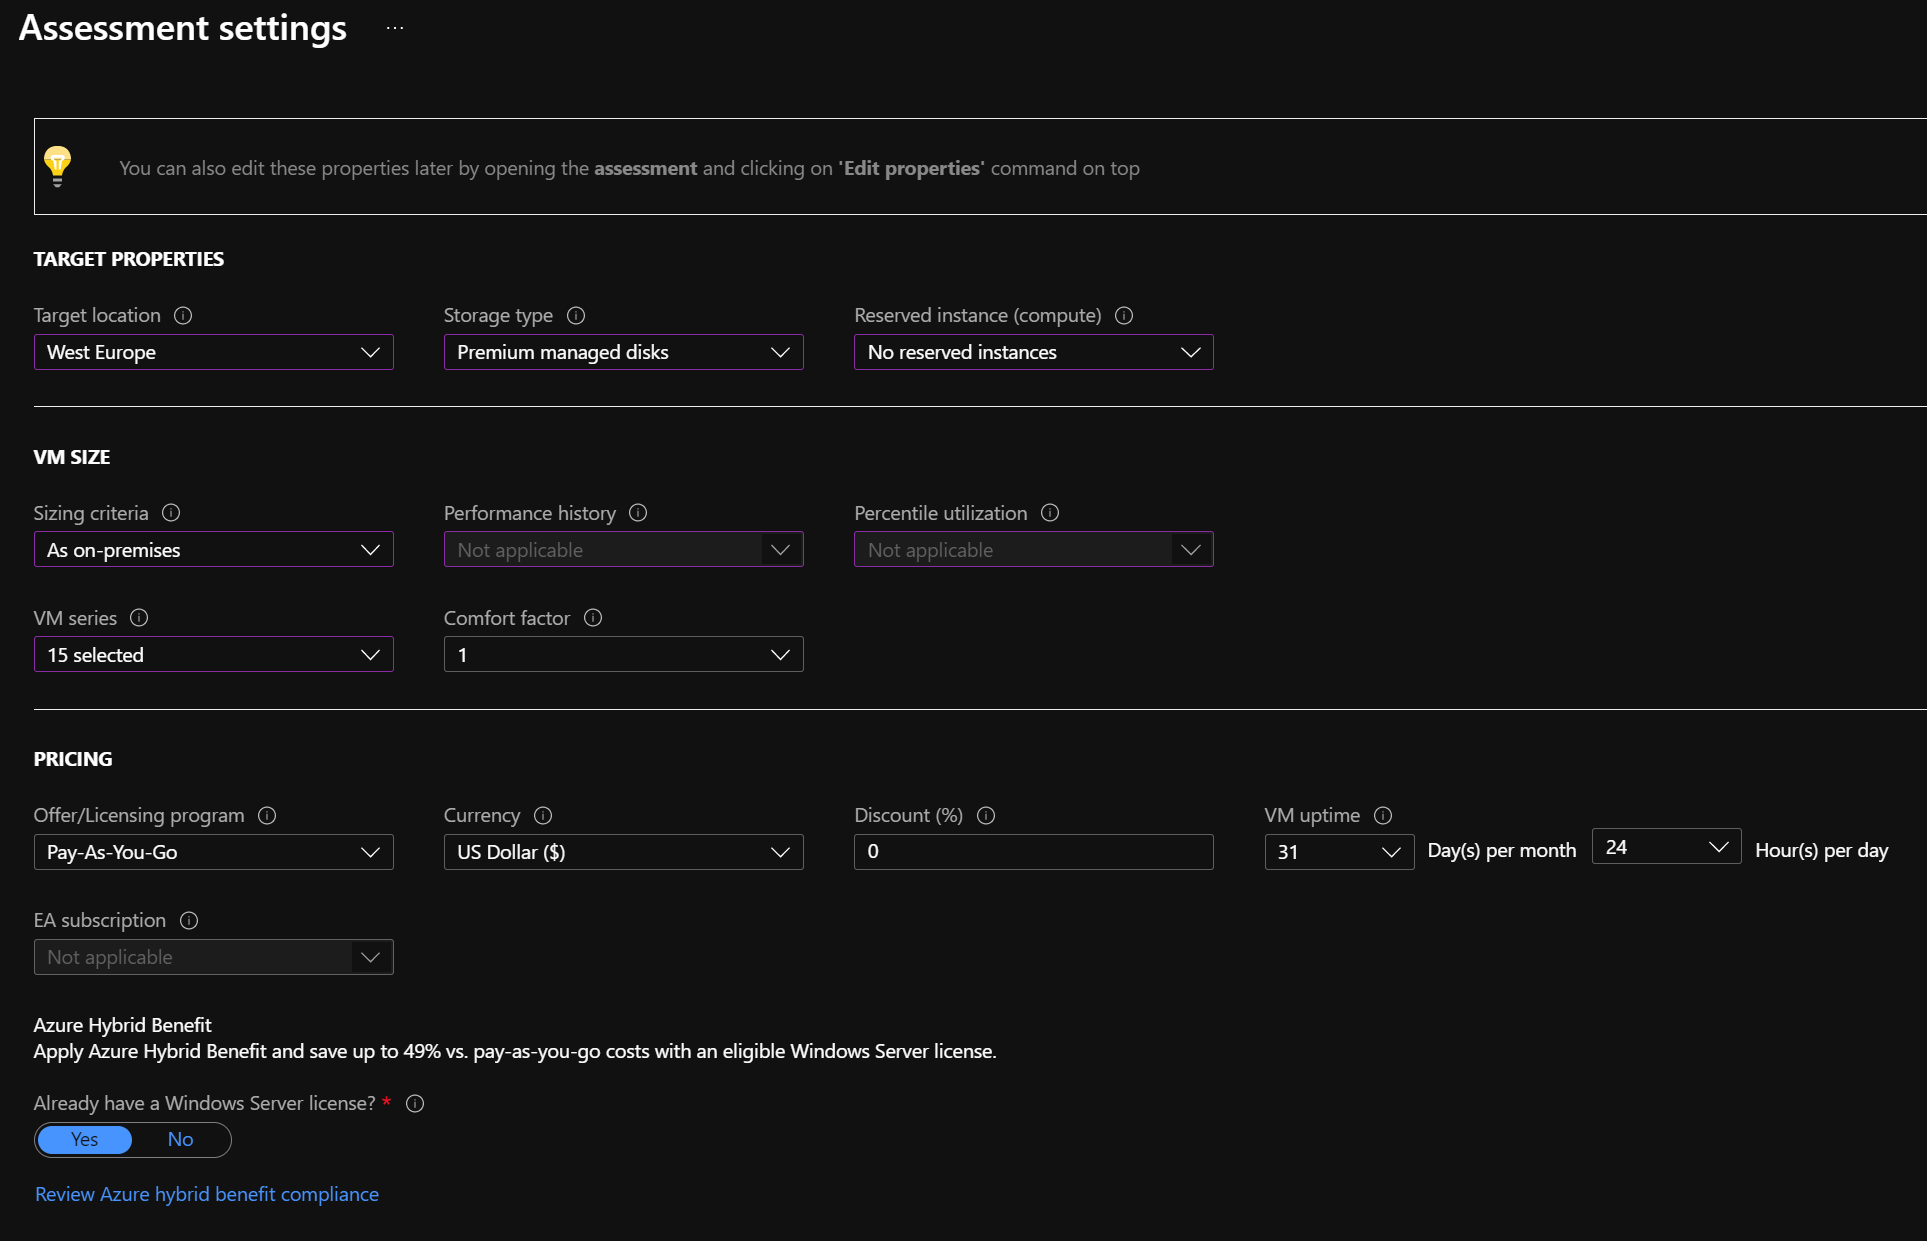
Here you can set the preferences for the assessment. In my case, I don’t want to have reserved instances. I like the VMs to have the same RAM, CPU, and disk as it has on-premises, and lastly, I select all 15 VM series for the assessment. I can choose my subscription model, currency, and discount, in my case, it is pay-as-you-go and no discount, but I do have hybrid benefits.
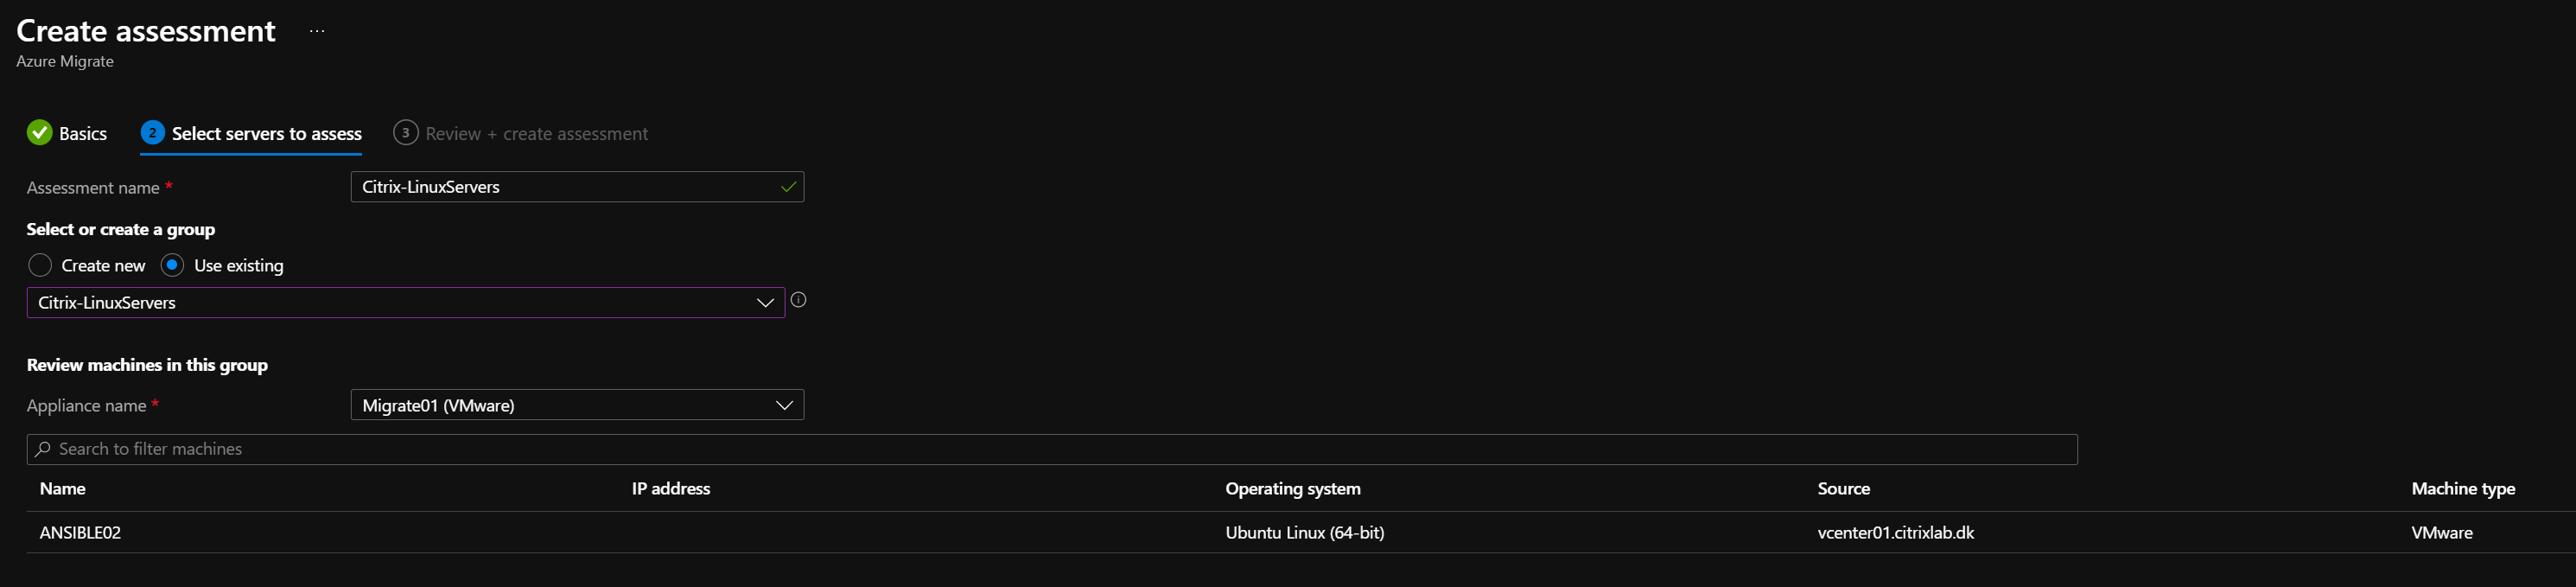
I will name my assessment “Citrix-LinuxServers” and select the group I made for my Linux server. The server is called “Ansible02.”
As with the groups, I will also create an assessment for my Windows servers, but I will spare you the pictures for the process.
With the assessments complete, I can check what Microsoft wants my migration to be by clicking on the “Azure VM” link under “Assessments.”
Azure Migrate replication
I can now focus on the replication with all the “preparation” work completed. The process is similar to the grouping, but let’s take it step-by-step.
Ensure that you have created your resource group for the migrated servers before starting this process.
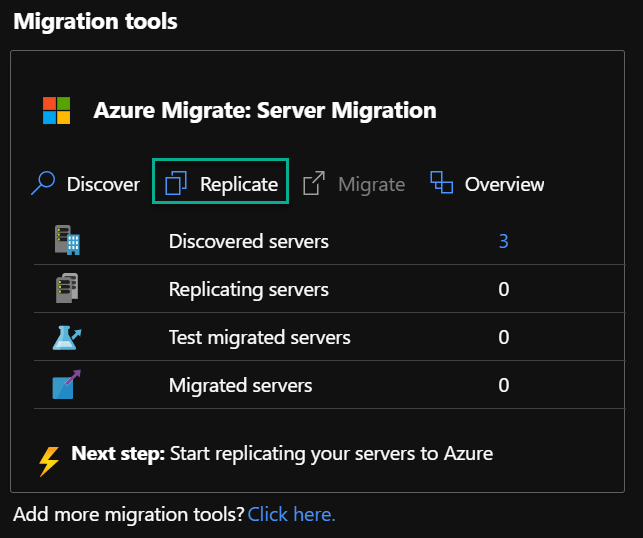
I go to the “Migration tools” section from the overview page and click on “Replicate.”
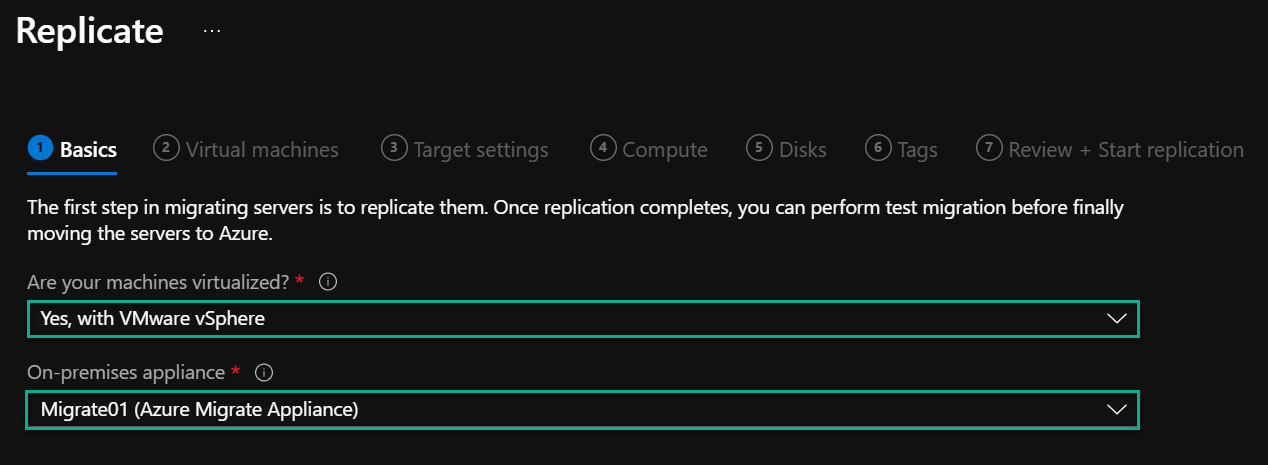
For the question “Are your machines virtualized,” I select “Yes, with VMware vSphere.” For my “On-premises appliance,” I choose “Migrate01 (Azure Migrate Appliance).”
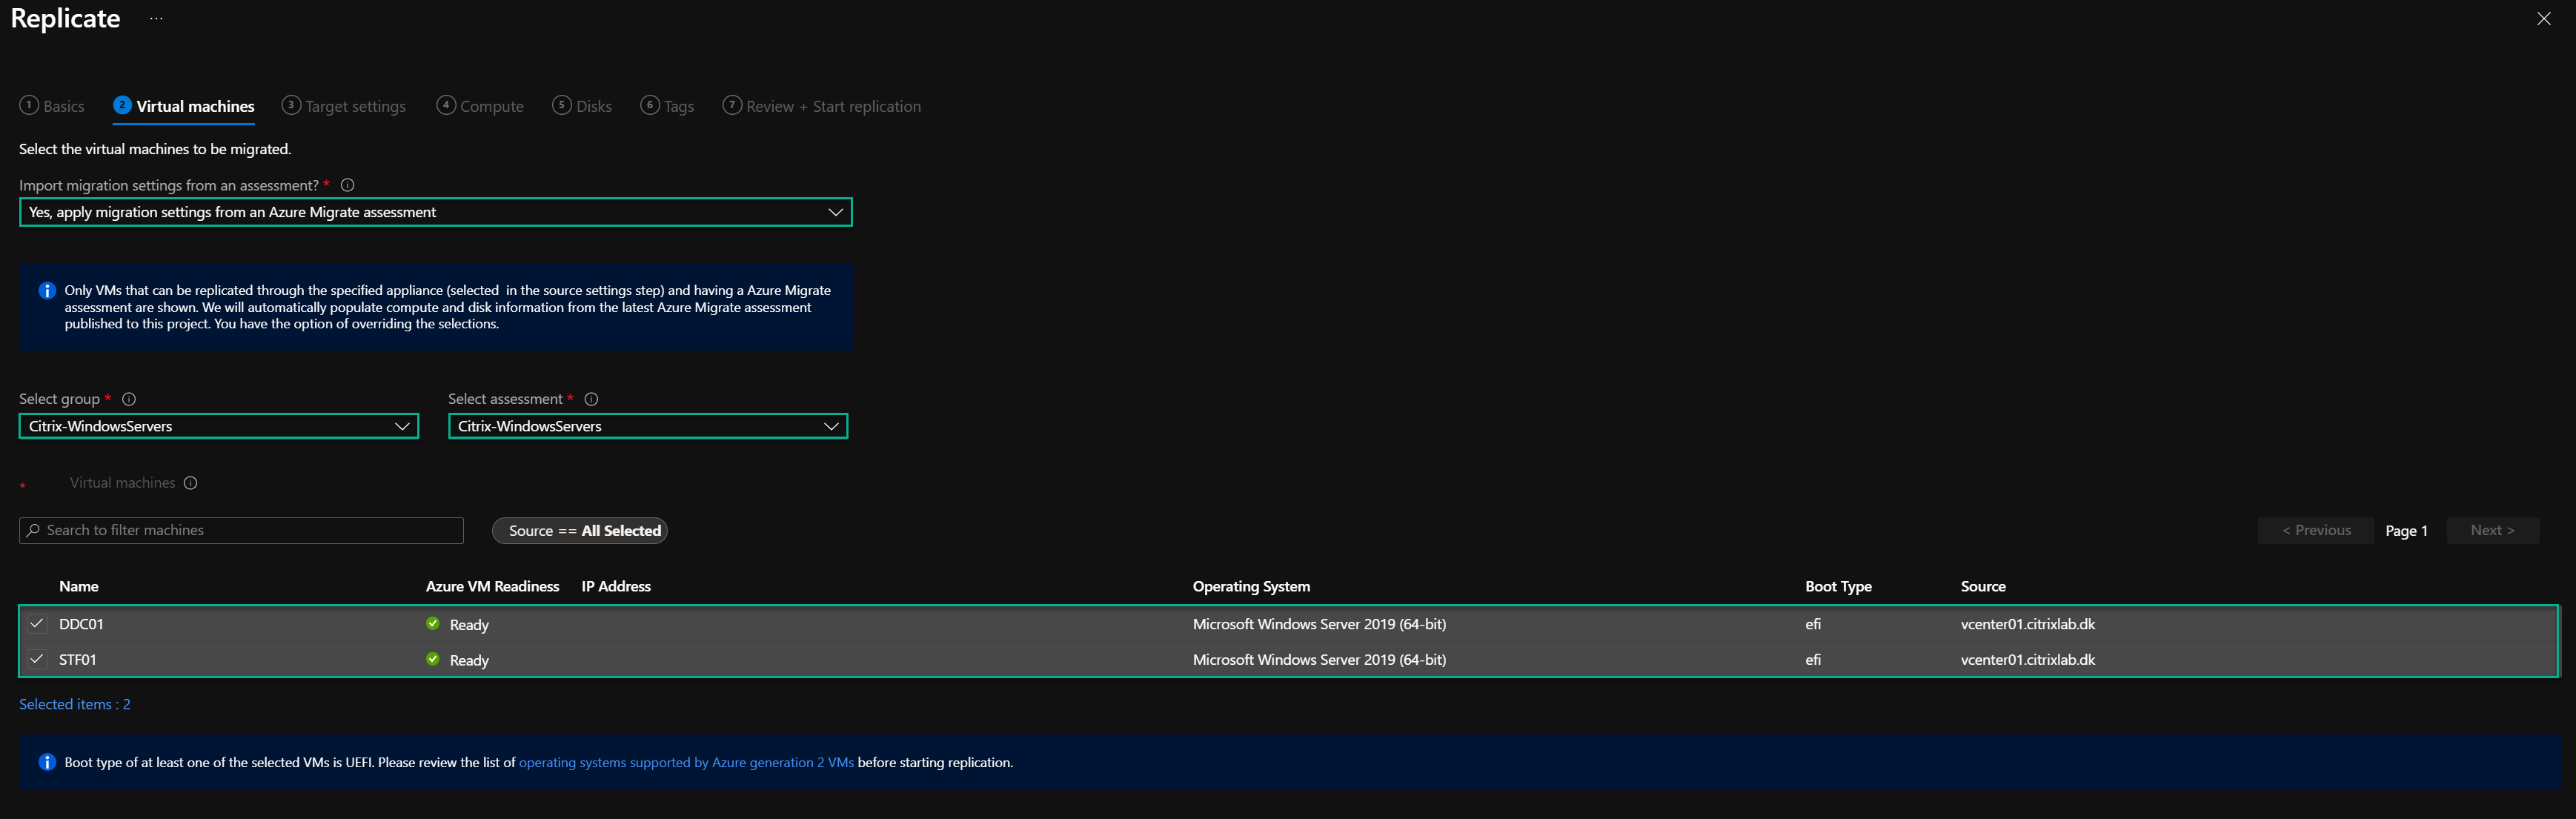
I will select “Yes, apply migration settings from an Azure Migrate assessment” and choose my group and assessment. In this case, it will be “Citrix-WindowsServers” I will focus on.
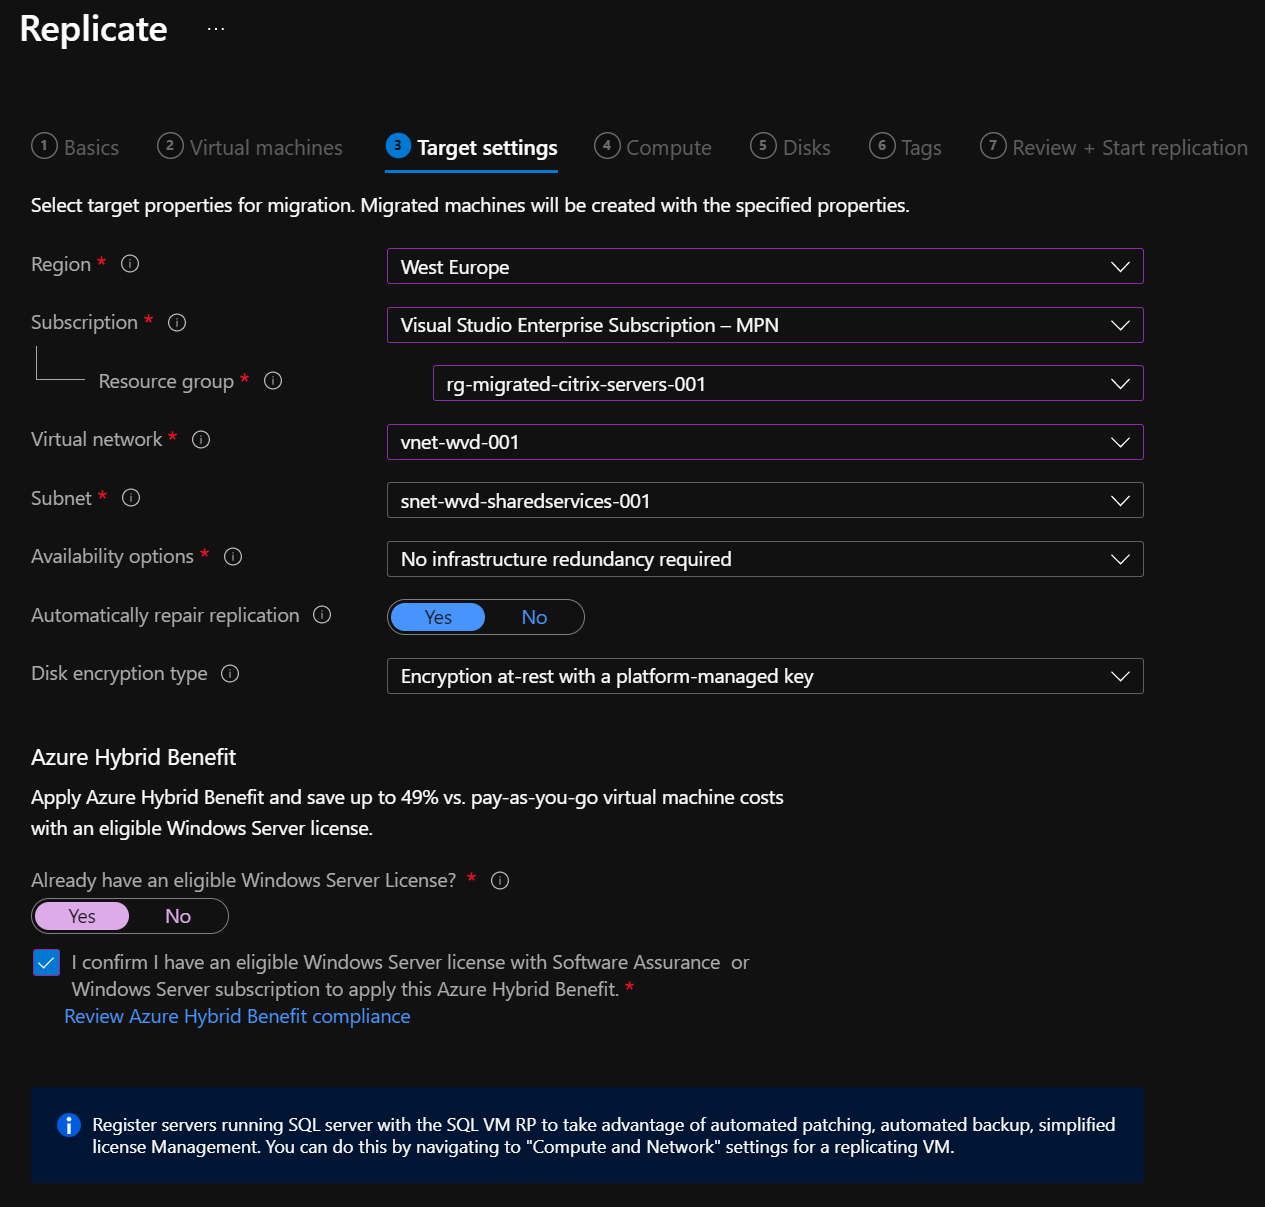
I need to select my target settings, and you can see my selections in the picture below.
Next, the guide will show which size of VM the assessment has chosen for me, I can change it, but I will leave it as is.

I can also choose disk types here. I have chosen “Standard HDD” for demo purposes only.

In my environment, tags are a requirement, so I will add the needed tags for my resources.

The last page is a review.
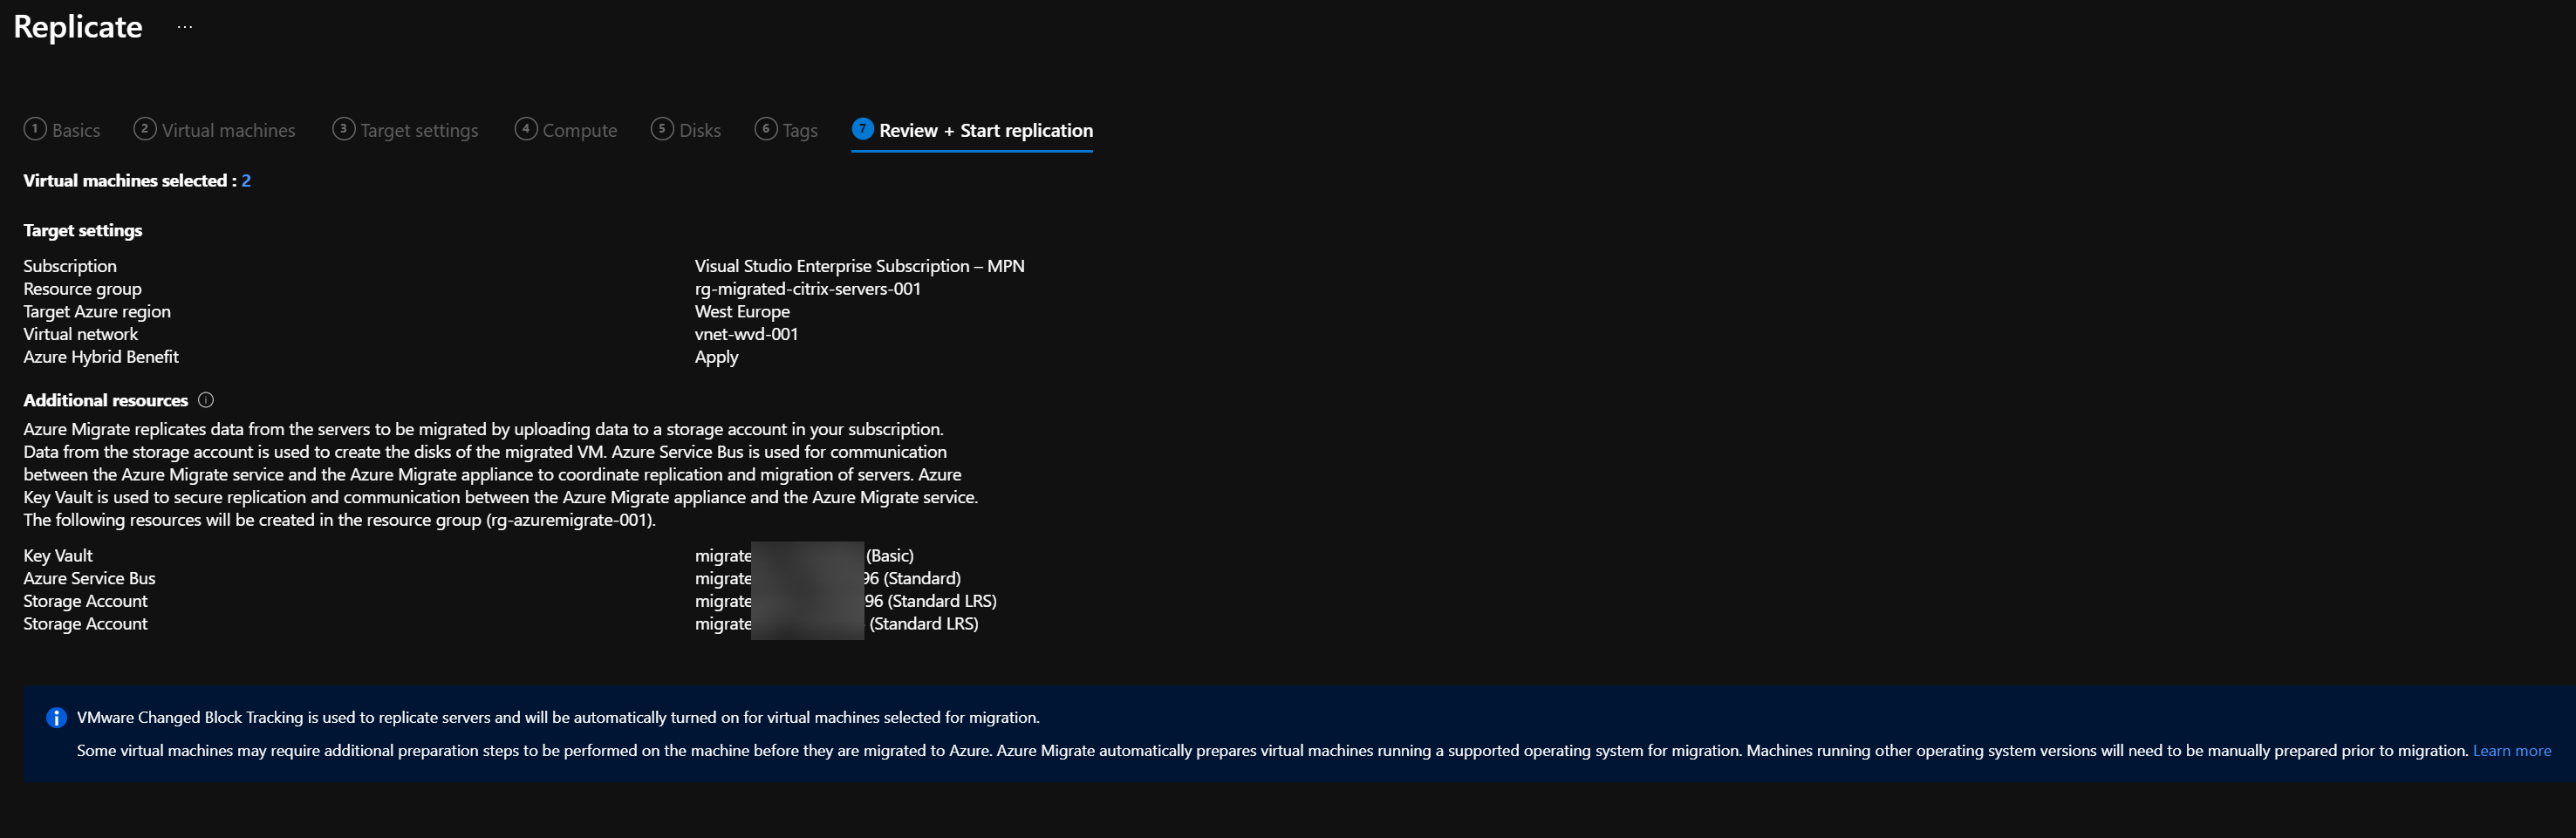
In my case, there is an error in the review. The error is that the Azure key vault is not configured for disk encryption. Why Microsoft hasn’t created this setting, I don’t know, but I will show you how to fix it. The error is listed below.

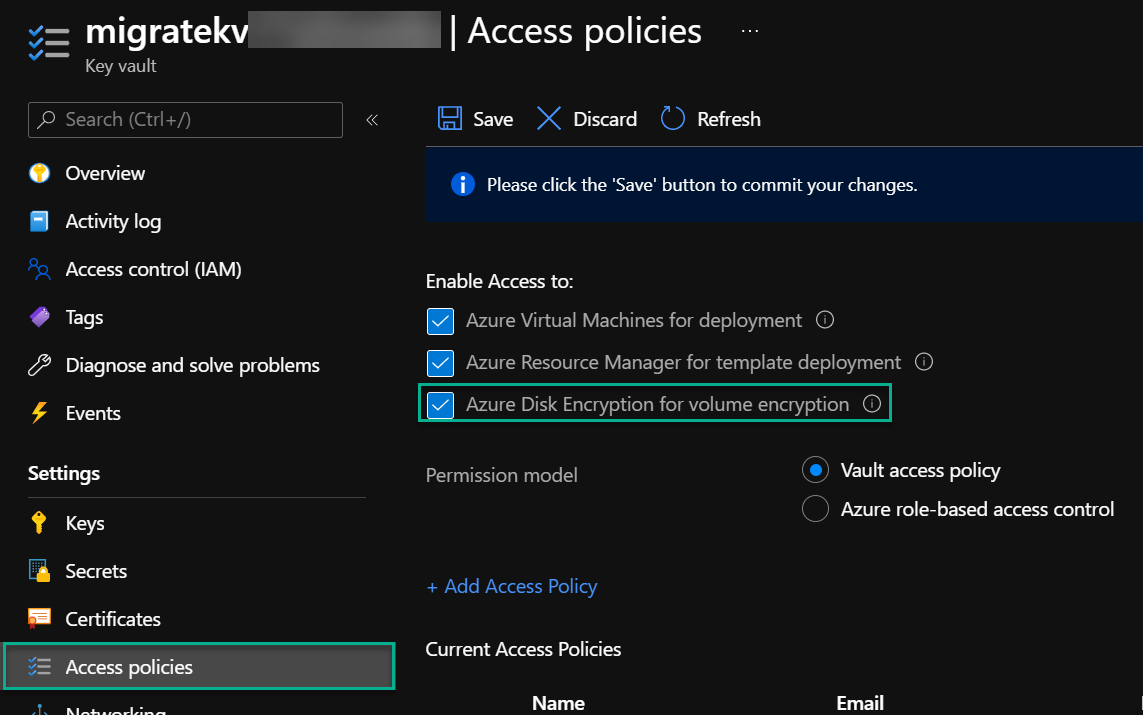
I open a new tab in my browser to fix the error and go to the key vault created for the Migrate project. I go to the “Access Policies” section and mark “Azure Disk Encryption for volume encryption,” and click on “Save.” I can return to my replication tab and verify the replication again.
I will go through the process for my Linux server as well. I can now see three servers replicating, and I click on the “3” to get into the replication details.
I can see that the status is “Initial sync” and queued.

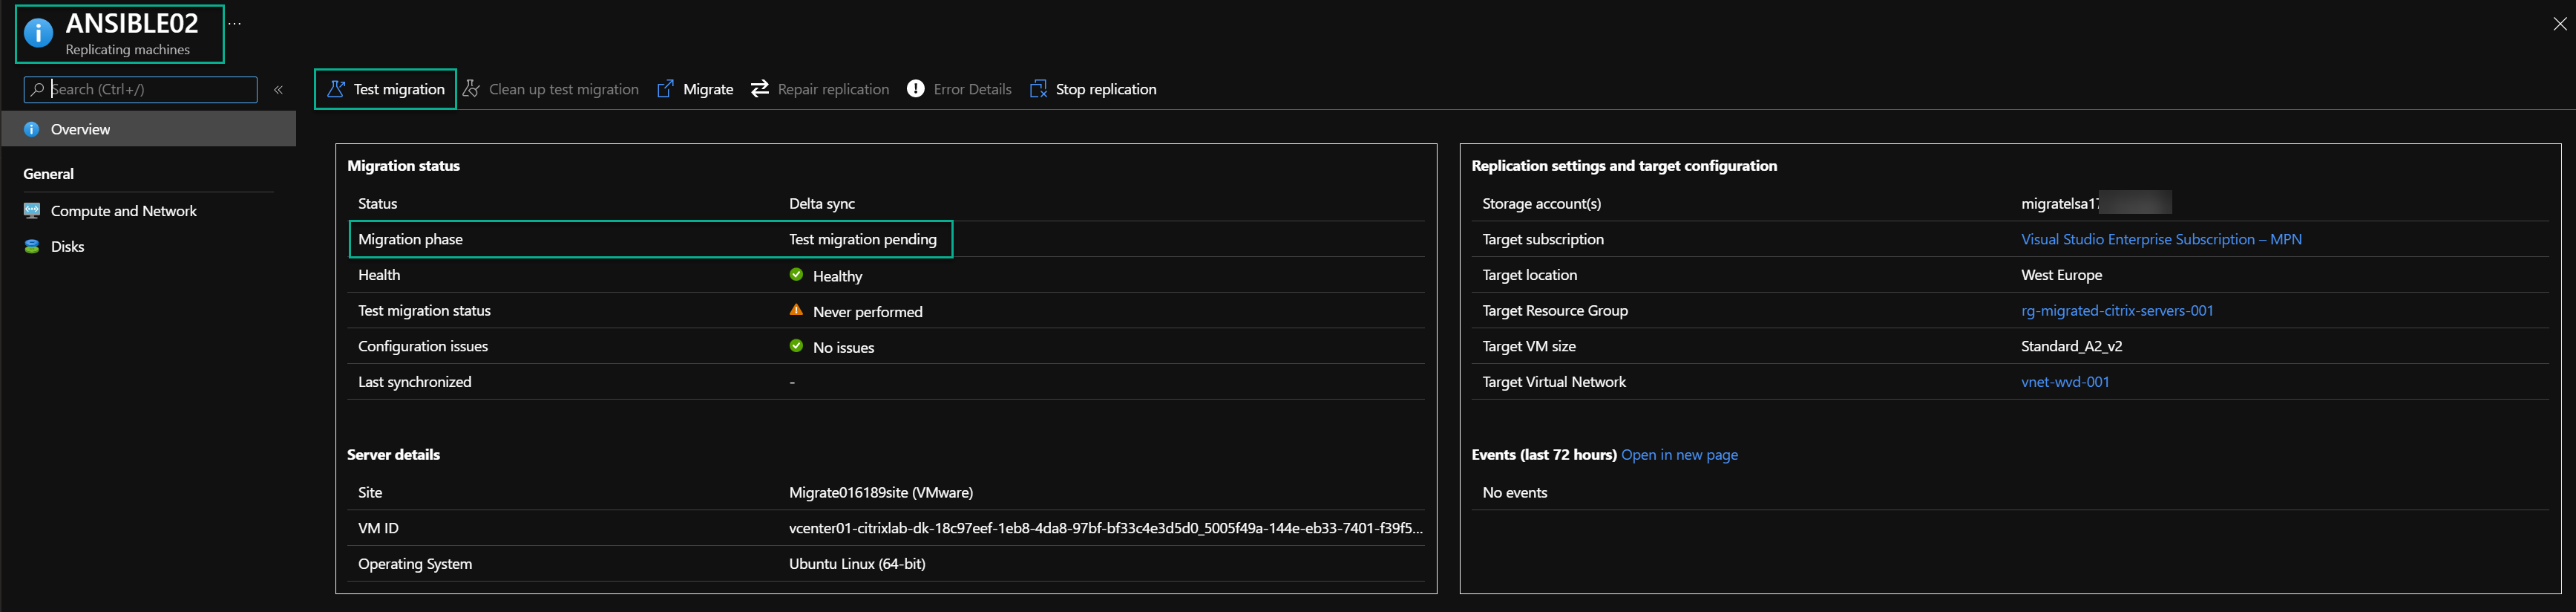
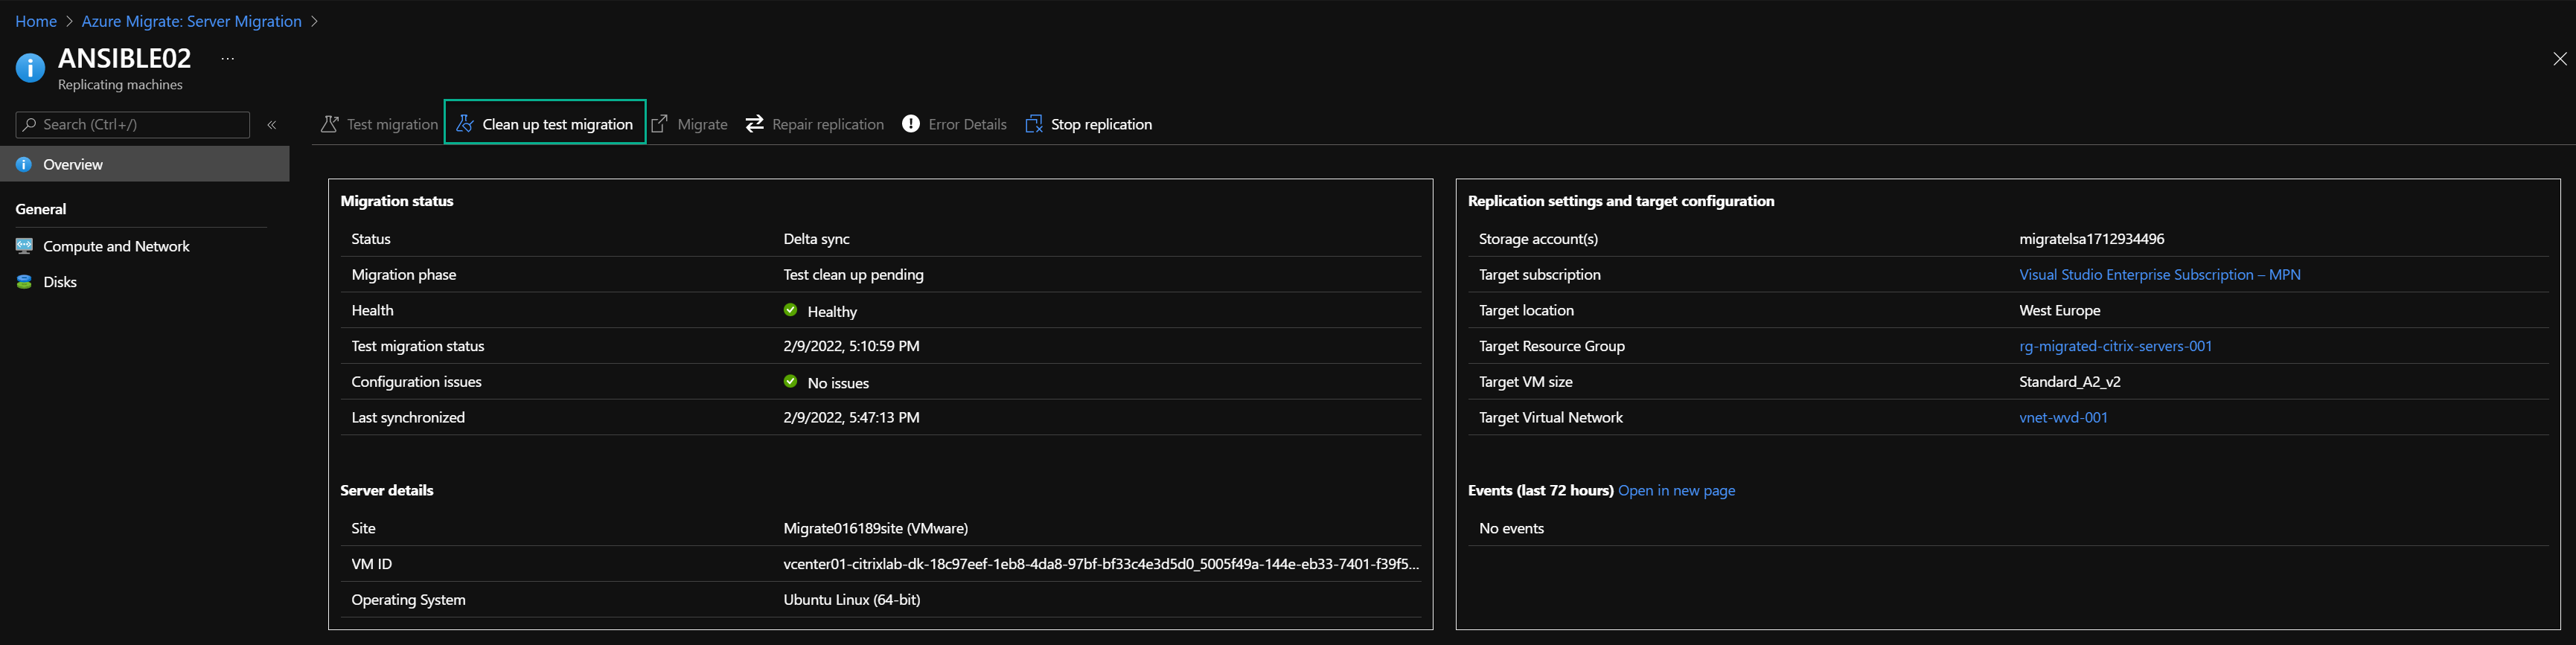
With replication completed, I can click on one of my servers, in this case, “Ansible02,” and see that the state is “Test migration pending.” I can now click on “Test migration.”
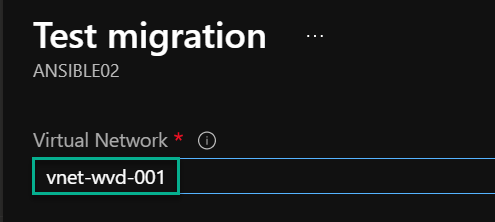
I will select my vNet “vnet-wvd-001.”
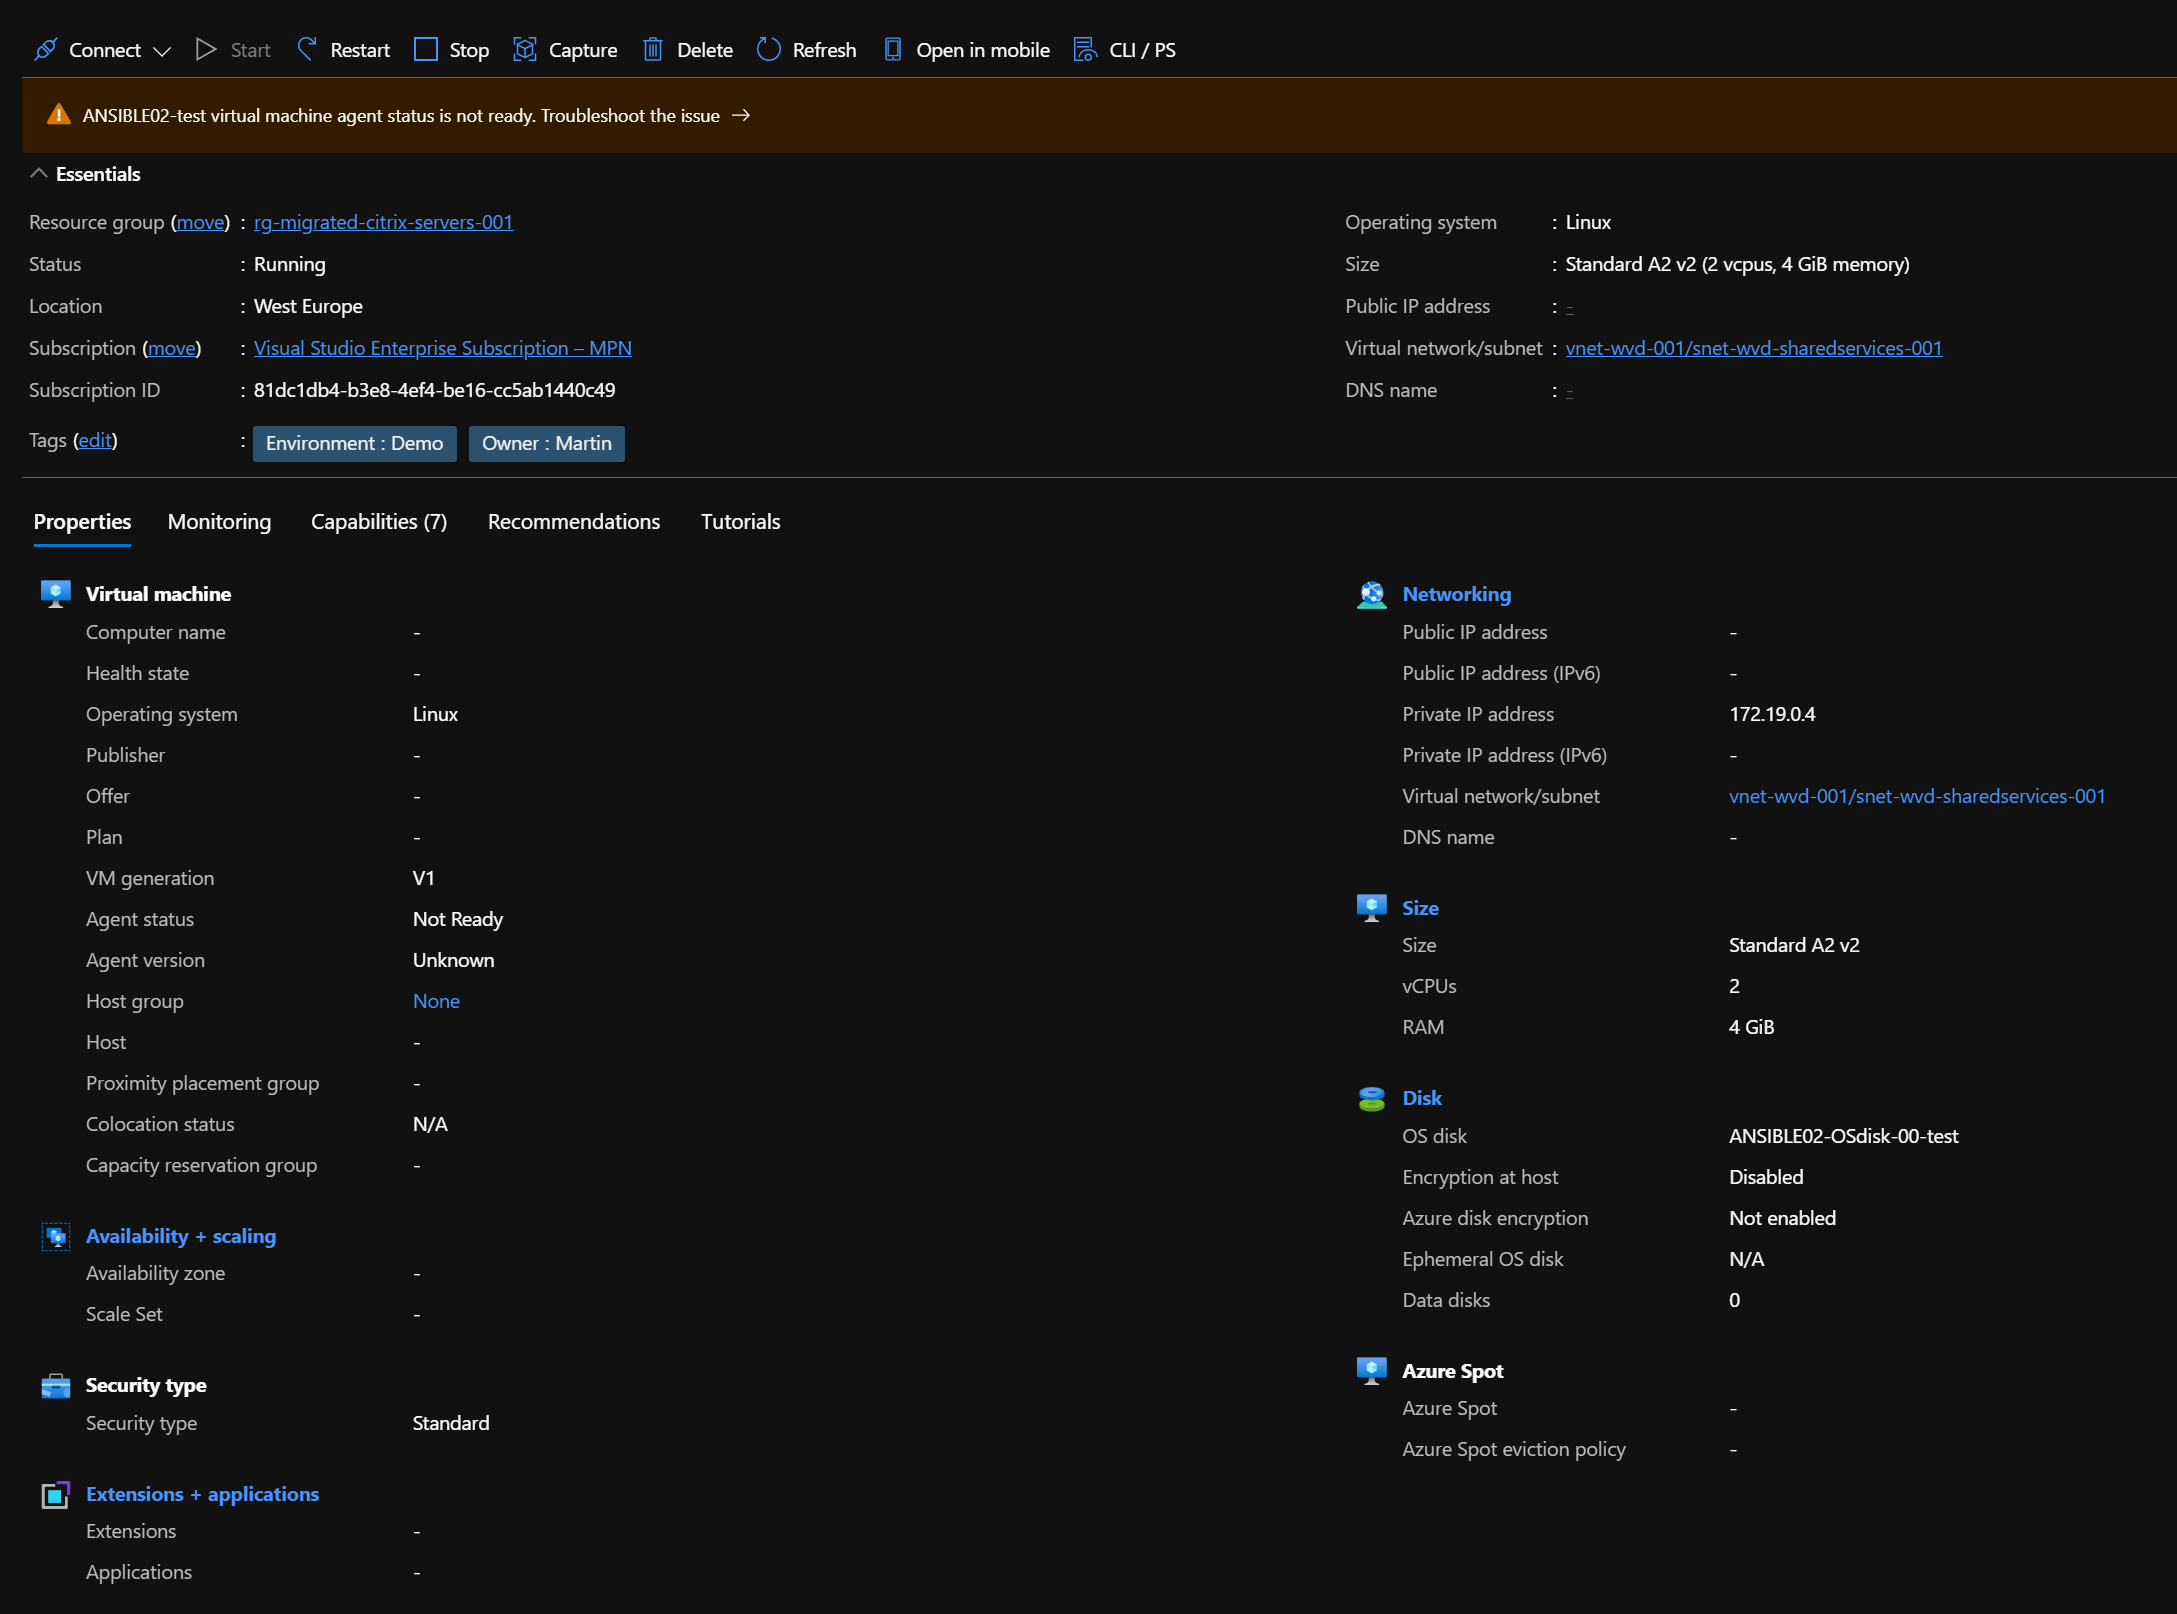
It will take some minutes for the test migration to finish, but the result is a VM that is running. I can now see that it is running Linux in Azure and that it has IP “172.19.0.4,” which I can use to connect and verify my server is running as expected.
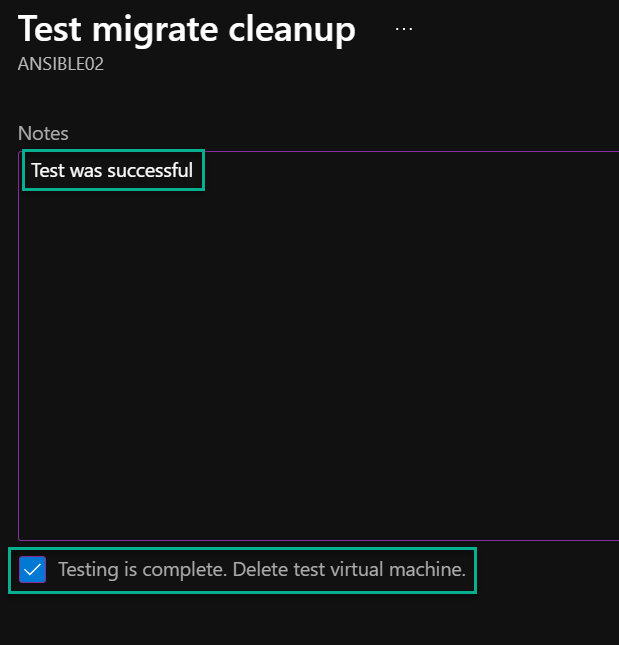
I need to clean up after my test migration to verify it. I do this from the “Azure migrate: Server migration” page, where I started the test migration. I now have the option for “Clean up test migration,” which I will click.
I will provide a note if anyone else was to see what I had done, and then I will mark “Testing is complete. Delete test virtual machine.”
Migrate machine
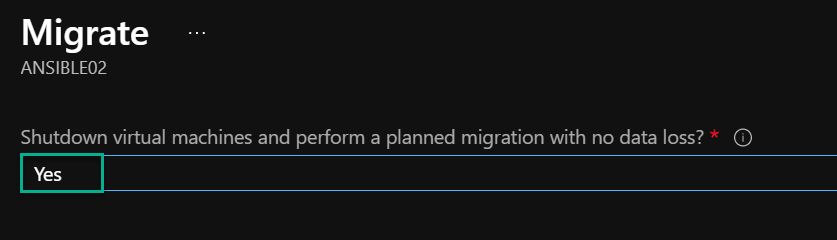
The migration is done the same way as the test migration, so in the details for my replicated machine, I will click on “Migrate.”

I will select “Yes” to shut down the on-premises machine before the migration; this is to ensure that my VM in Azure will not be missing any data created at the same time the migration is running.
The migration will run, and when finished, I can see the status “Migrated” in the replication overview.
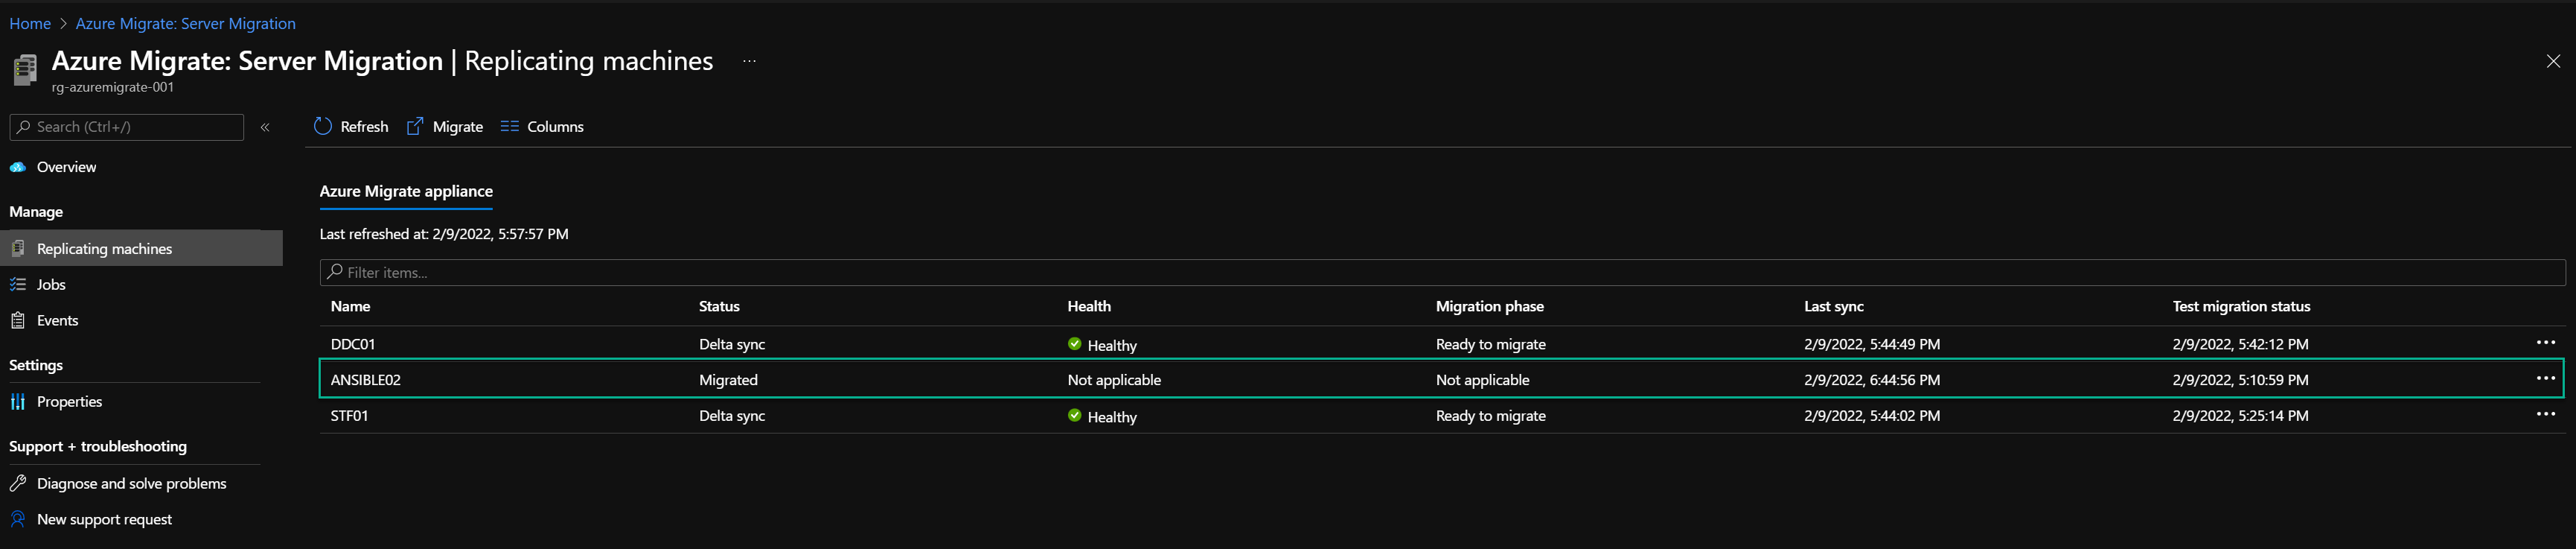
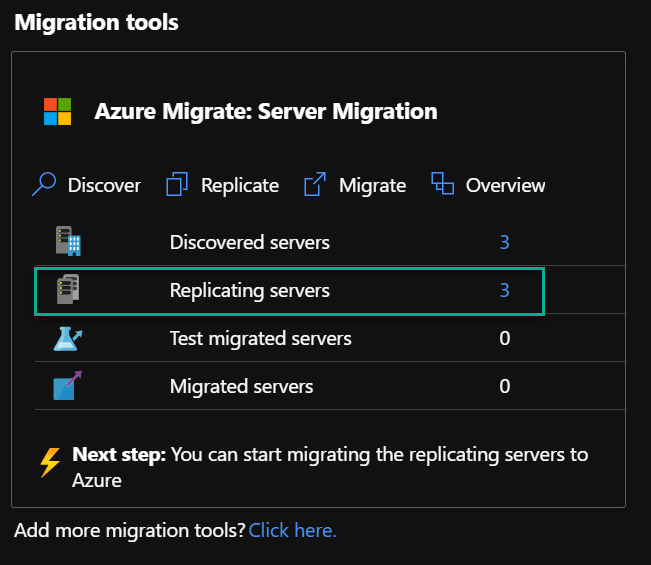
The Azure Migrate overview page shows that the “Migration tools” section now reflects the status of one migrated server and two replicating servers.
I can now go through the migration process for the two last servers the same way I just showed.
Summary
I have now migrated three servers from my on-premises environment into Azure. I have migrated both Windows and Linux machines using Azure Migrate, which is simple to set up and use. I know there are a lot of pictures in this guide, but I thought it was needed to ensure that everything is included and easy to understand.
Using Azure Migrate provides an easy tool with a good overview of discovery, assessments, test migrations, and migrations. One thing to remember is that the Windows Appliance used for Azure Migrate is running on the evaluation version of Windows Server. The evaluation version can’t be running forever, but that shouldn’t be the case. Create the Azure Migrate set up when you are ready to migrate or do multiple setups. You could set up an appliance for discovery and assessment and use these reports and assessments to show your management what to expect from cost and configuration in Azure. You can set up a new appliance to execute the migration when the budget and migration are approved. There is also an option of downloading and installing the migration tools on an existing VM running a licensed version of Windows, and this way, you don’t need to worry about the time constraint.
I hope this post is helpful, and feel free to reach out on Twitter or LinkedIn if you have any questions or feedback.